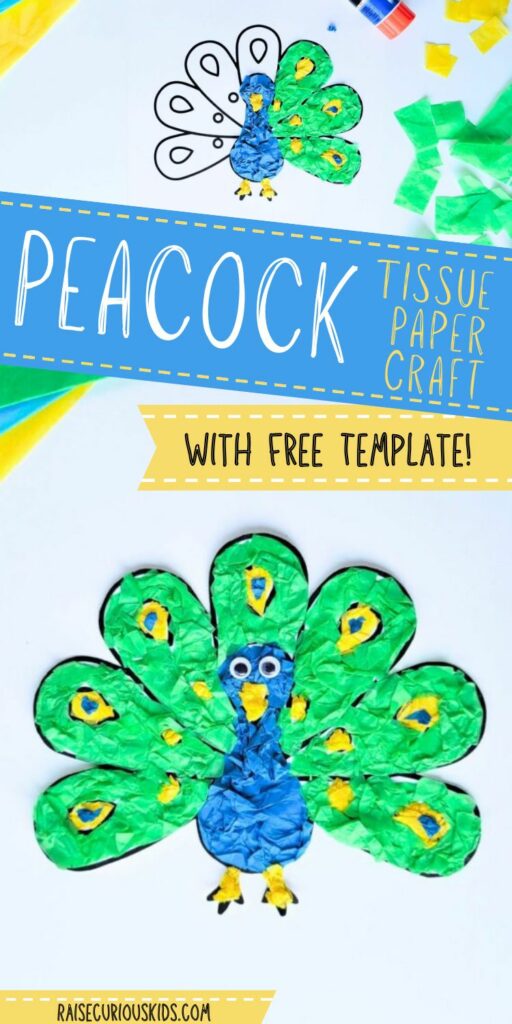
Make your own peacock with this peacock tissue paper craft for kids!
This craft is easy to make and uses simple materials that you likely already have on hand.
Just download our free peacock printable and use colorful tissue paper to give your bird it’s vibrant peacock plumage.
This is a great activity for preschool (with a little help) and elementary aged kids. You can use it as a part of a learning unit (we used ours for our India crafts and activities) or just a fun craft for kids to enjoy!
Peacock tissue paper craft
Materials
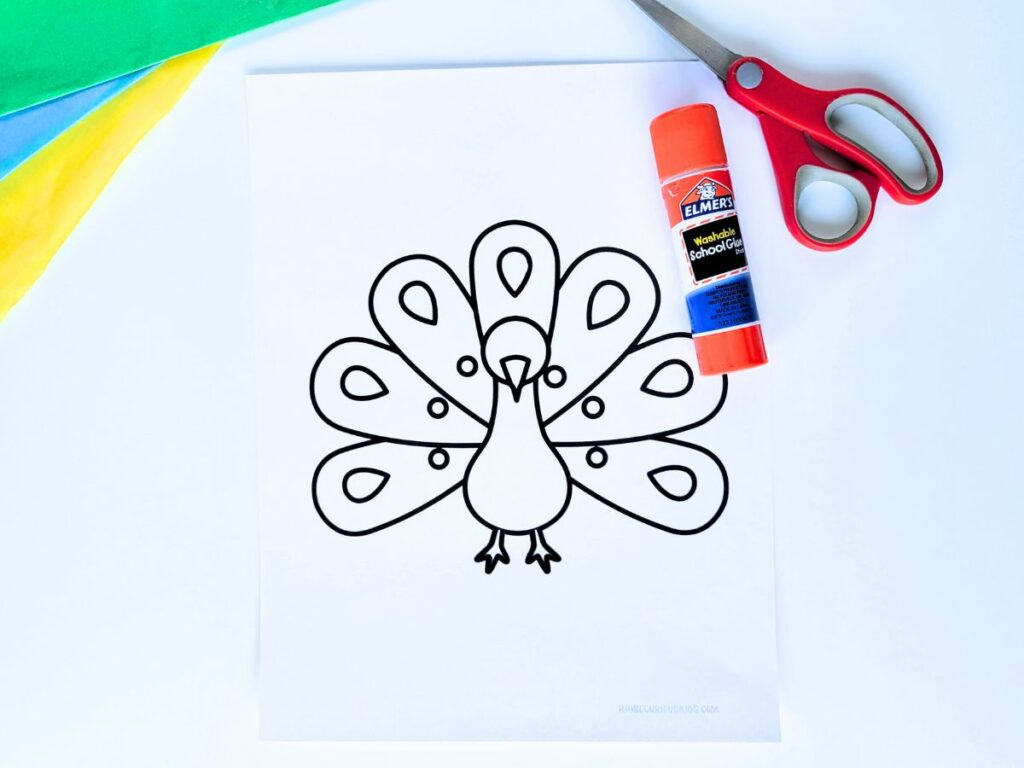
- Peacock printable (download for free below)
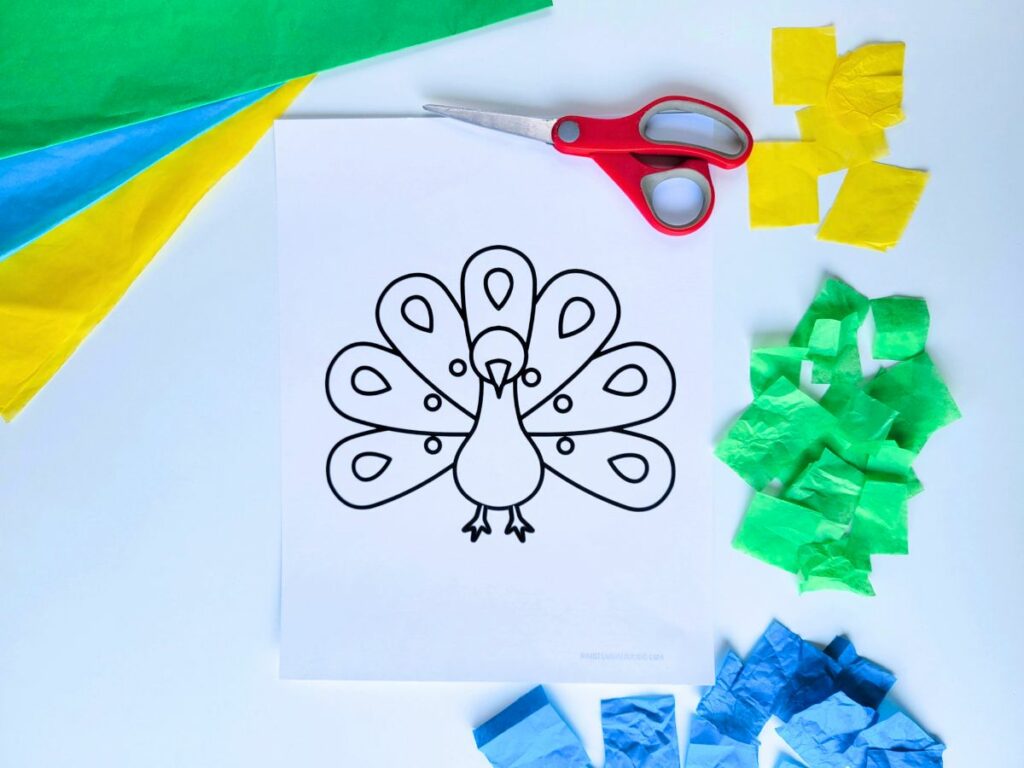
- Tissue paper (blue, green, yellow)
- Glue stick
- Scissors
Instructions
Download and print out the peacock printable (available below).
Cut the tissue paper into small squares or strips. You can prep this in advance or have your child cut the tissue paper as part of the craft.
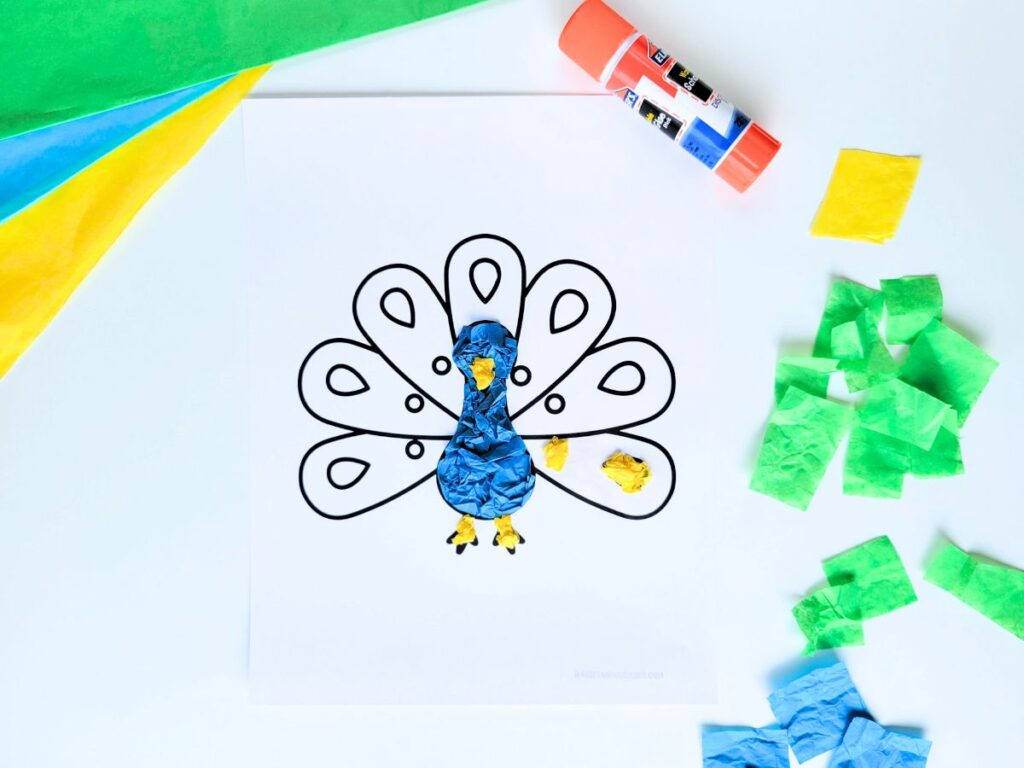
Cover the body of the peacock with glue. Crinkle pieces of blue tissue paper and stick them to the body of the peacock until it’s covered.
Use small pieces of yellow tissue paper to cover the beak and legs.
Cover the first feather with glue. Crinkle up two pieces of yellow tissue paper and place them over the circles on the feather. Then cover the rest of the feather with green tissue paper. Place a very small piece of blue tissue paper in the center of the yellow circle.
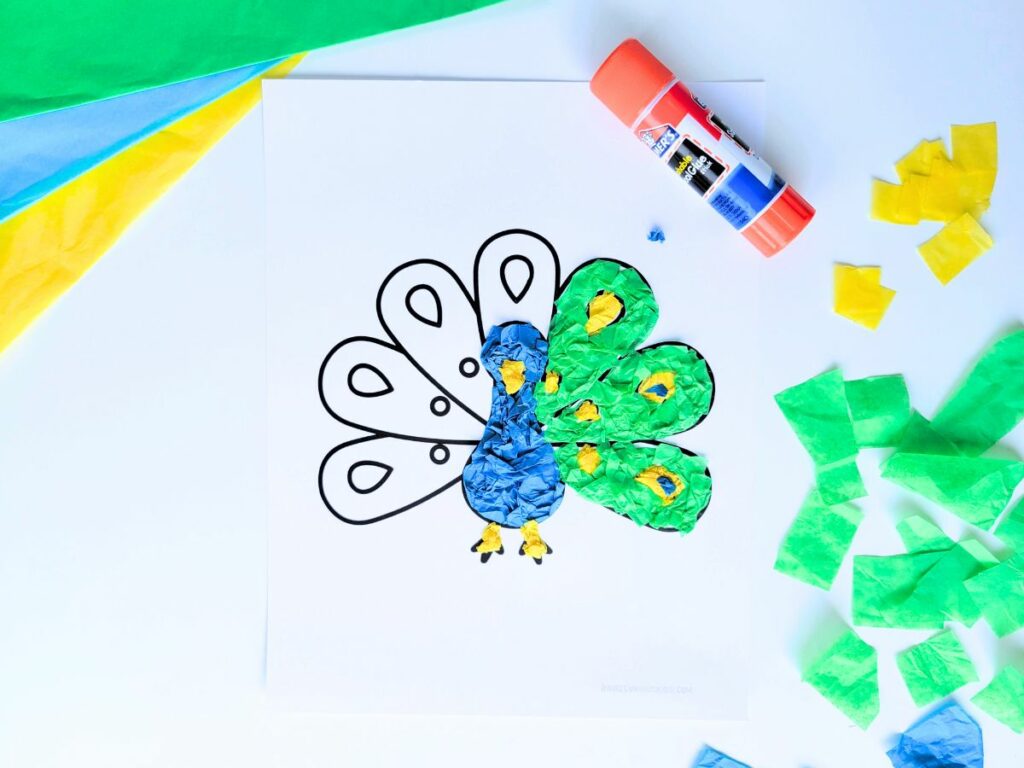
Continue decorating the bird, covering each feather with glue one by one and then adding the crinkled tissue paper.
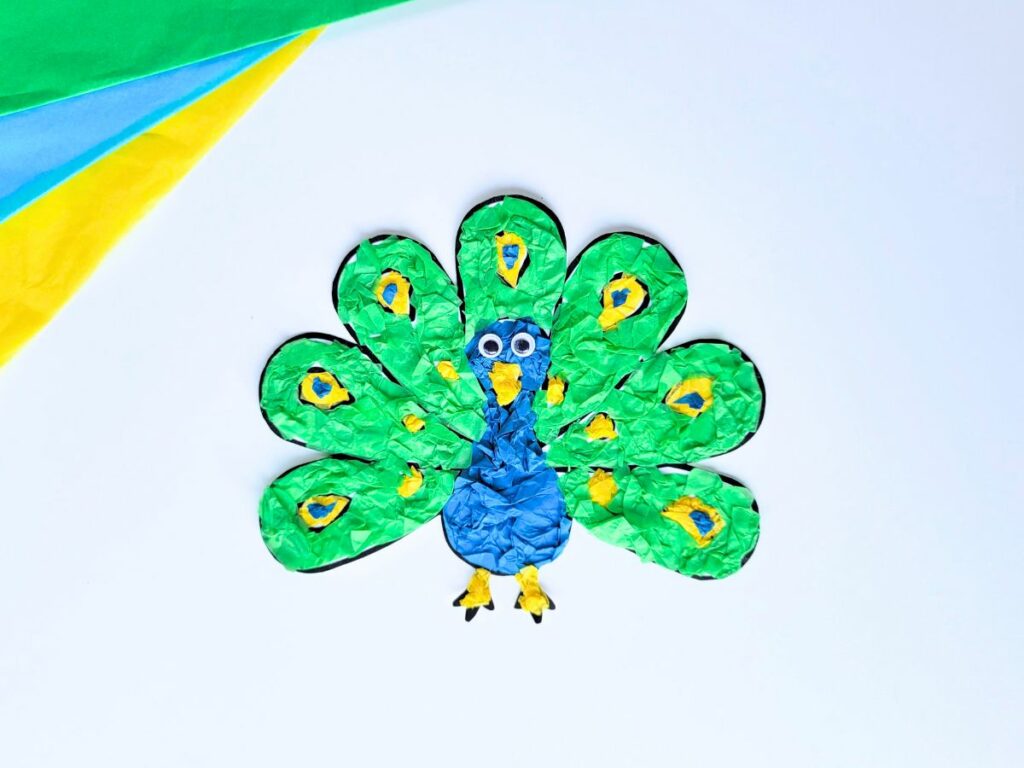
Add eyes to the peacock, using googly eyes or the paper eyes included in the printable.
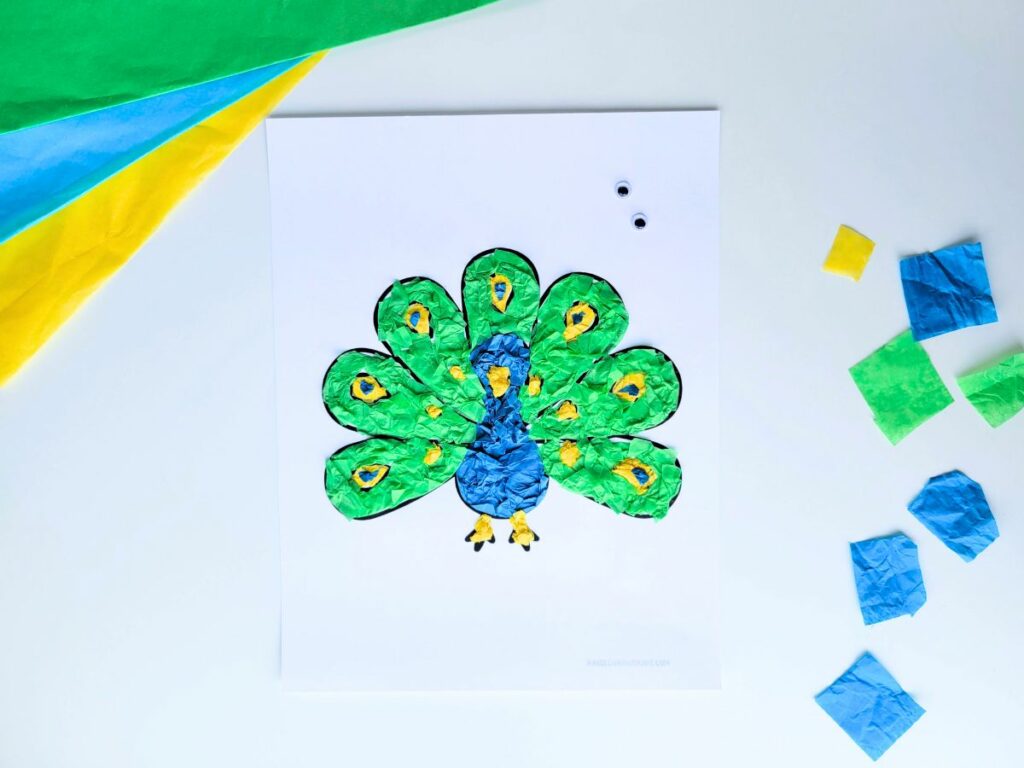
Finally, cut out the peacock.
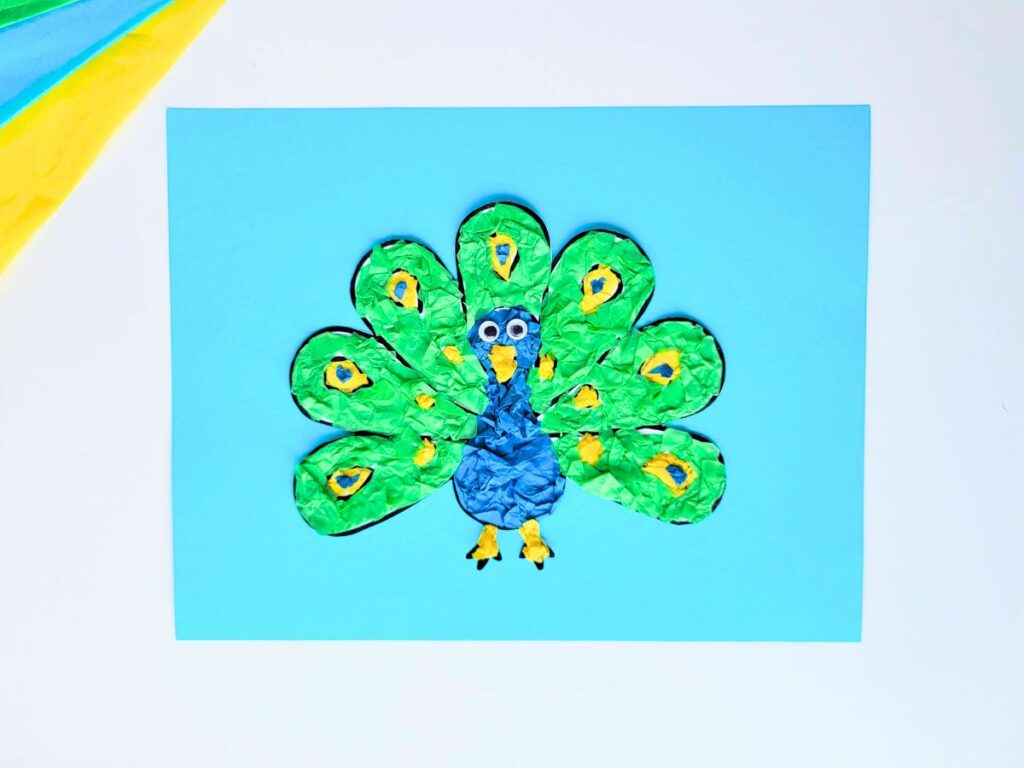
If desired, at this point you can glue the peacock onto a colored piece of paper.
Now the peacock craft is done and ready to enjoy!

Peacock Tissue Paper Craft
Make your own peacock with this cute tissue paper craft!
Materials
- Peacock printable
- Tissue paper (blue, green, yellow)
- Glue stick
- Scissors
Instructions
- Download and print out the peacock printable.
- Cut the tissue paper into small squares or strips.
- Cover the body of the peacock with glue. Crinkle pieces of blue tissue paper and stick them to the body of the peacock.
- Use small pieces of yellow tissue paper to cover the beak and legs.
- Cover the first feather with glue. Crinkle up two pieces of yellow tissue paper and place them over the circles on the feather. Then cover the rest of the feather with green tissue paper. Place a very small piece of blue tissue paper in the center of the yellow circle.
- Continue decorating the bird, covering each feather with glue one by one and then adding the crinkled tissue paper.
- Add eyes to the peacock, using googly eyes or the paper eyes included in the printable.
- Cut out the peacock. Glue to a piece of colored paper if desired.
Other Crafts to Try
Mandala Watercolor Glue Art Craft for Kids