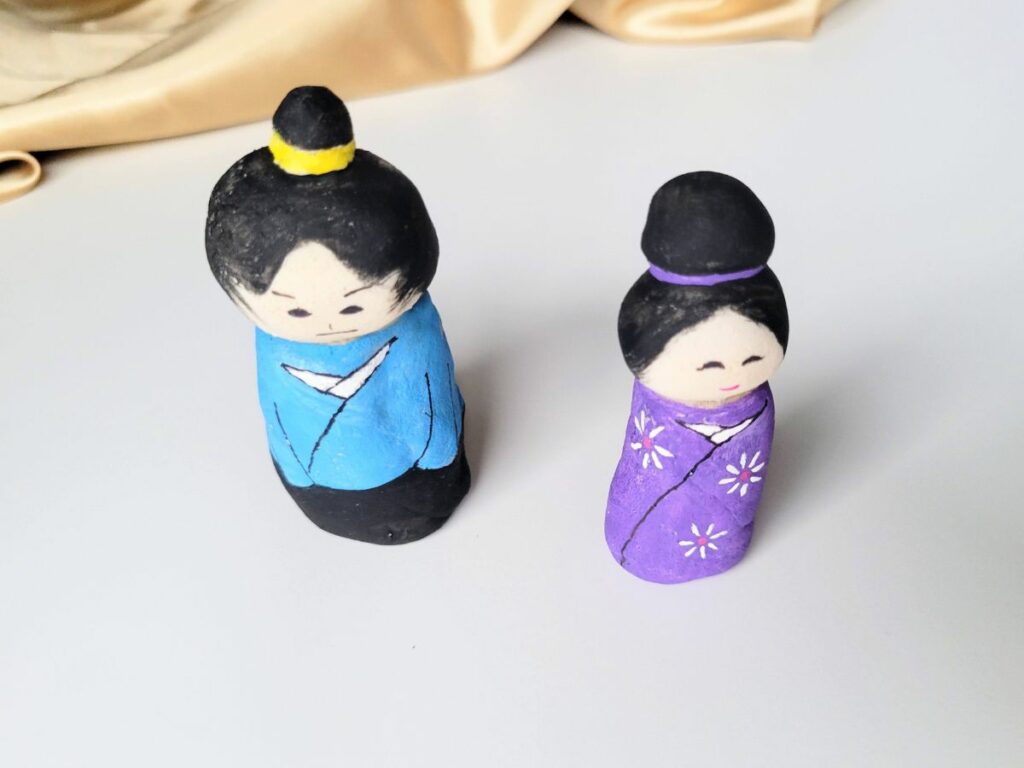
Make your own adorable Japanese Kokeshi dolls with this fun salt dough craft!
Kokeshi dolls are traditional Japanese wooden dolls with a distinctive cylindrical shape and a simple, hand-painted design.
These dolls, typically characterized by a rounded head and lack of arms and legs, have been crafted in Japan for centuries and are known for their artistic and cultural significance.
While the dolls in this craft are made out of salt dough instead of wood, they still give off that Kokeshi doll vibe. And because they’re made out of salt dough you can customize your doll to look however you want it to!
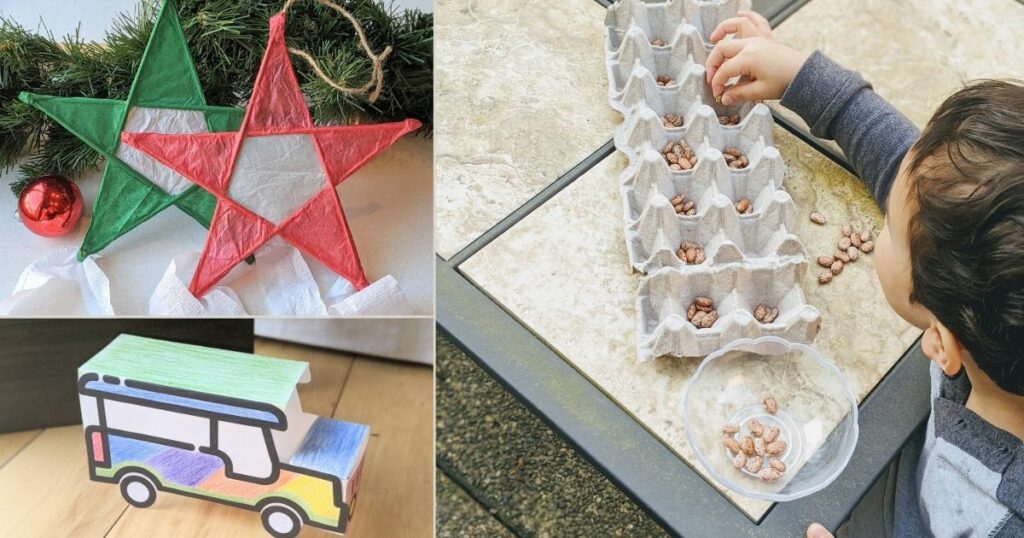
This is a perfect craft for a Japan cultural unit or just as a fun way to get creative!

Salt Dough Japanese Kokeshi Doll Craft
Materials
- Salt
- Flour
- Water
- Paint
- Paint brush
- Mod Podge (optional)
Instructions
First off, you’re going to make your salt dough.
Salt dough recipe
- 2 C All-Purpose Flour
- 1 C Salt
- 1 C Warm Water
Preheat the oven to 250 degrees.
Mix the flour and salt together in a medium-sized bowl.
Slowly add the water and stir to combine.
Once the mixture begins to come together, knead the dough for several minutes until you achieve a smooth consistency.
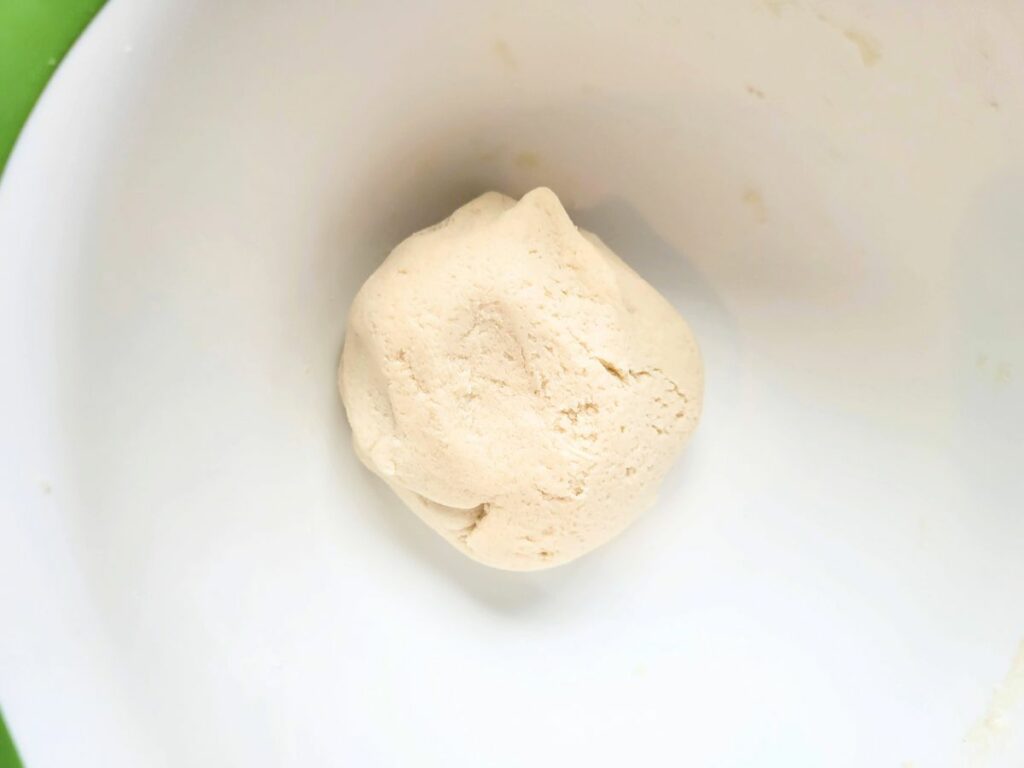
Now you’re ready to form your dolls!
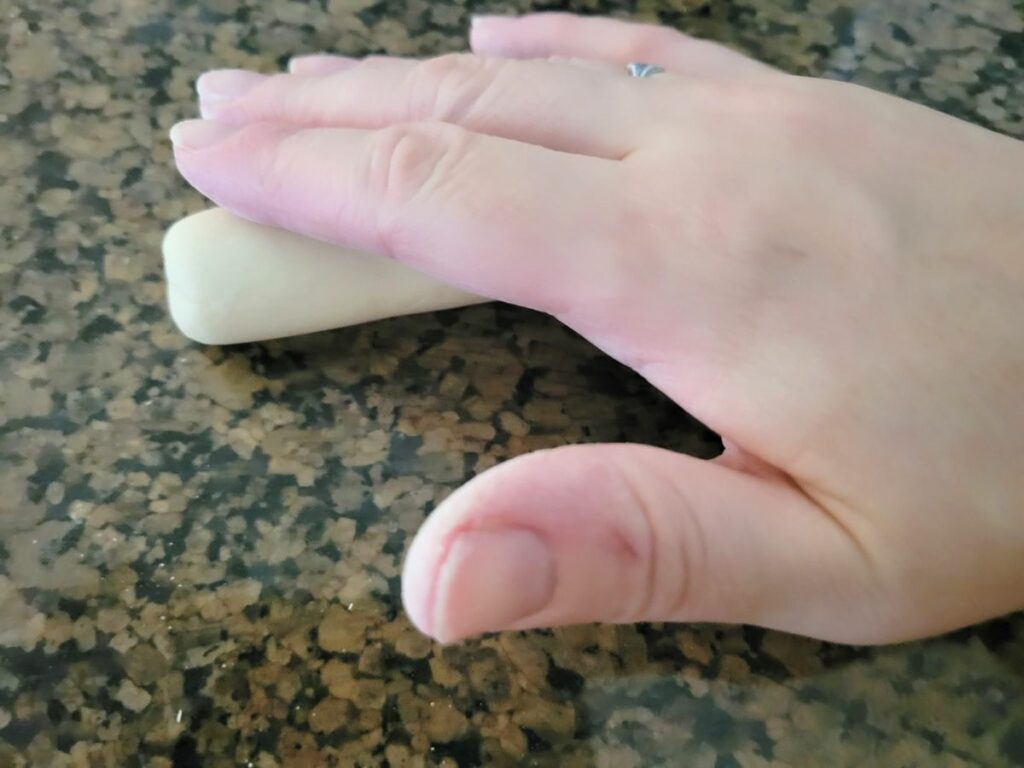
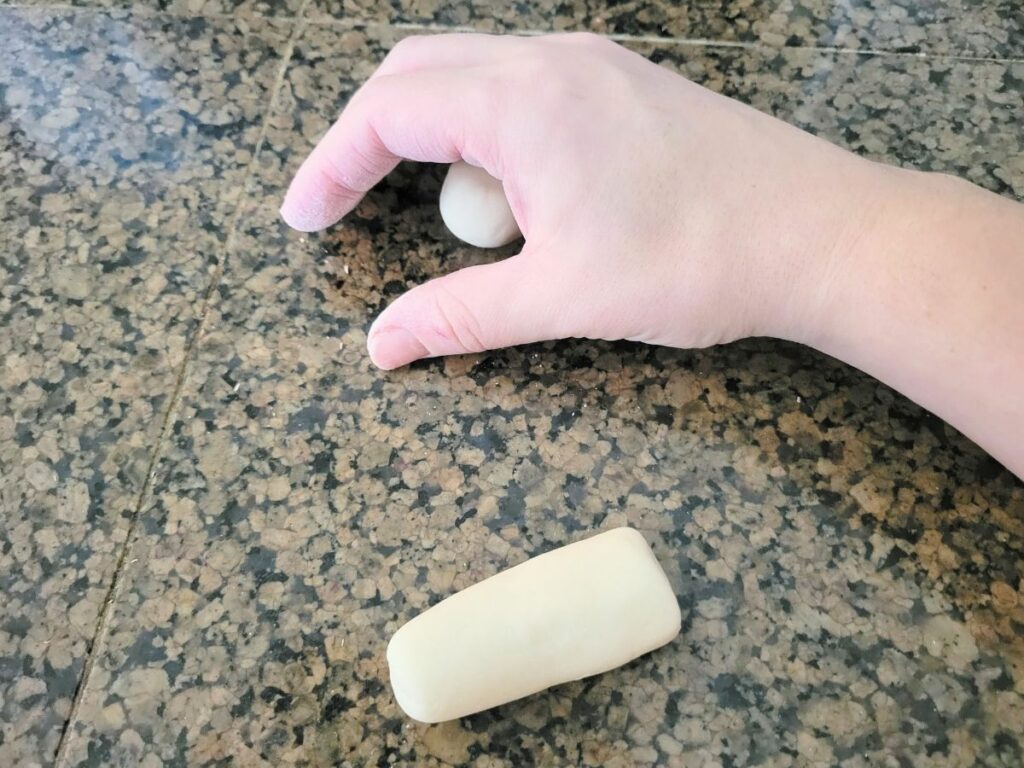
To make the body, take a small amount of dough and roll it on the counter under your hand until it comes together and lengthens. Once it’s the length you want, carefully flatten and smooth both ends.
Next you’re going to make your doll’s head. Take a small amount of dough and roll it under your hand to make a ball.
In order to get it as smooth as possible, cup your hand into a “C”, place it over the dough with your pinky and thumb resting on the counter, and move your hand around in a circular motion. As the ball of dough rolls it will smooth the dough into a perfect circle.
Now carefully attach the head to the body, pressing the ball into your long piece of dough.
If you lose the shape of the neck in the process, use a toothpick to redefine the transition between head and neck.
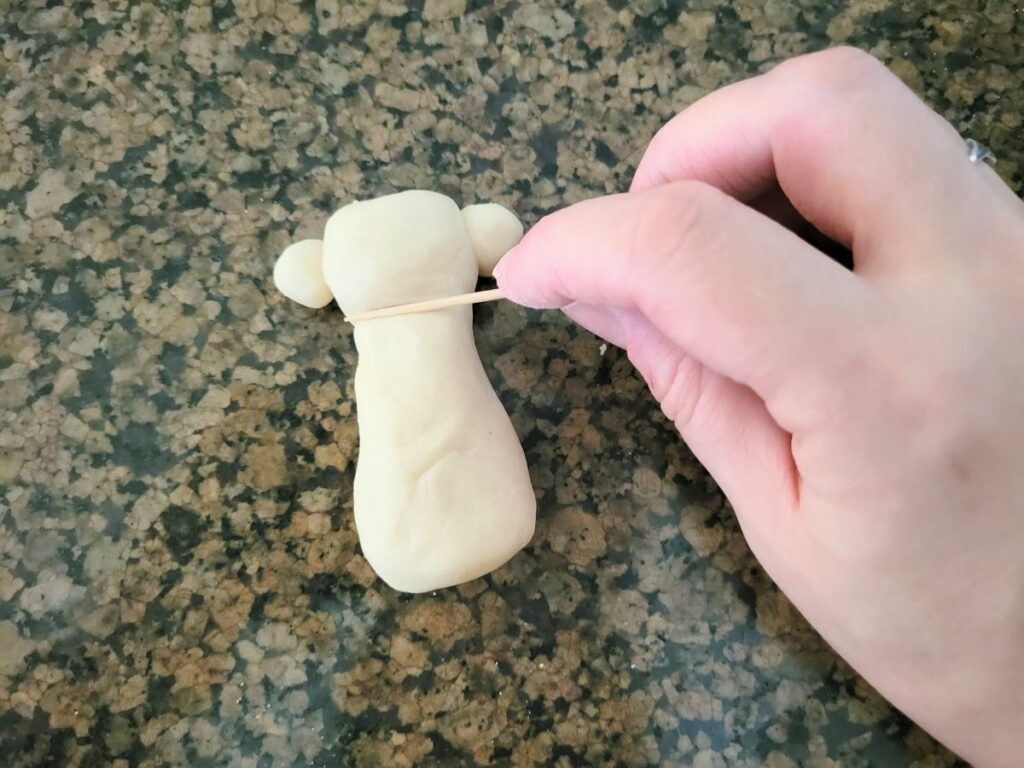
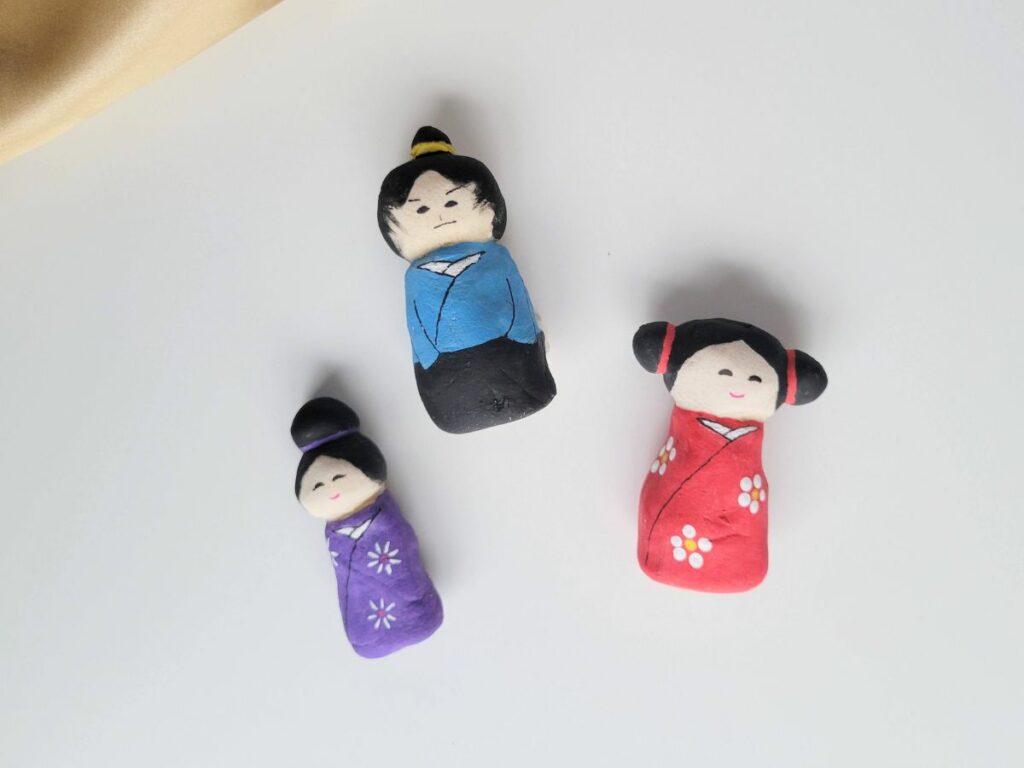
At this point you can add any extra features that you would like to include, such as a bun on top of the head or a double bun on each side.
Place the dough on a parchment-lined baking sheet and place them in the oven.
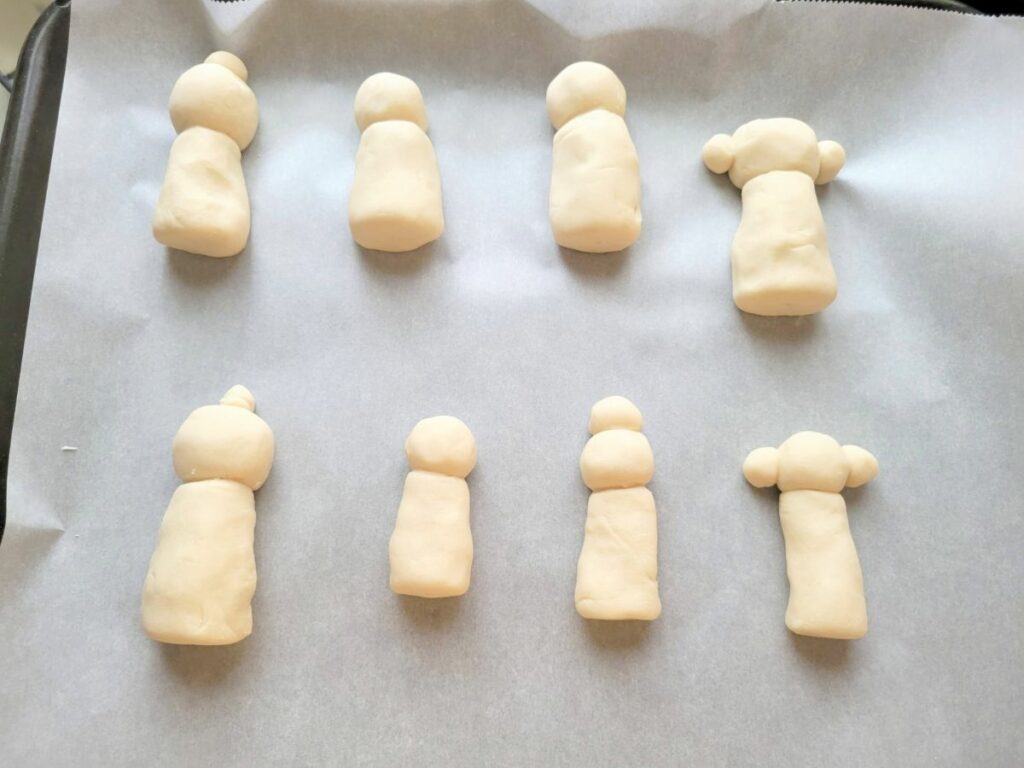
Keep an eye on your dolls, checking doneness occasionally. The amount of time it takes to dry out the dough depends on the size of your dolls. Mine were ready to come out after just over an hour.
You can tell when the dough is done baking when it is hard with not much give to it.
Pull out your dolls and let them cool.
Once they are cool, the dolls are ready to decorate.
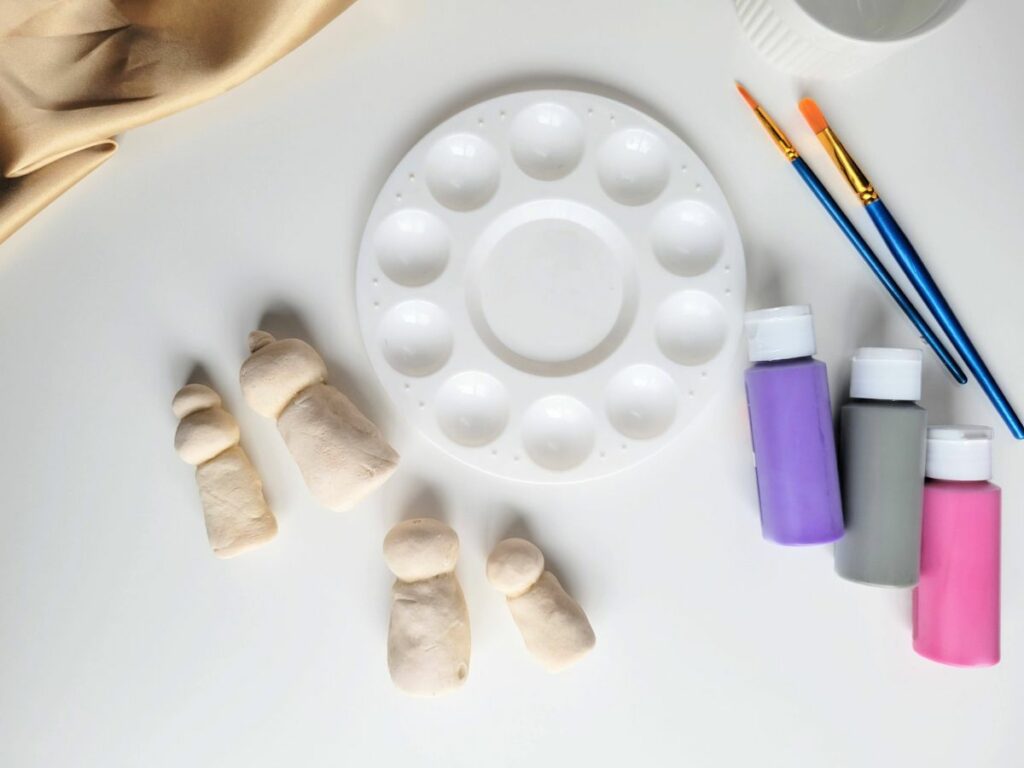
Check to be sure that your dolls can stand up. If they puffed up in the oven and and are unstable, use some sand paper to shave down the bottom until it is flat again.
Use paint and paintbrushes to paint your dolls.
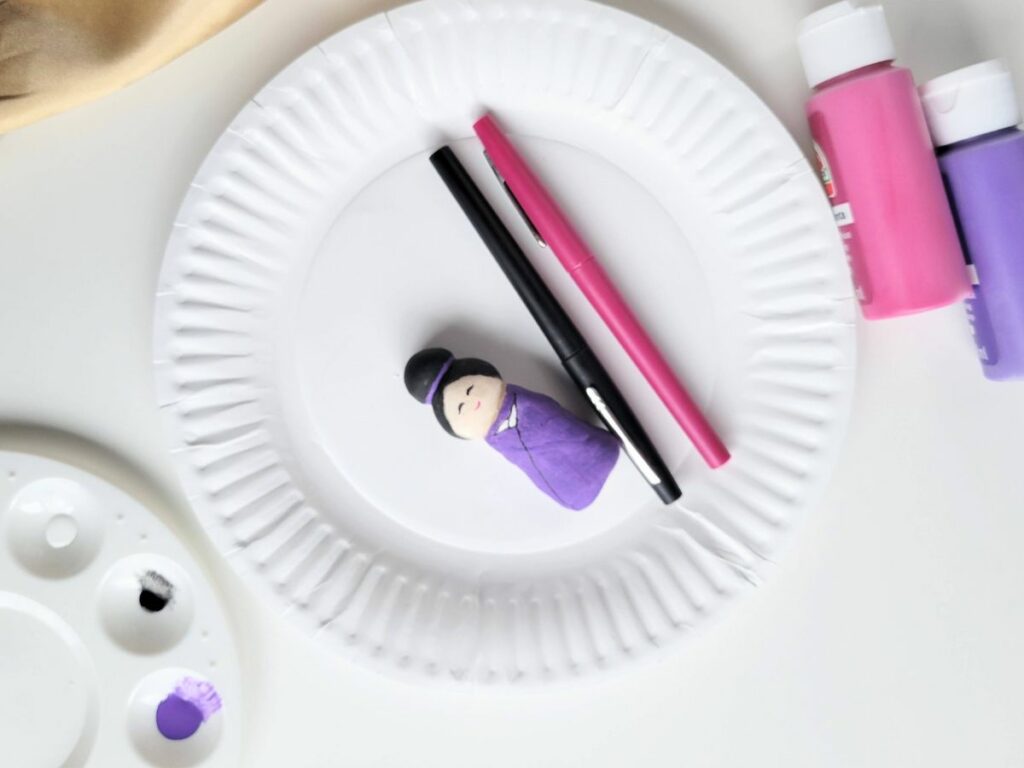
I used a black pen for the smaller details, like the eyes and mouth because I found it easier to control than paint.
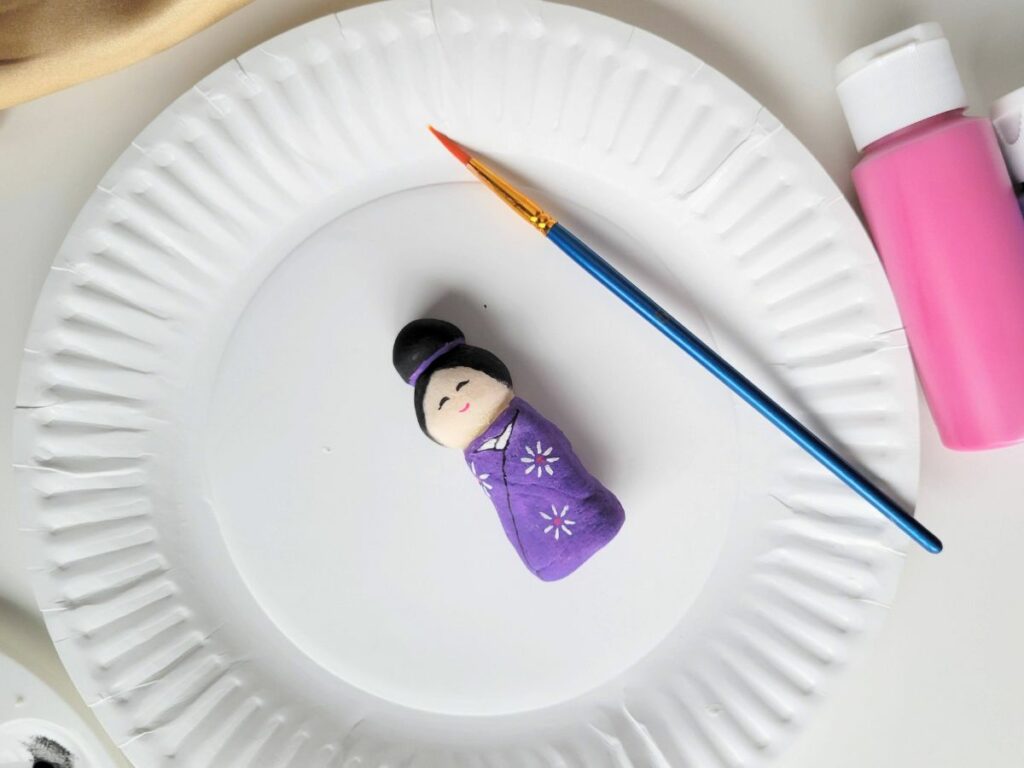
You can also use a small brush if you’d like to add more intricate details.
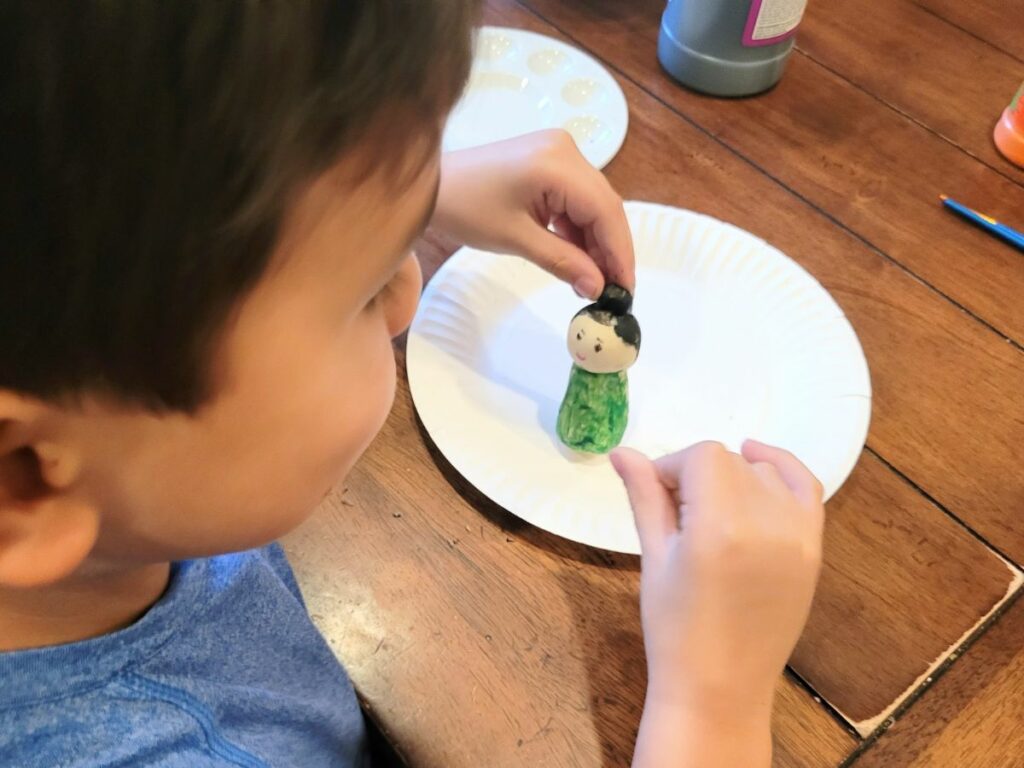
Acrylic paint tends to have better coverage, but washable paint will also work if you’re working with younger children.
My kids had the best time using washable paint to decorate their dolls and they were so proud of how they turned out!
If you want your dolls to last longer, you can seal them with a layer of Mod Podge after they dry.
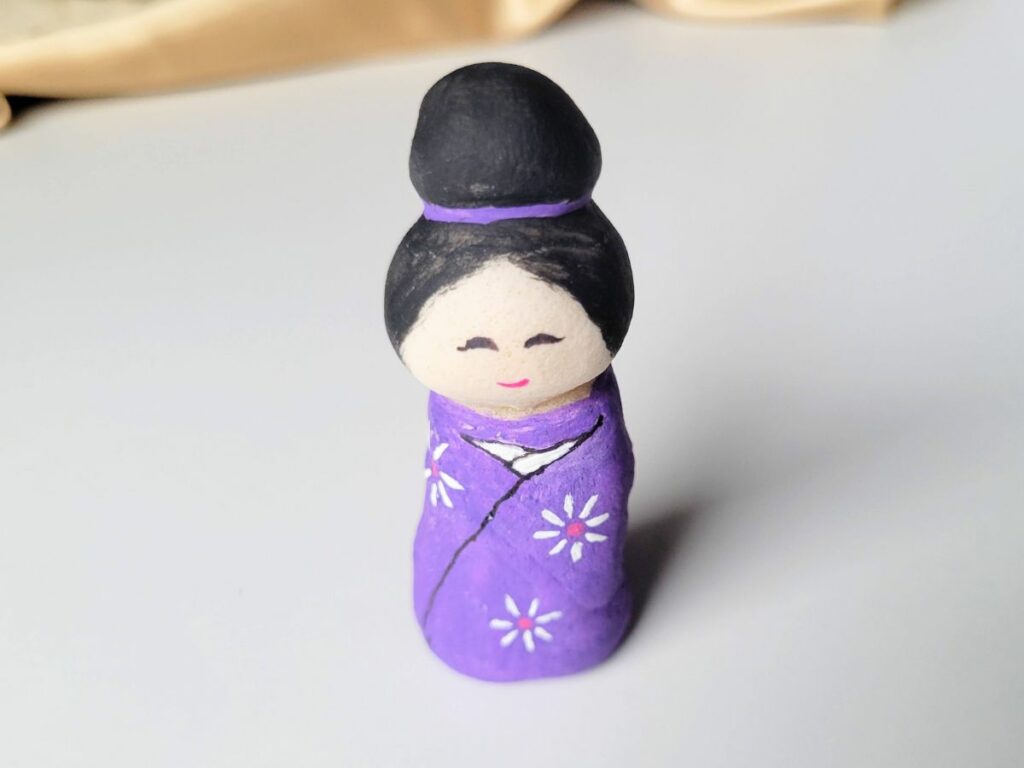
Once they are dry, you’re ready to enjoy your kokeshi dolls!

Japanese Kokeshi Doll Craft
Materials
- Salt
- Flour
- Water
- Paint (acrylic has better coverage, but washable works as well!)
- Paint brush
- Fine tipped black pen (optional)
- Mod Podge (optional)
Instructions
- Make your salt dough (2 C flour, 1 C salt, 1 C water- mix and knead)
- Preheat oven to 250 degrees
- Form the body of the doll by taking a small bit of dough and rolling it under your hand until it lengthens into the shape you want. Flatten and smooth both ends.
- Form the head by taking a small amount of dough and rolling it under your hand to make a ball.
- Take the ball and gently press it into the body of the doll, sealing it around the edges.
- Use a toothpick to redefine the neck if necessary.
- Add any extra features that you would like to include, such as a bun on top of the head or a double bun on each side.
- Place the dough on a parchment-lined baking sheet and place them in the oven.
- Keep an eye on your dolls. It should take between an hour to two hours, depending on the size of your dolls. Take them out when the dough is hard and dry with not much give to it.
- Let the dolls cool. Sand down the bottom if necessary to create a flat surface for the doll to stand.
- Decorate your dolls with paint. Use a felt tipped pen to add more intricate details like the eyes and mouth.
- Seal with Mod Podge if you so desire.
- Let the dolls dry and enjoy!