Creative kids will have a blast making this adorable tiger paper plate craft! This craft is simple to make and the end result looks so cute.
All you need is our tiger template and a few supplies you probably already have on hand and you’re ready to go! This craft involves cutting, tracing, and gluing, all of which are helpful activities for developing find motor skills and coordination.
This is a fun craft to make with preschoolers and elementary school students. It’s also great as part of an animal or cultural study unity (we used it for our India Crafts and Activities for Kids).
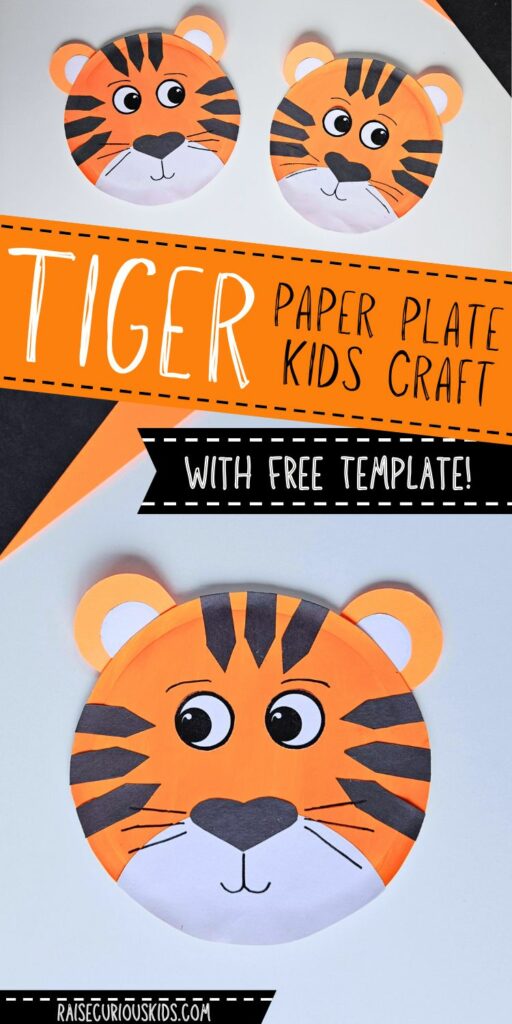
Tiger paper plate craft
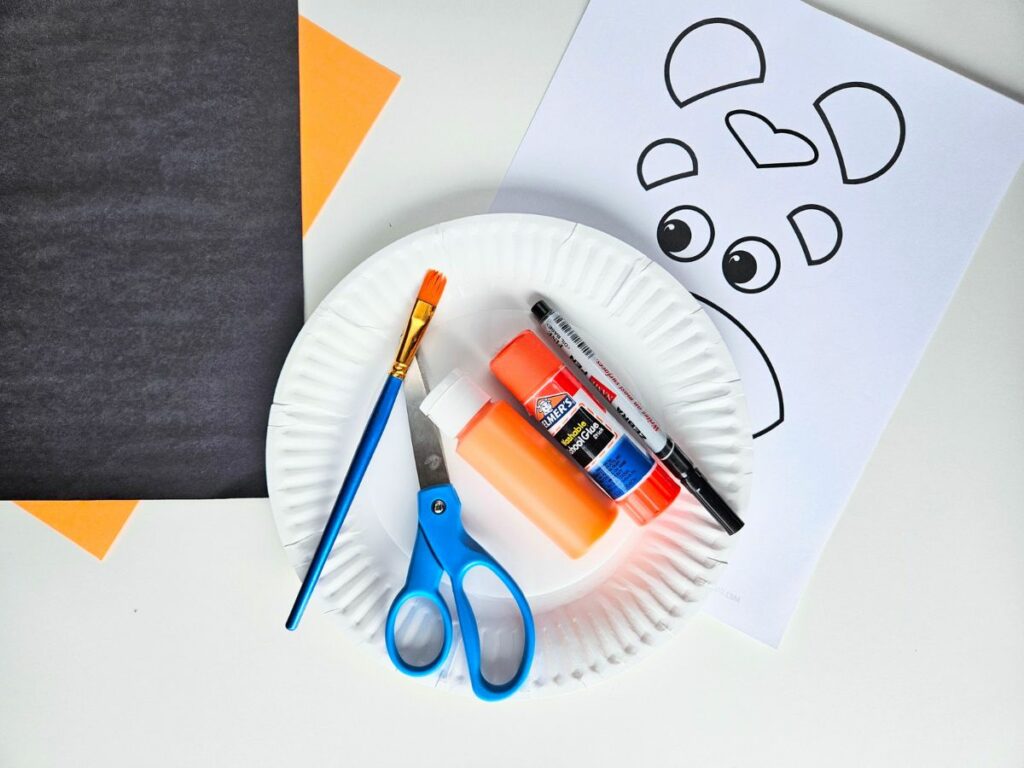
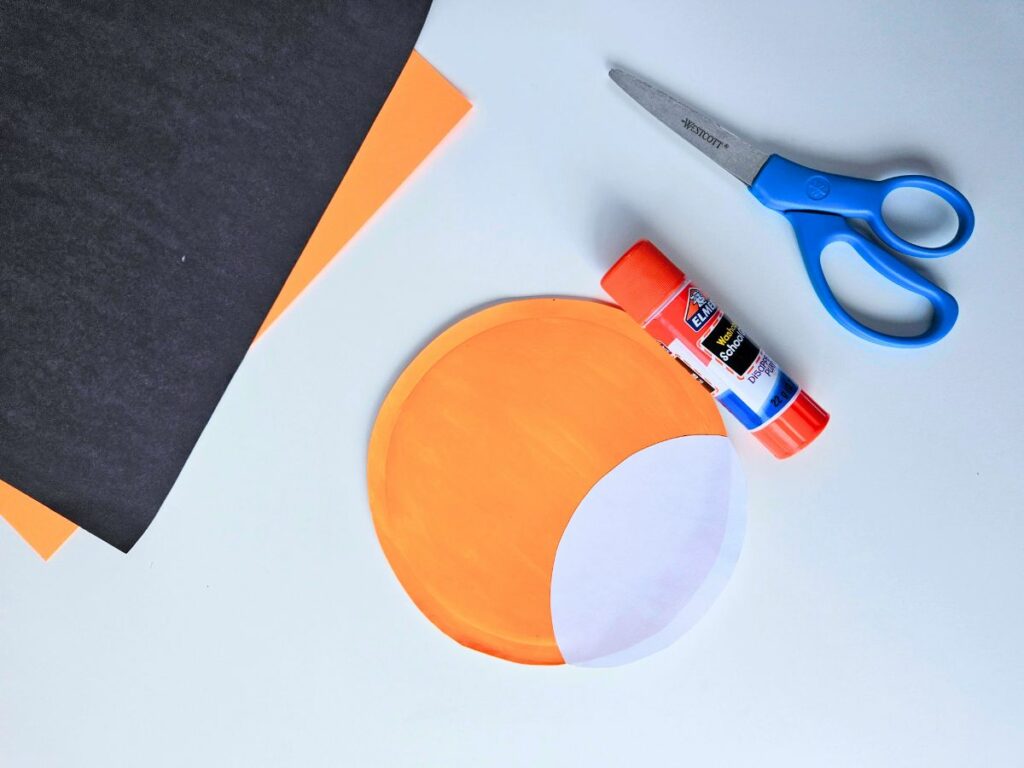
Materials
- Tiger template (available for free below)
- Paper plate
- Orange paint
- Paint brush
- Black paper
- Orange paper
- Glue
Instructions
Download and print out the tiger paper plate template (available for free at the bottom of this post).
Paint the center of your paper plate orange (you’ll be cutting off the textured part on the edge). Make sure to go up the sides of the plate a bit so that the entire central part is covered.
Set the plate aside to dry as you make the other pieces of the craft.

Next, cut out the pieces on the tiger template.
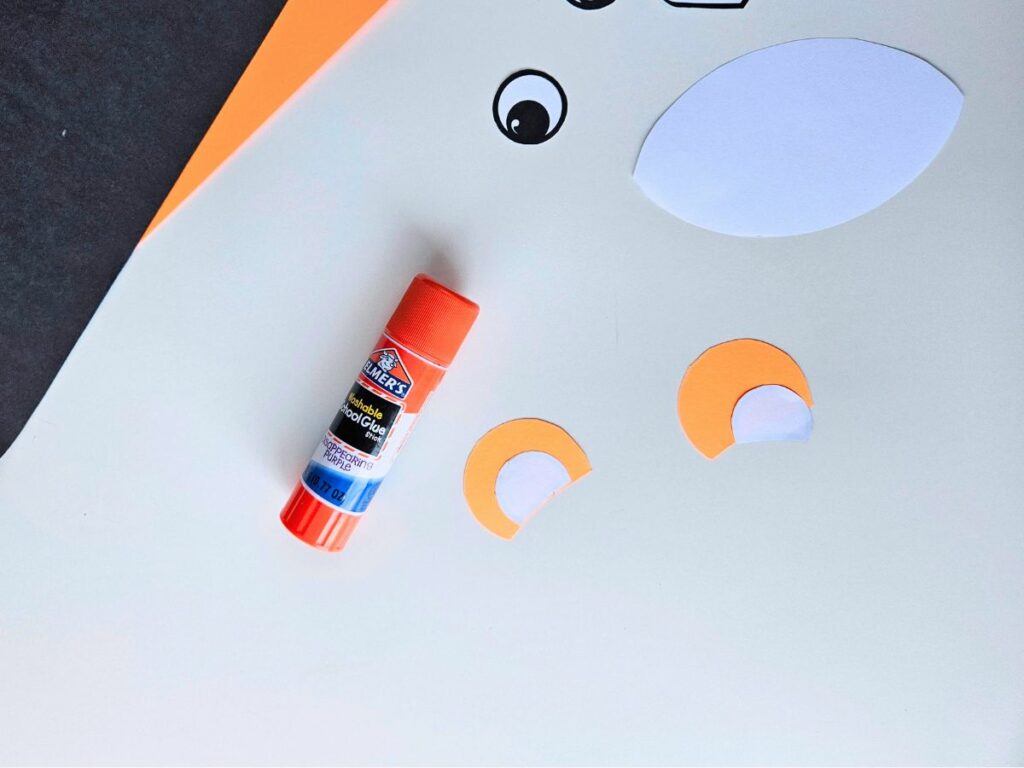
Trace two copies of the larger portion of the ear onto orange paper (I used orange cardstock) and cut them out.

Glue the smaller portion of the ear to the base of the larger portion (turn the small piece so you can’t see the black outline around it when it is glued).
Trace the heart-shaped nose and the arrow-shaped stripes onto the black paper.
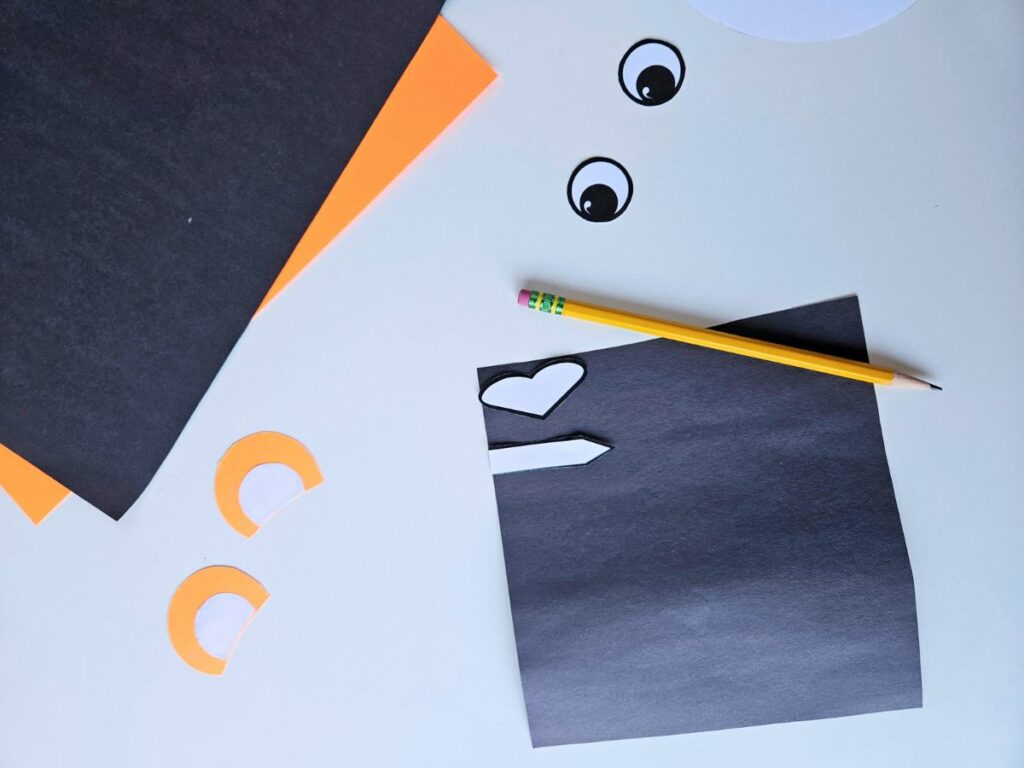
You’ll need 9 stripes and this is easiest to do if you do them all next to each other in a row so you only have one cut in between each one.

Cut out the circular center of the plate, removing the textured edge.

Glue the white oval from the template to the bottom of the plate, lining up the edges with the sides of the plate. Cut off any excess from the bottom of the white oval that is sticking out past the bottom of the plate.
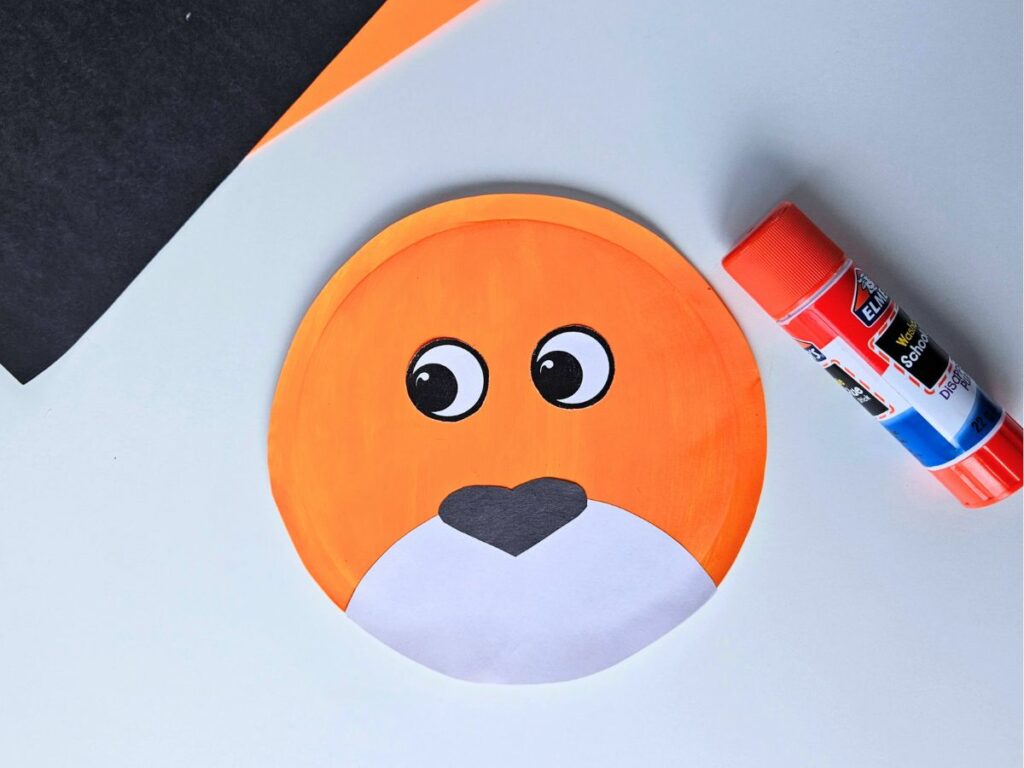
Glue the eyes and nose onto the tiger face.
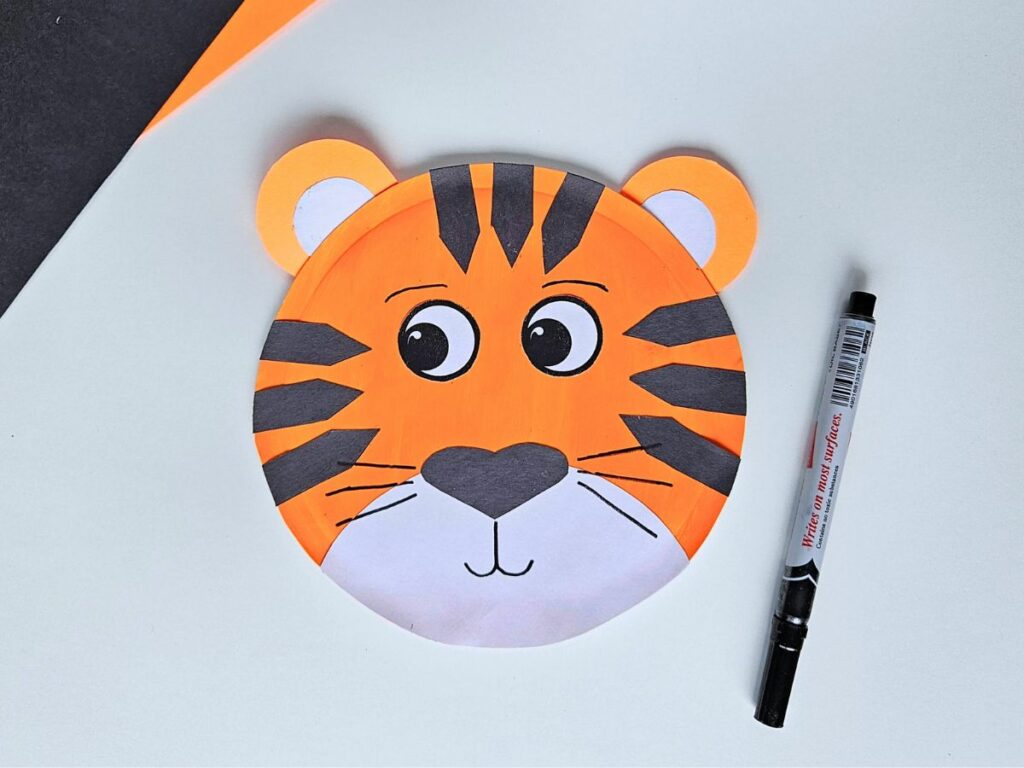
Glue the black stripes onto the tiger’s face, three on each side and three on the top.
Position them where you want them on the tiger’s face and cut off any overlap.

Place a small line of glue along the bottom of each ear and glue to the back of the paper plate so that they are sticking out at the top of the head.

Use a black pen to draw the mouth, whiskers, and eyebrows onto the tiger.
Now your tiger craft is finished!
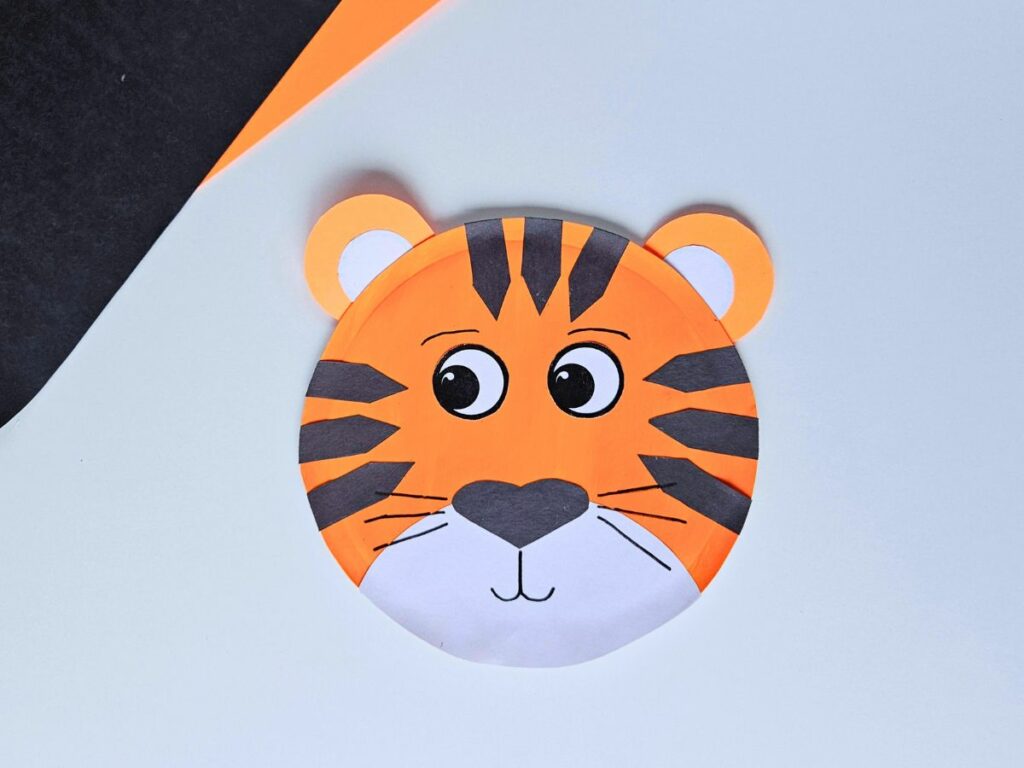
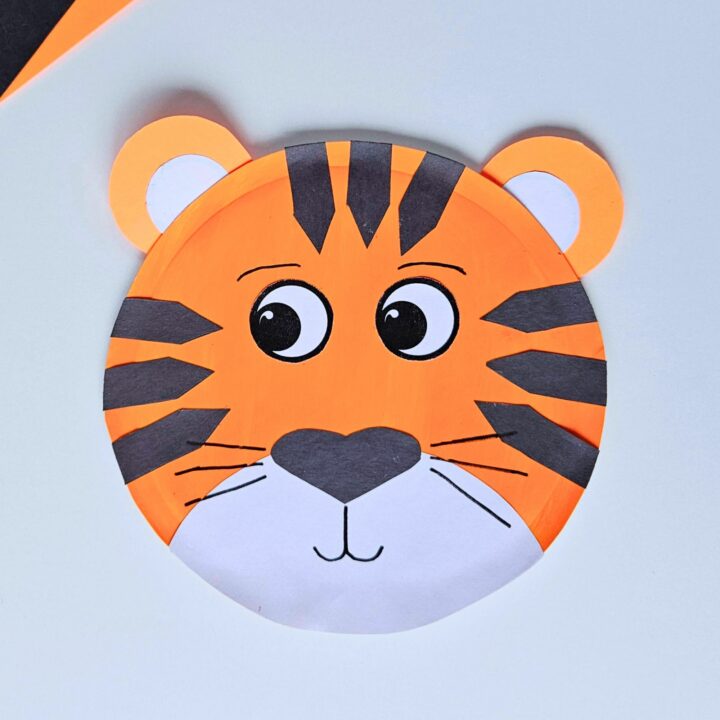
Paper Plate Tiger Craft
Materials
- Tiger template
- Paper plate
- Orange paint
- Paint brush
- Black paper
- Orange paper
- Glue
Instructions
- Download and print out the tiger paper plate template.
- Paint the center of your paper plate orange (you'll be cutting off the textured part on the edge). Make sure to go up the sides of the plate a bit so that the entire central part is covered. Set the plate aside to dry.
- Next, cut out the pieces on the tiger template.
- Trace two copies of the larger portion of the ear onto orange paper. Cut them out.
- Glue the smaller portion of the ear to the base of the larger portion (turn the small piece so you can't see the black outline around it when it is glued).
- Trace one heart-shaped nose and nine arrow-shaped stripes onto the black paper. Cut them out.
- Cut out the circular center of the plate, removing the textured edge.
- Glue the white oval from the template to the bottom of the plate, lining up the edges with the sides of the plate. Cut off any excess from the bottom of the white oval that is sticking out past the bottom of the plate.
- Glue the eyes and nose onto the tiger face.
- Glue the black stripes onto the tiger's face, three on each side and three on the top. Position them where you want them on the tiger's face and cut off any overlap.
- Place a small line of glue along the bottom of each ear and glue to the back of the paper plate so that they are sticking out at the top of the head.
- Use a black pen to draw the mouth, whiskers, and eyebrows onto the tiger.
Other Crafts to Try
Lion Paper Plate Craft (free template)