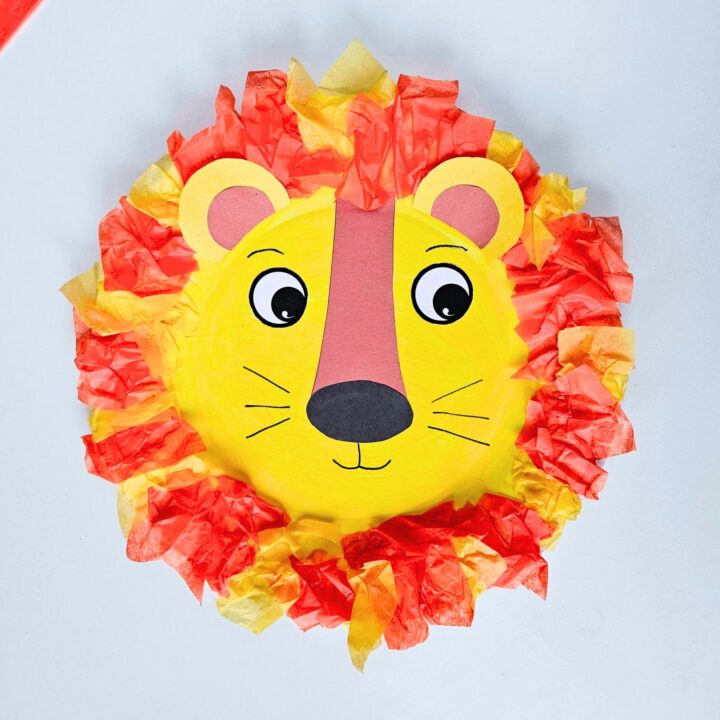
Spark your child’s creativity with this lion paper plate craft for kids! With a paper plate, some vibrant tissue paper, and a touch of your wild imagination, your child will soon have their very own roaring lion to display proudly.
This craft is perfect for preschoolers, elementary children, and even toddlers (with a little help). We’ve used this craft as part of both our Uganda learning unit and our England cultural unit for kids.
So, gather your little adventurers and let’s embark on this roaring good time. Get ready to roar with creativity and let the jungle fun begin!

Lion Paper Plate Craft
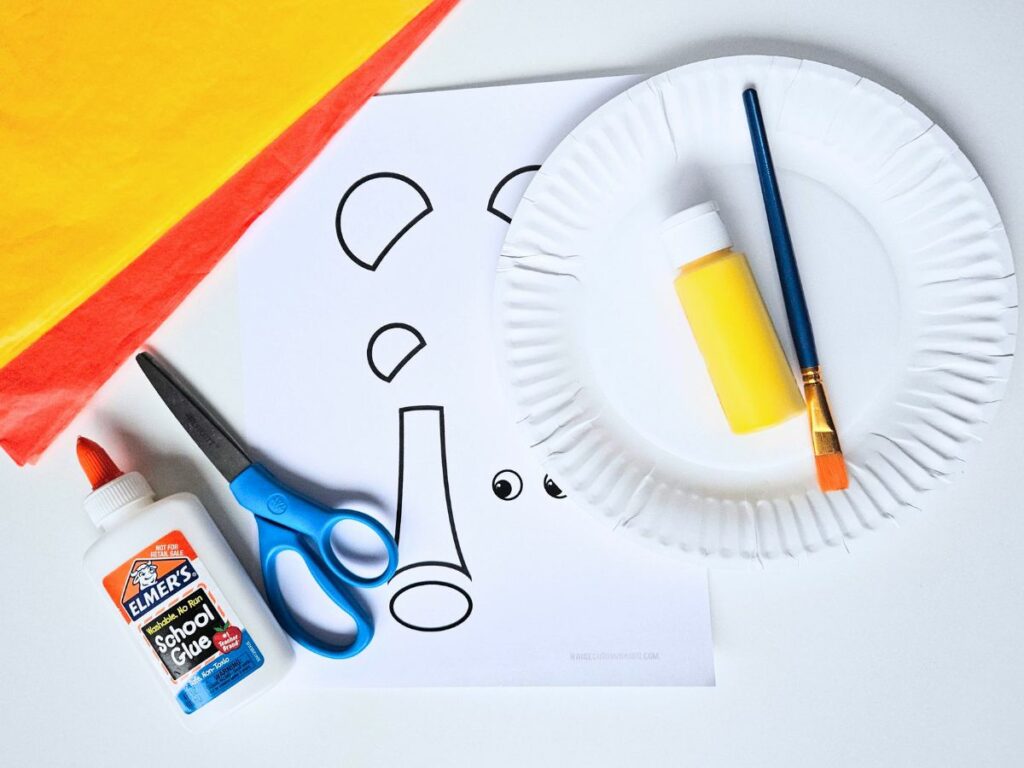
Materials
- Lion template (template available for free below)
- Paper plate
- Colored paper (brown, black, orange, etc depending on color choice)
- Tissue paper (orange, yellow)- *unless you’re making a torn paper mane
- Glue
- Scissors
- Black pen
Instructions
First, download and print off the lion template (available for free at the bottom of this post).
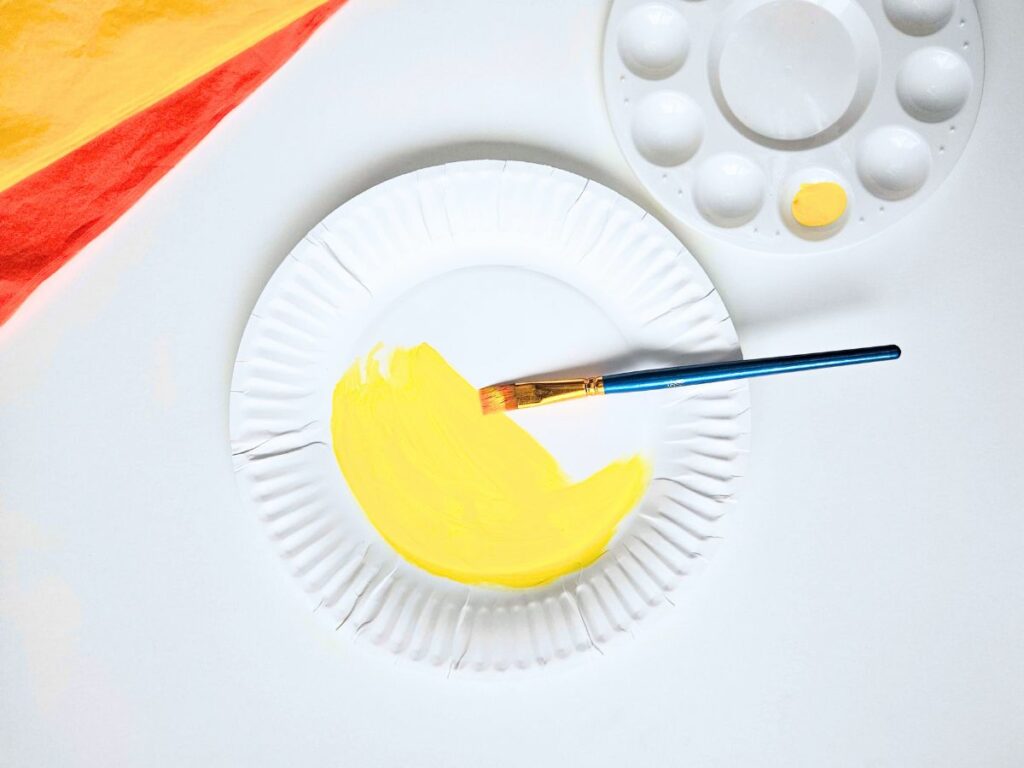
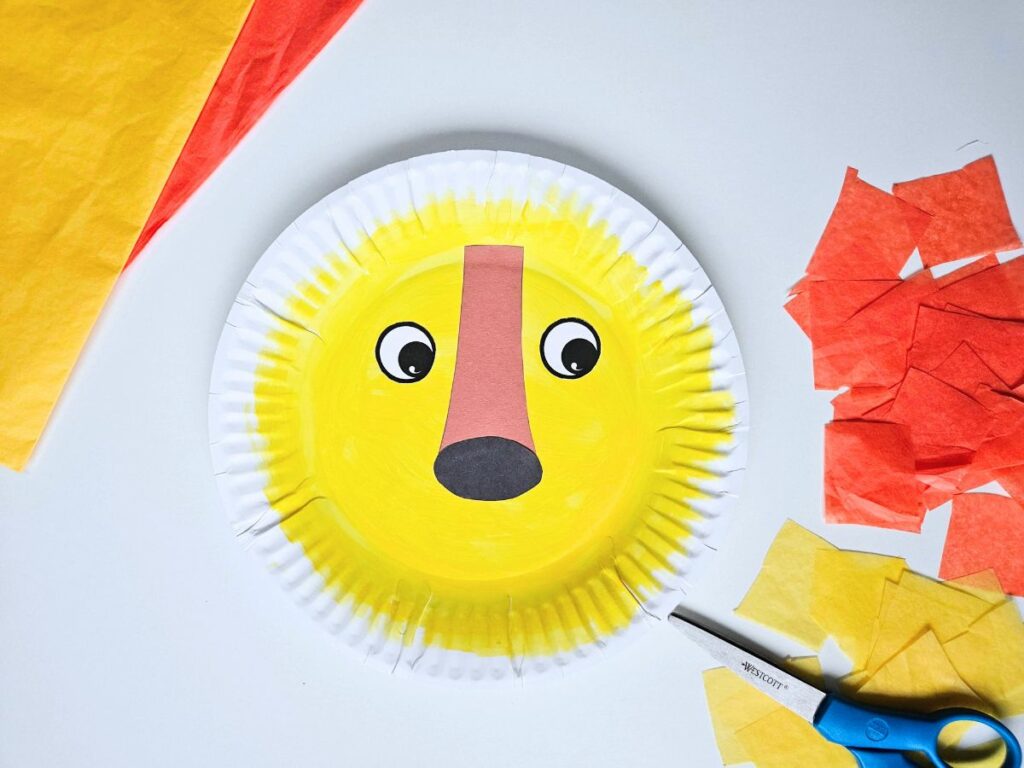
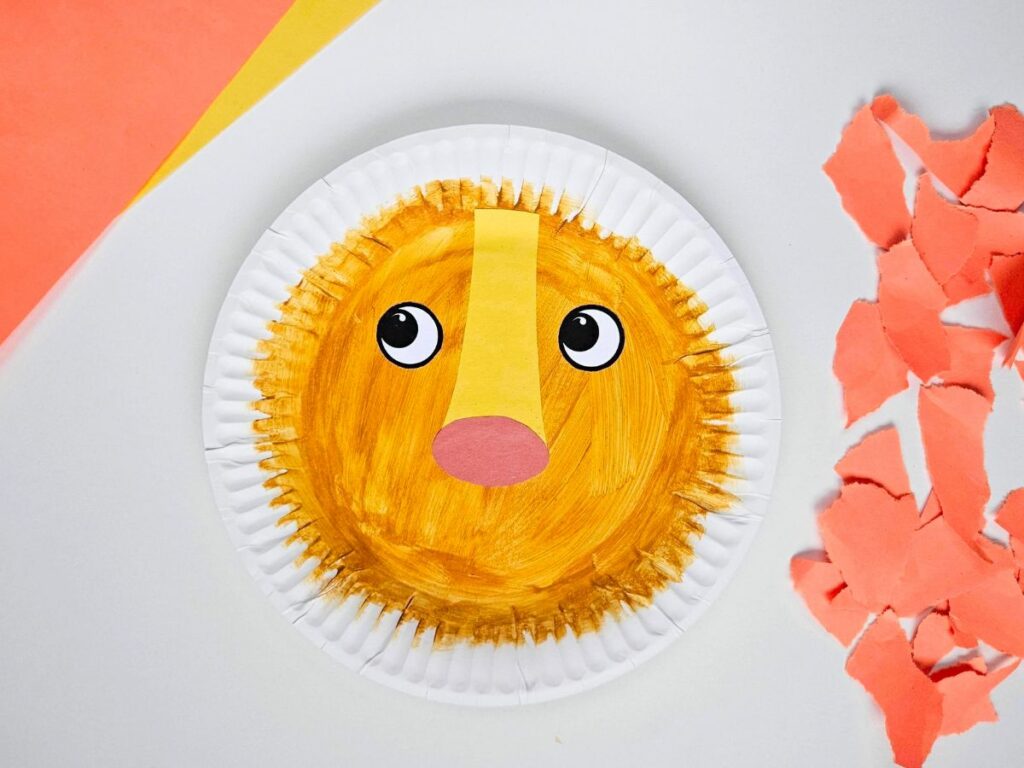
Paint the center of your paper plate yellow or light brown. Be sure to paint partially up the edges as well so you won’t see white once the mane is on.
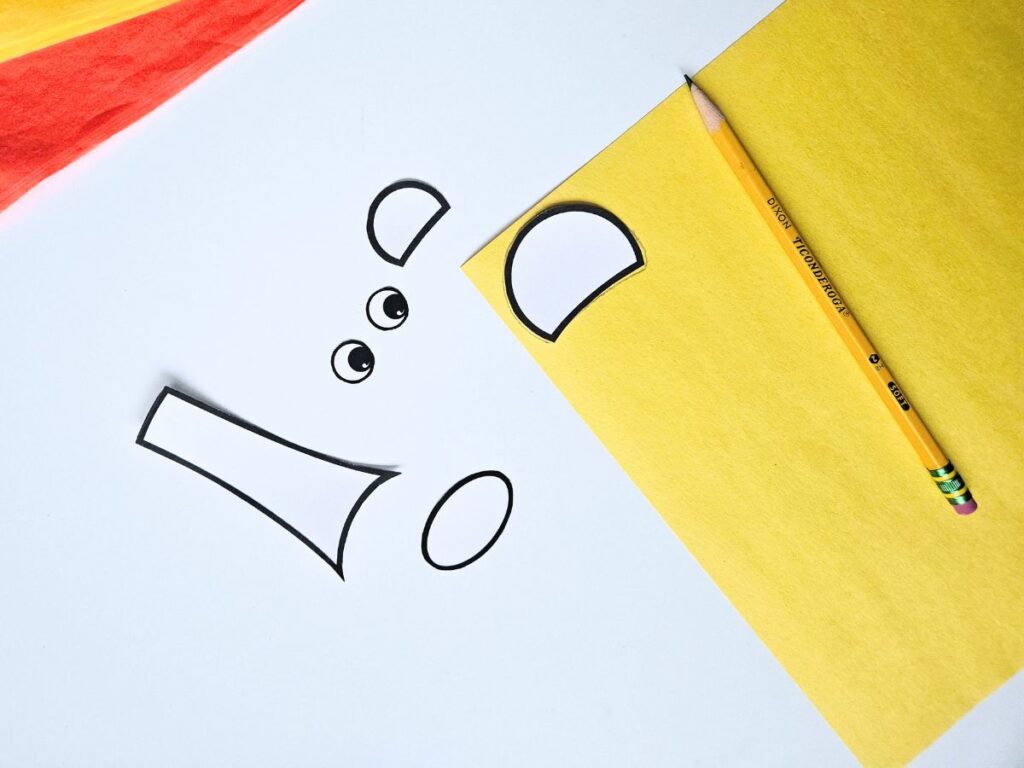
Cut out the pieces of the template. Trace the shapes for the nose and ears onto colored paper (yellow or brown paper work well for this).
Glue the eyes and nose onto the lion’s face. Place the top of the nose up high enough that it will be covered with the mane.
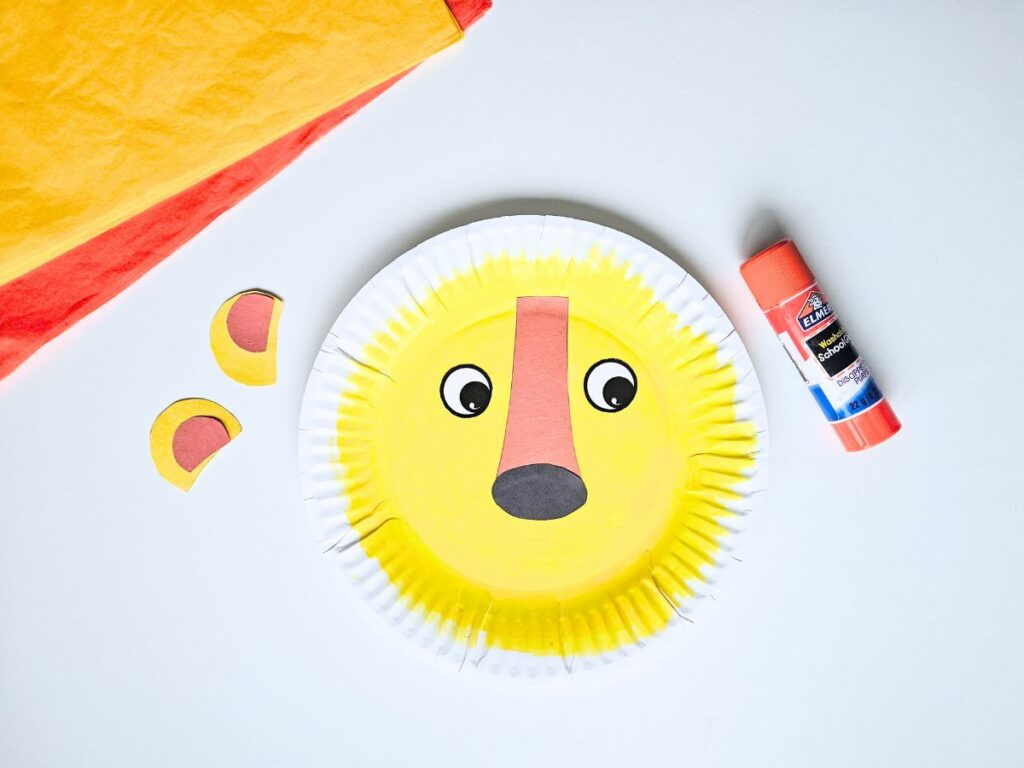
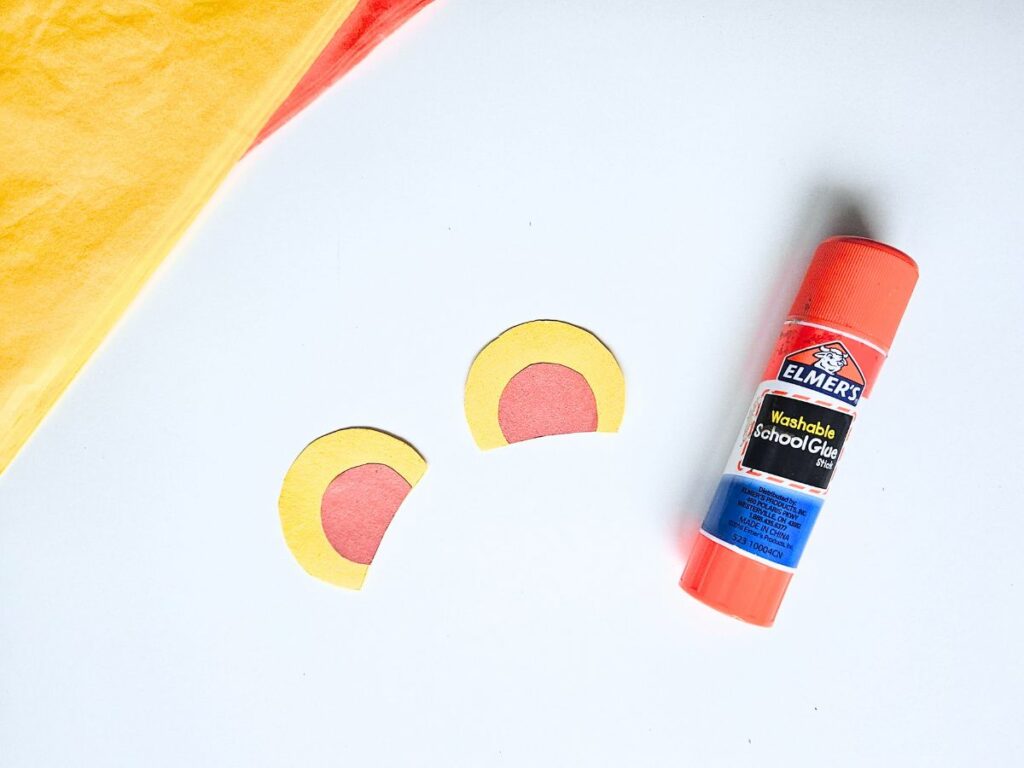
Glue the inside of the ear to the outside of the ear and set it aside.
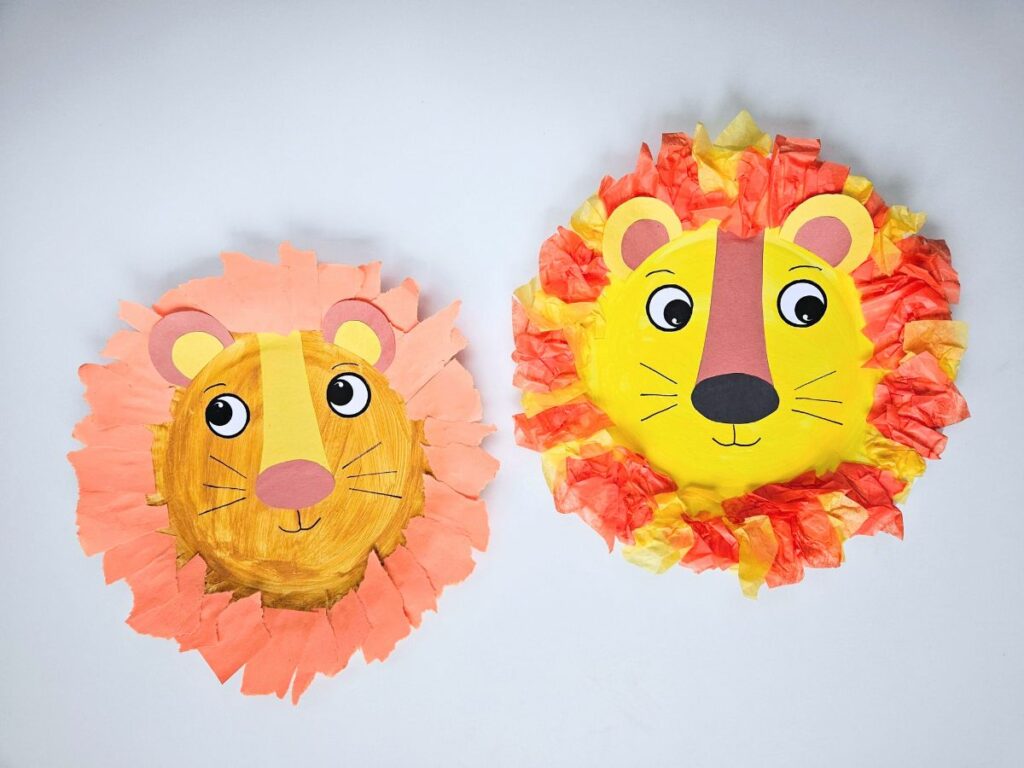
Cut the tissue paper into small squares or rectangles (I used a combination of yellow and orange, but you could use just orange, brown and orange, etc.).
Or, if you’re doing a torn paper mane instead of tissue paper, tear strips of color paper (orange, yellow, or brown) into pieces.
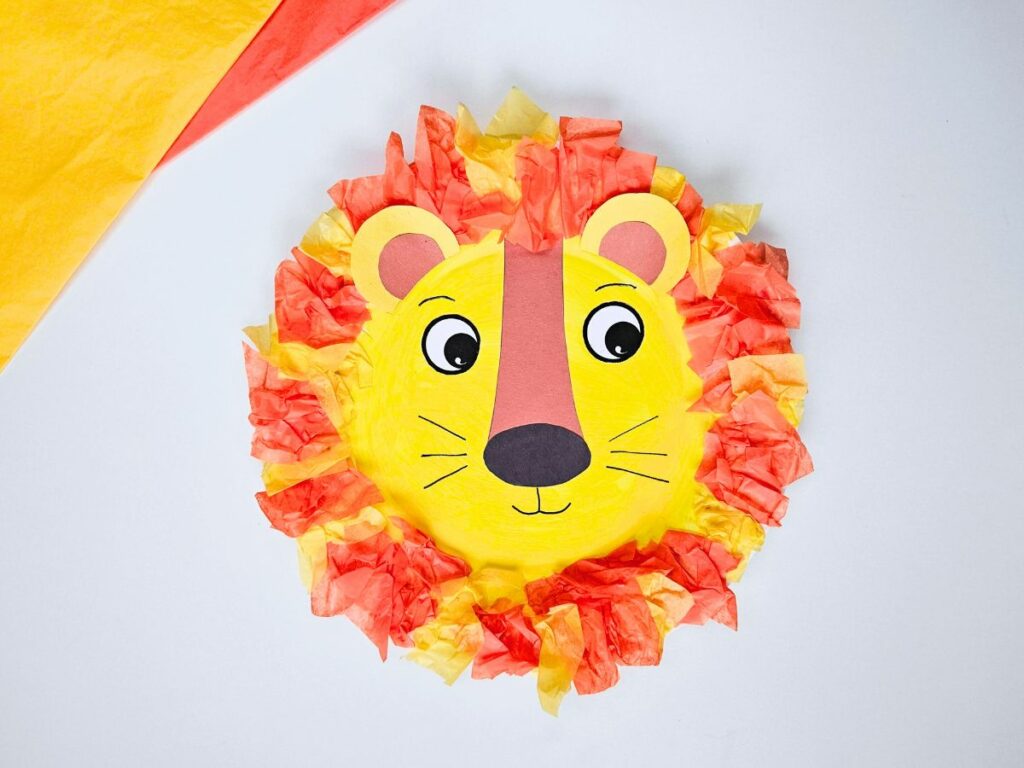
Place a swathe of glue along the edge of the plate and begin sticking pieces of crinkled tissue paper (or torn paper) to the glue. I found that it looked nice when the paper stuck out a bit to the outside of the plate.
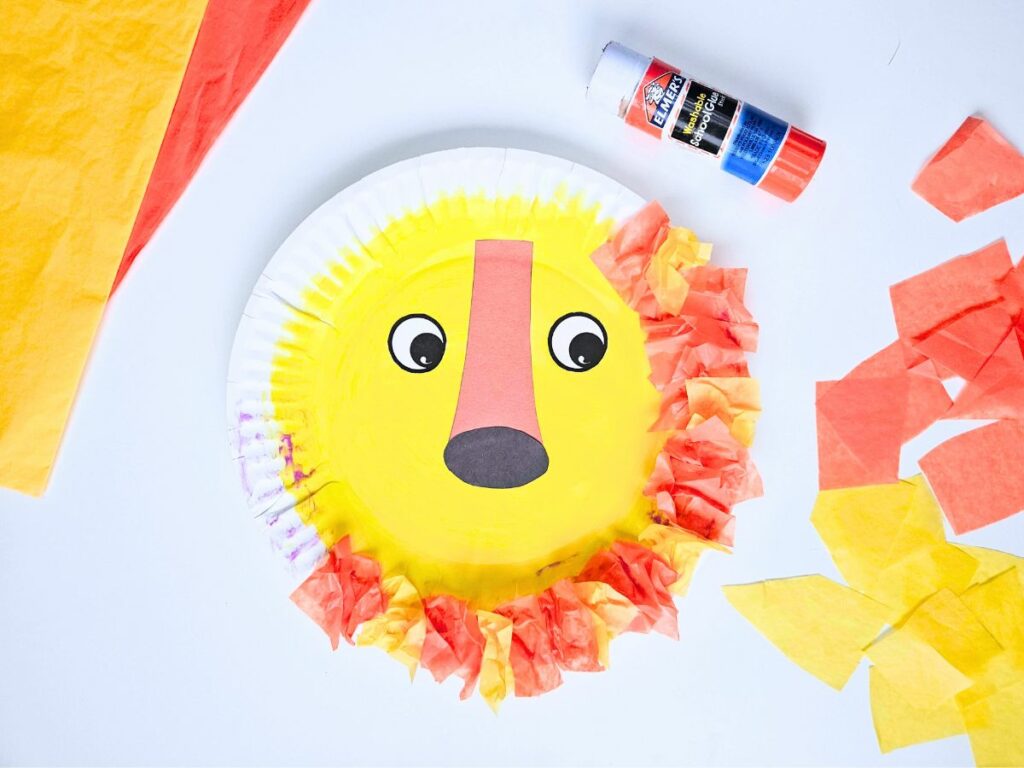
Continue working your way around the plate until the entire outside rim of the plate is covered.
Once you’re done with the mane, glue the ears on top of the tissue paper at the top of the lion’s head.
Use a black pen to draw the mouth, whiskers, and eyebrows.
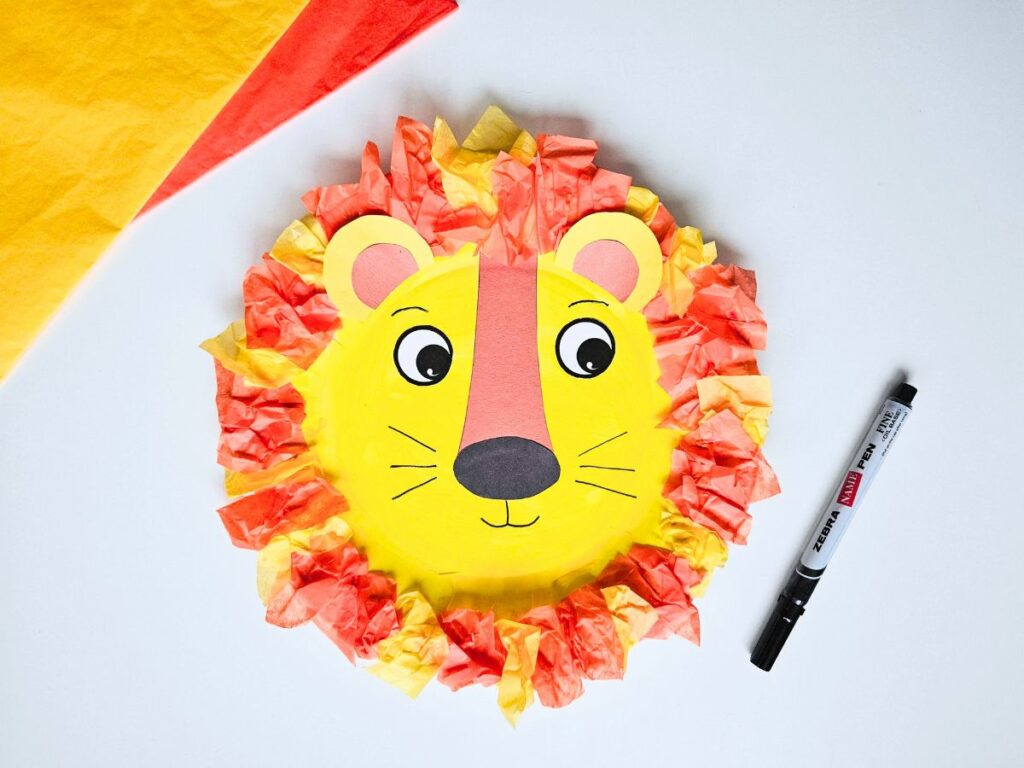
Now your lion craft is complete!
Lion Paper Plate Craft
Materials
- Lion template
- Paper plate
- Colored paper (brown, black, orange, etc depending on color choice)
- Tissue paper (orange, yellow)- *unless you're making a torn paper mane
- Glue
- Scissors
- Black pen
Instructions
- Download and print off the lion template.
- Paint the center of your paper plate yellow or light brown. Be sure to paint partially up the edges as well so you won't see white once the mane is on.
- Cut out the pieces of the template. Trace the shapes for the nose and ears onto colored paper (yellow or brown paper work well for this).
- Glue the eyes and nose onto the lion's face. Place the top of the nose up high enough that it will be covered with the mane.
- Glue the inside of the ear to the outside of the ear and set it aside.
- Cut the tissue paper into small squares or rectangles.
- Place a strip of glue along the edge of the plate and begin sticking pieces of crinkled tissue paper to the glue.
- Continue working your way around the plate until the entire outside rim of the plate is covered with tissue paper.
- Once you're done with the mane, glue the ears on top of the tissue paper at the top of the lion's head.
- Use a black pen to draw the mouth, whiskers, and eyebrows.
Other crafts to try
Safari Animal Look-and-Find Game- with printable!
Uganda Cultural Activities for Young Kids- Crafts, Games, and More!