There’s something magical about springtime when the blossoms start popping up on all of the trees.
This year my son was so impressed with how the trees seemed to come into bloom almost overnight. So when I was planning for our preschool unit on Japan, I wanted to include a craft that involved cherry blossoms.
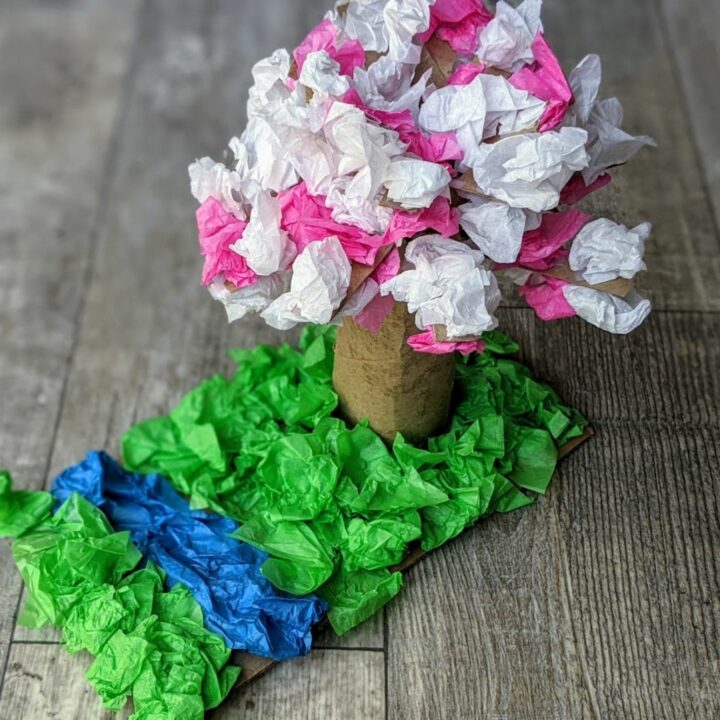
This cherry blossom tree craft is so cute and fun to make. All you need is a few simple materials that you probably already have on hand.
And the end result is beautiful, so your child will feel proud of their efforts!
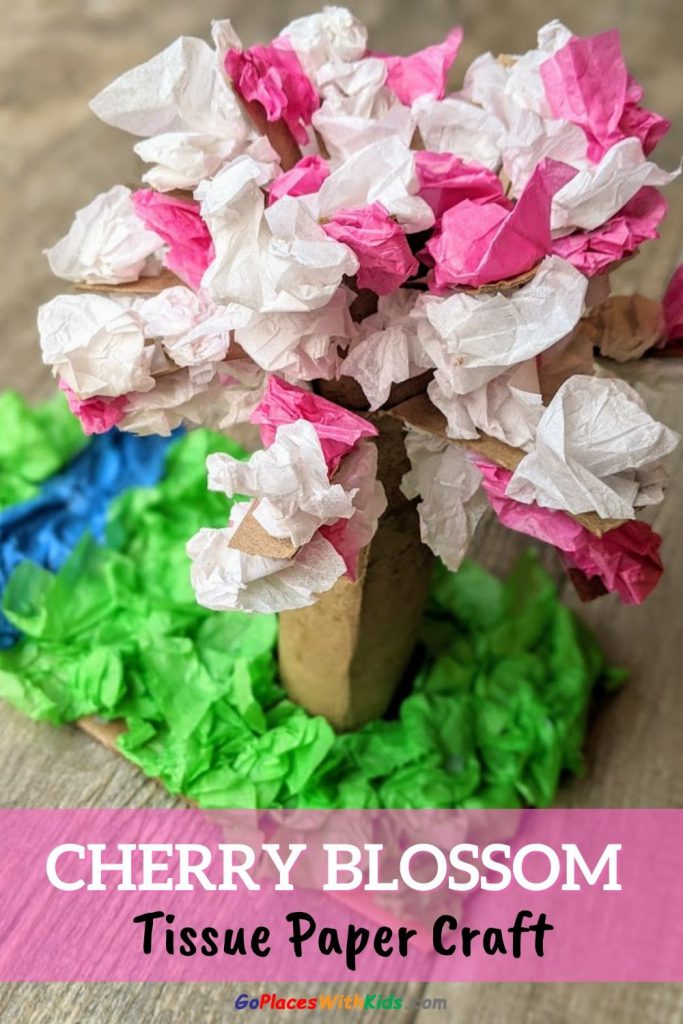
Cherry blossom craft
Materials:
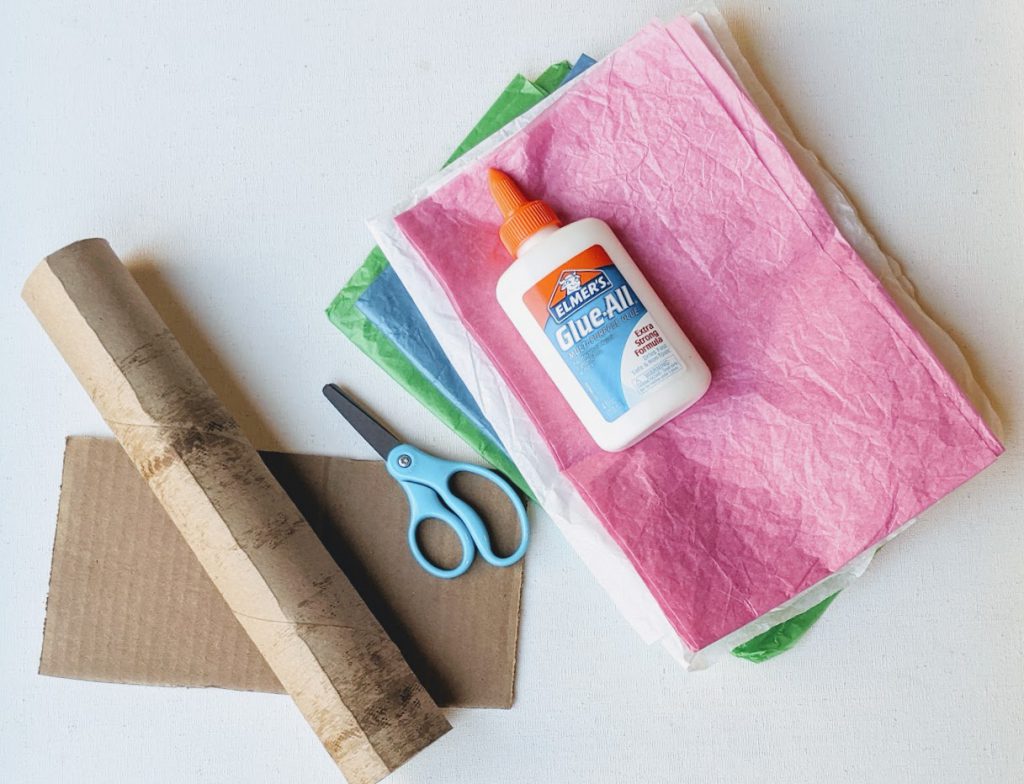
- Tissue paper (pink and white, green and blue optional)
- Paper towel roll
- Scissors
- Glue
- A piece of cardboard
Instructions for the cherry blossom tree craft:
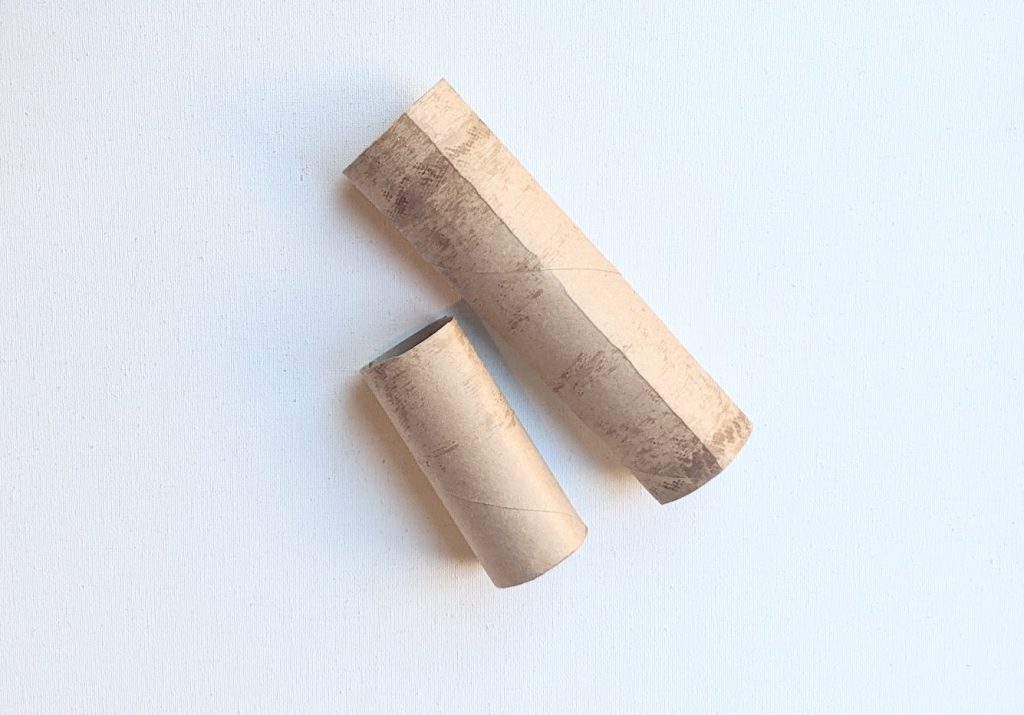
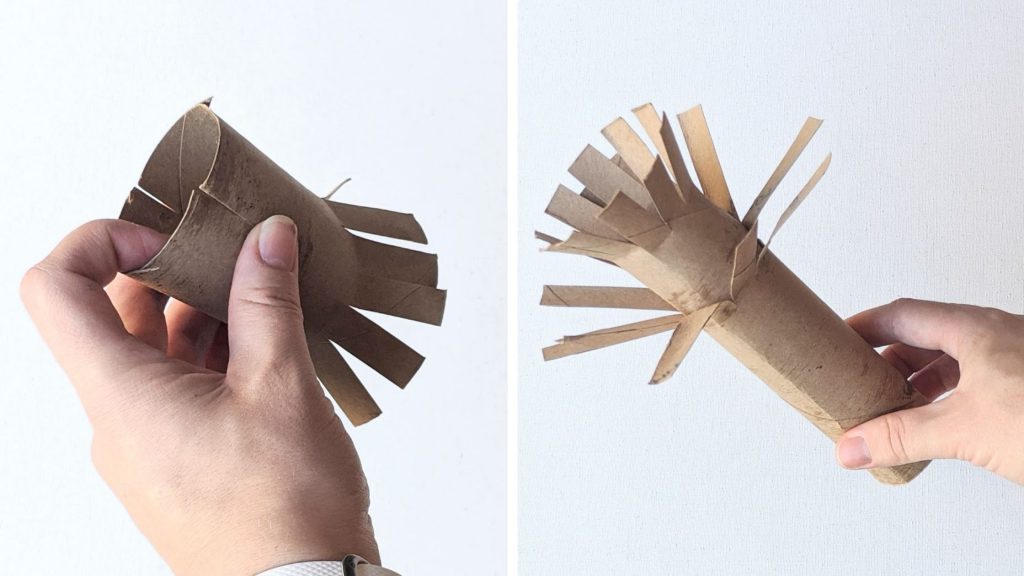
Cut your paper towel roll into two pieces, about 2/3 of the way down.
On each piece of the roll, cut downward 1.5-2 inches at 1/4 inch intervals to make the branches. Make the branches longer on the longer piece of the paper towel roll.
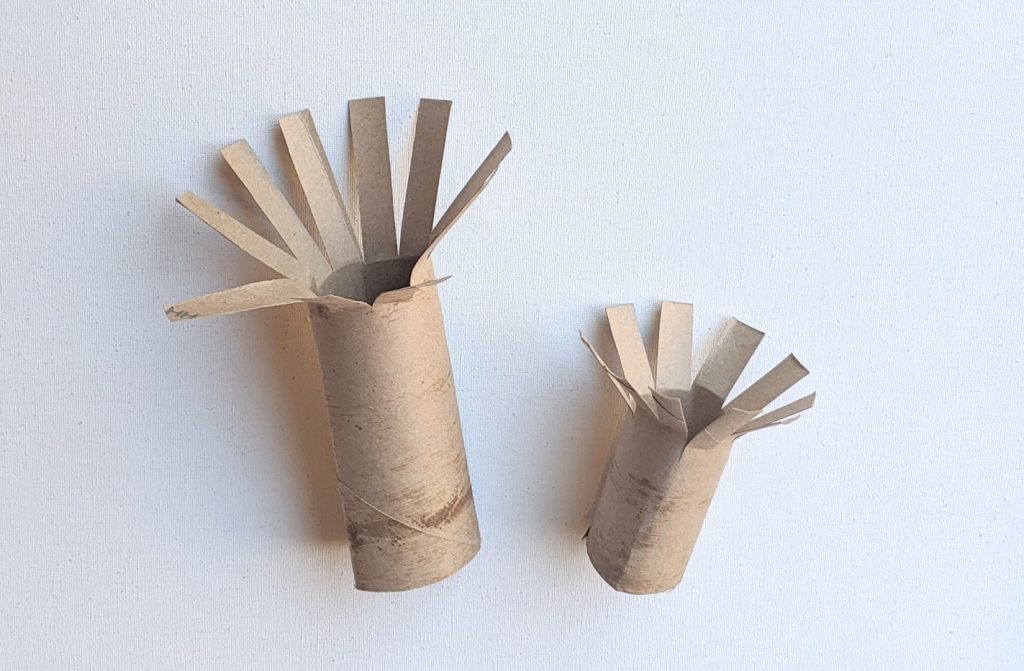
On the short roll, make two slits on the bottom so that it will fold in to fit into the bigger piece. Put glue on the bottom of the smaller piece and gently push it into the top of the bigger piece to make the top layer of the tree.
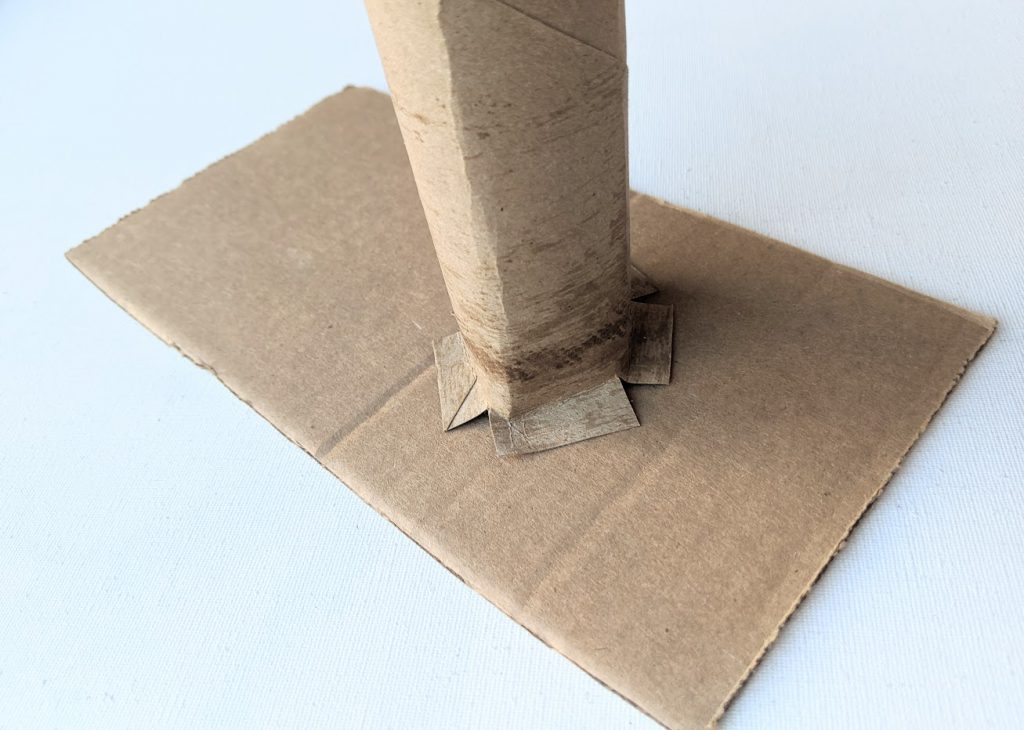
On the bottom of your tree, make five slits and fold to a 90-degree angle. Glue these tabs onto your piece of cardboard.
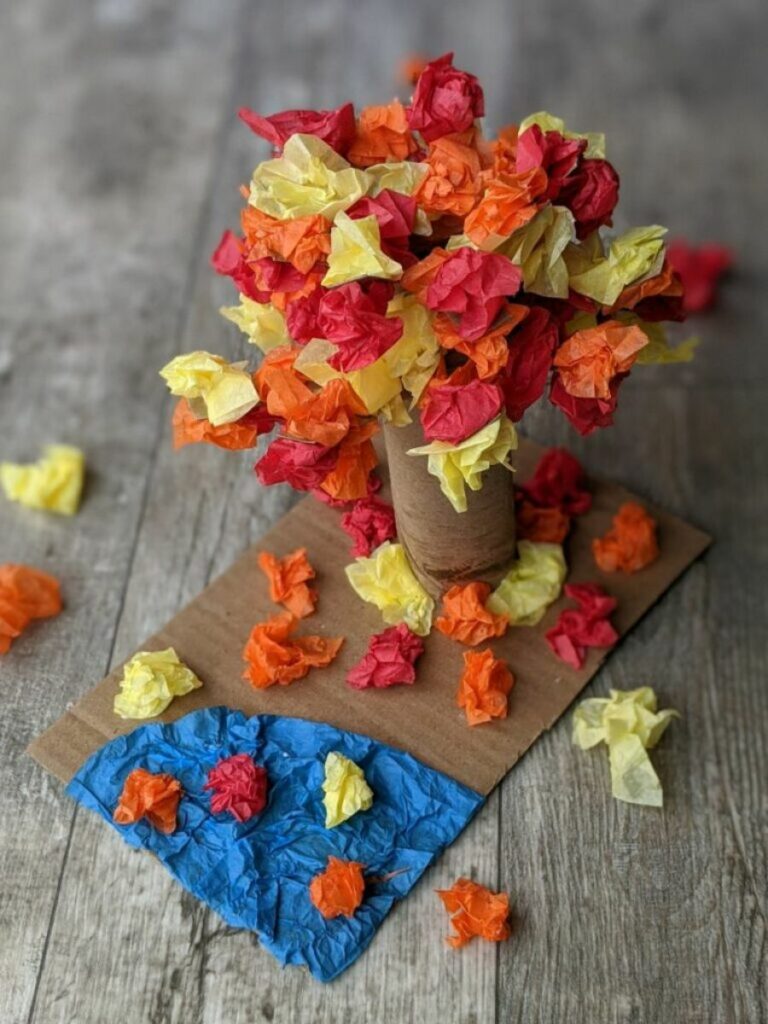
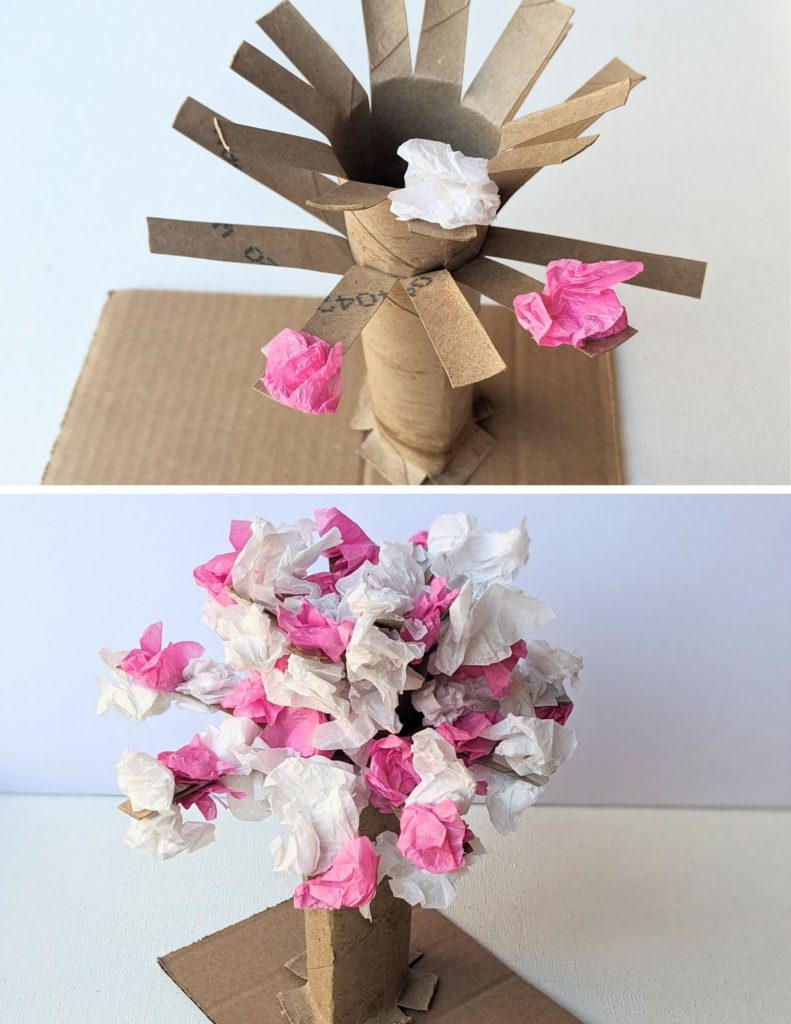
Cut pieces of white and pink tissue paper into 2″x 2″ squares. Crinkle up the tissue paper squares and begin gluing pink and white tissue balls onto the branches. For a fuller tree, glue tissue onto both the top and bottom of the branches, filling in any empty-looking places.
Take crumpled green tissue squares and glue them to the area around the base of the tree for your grass. These squares can be bigger and less crumpled than your flower tissue squares.
Cut a strip of blue tissue paper, crumple it, and glue it across the cardboard to make a stream.
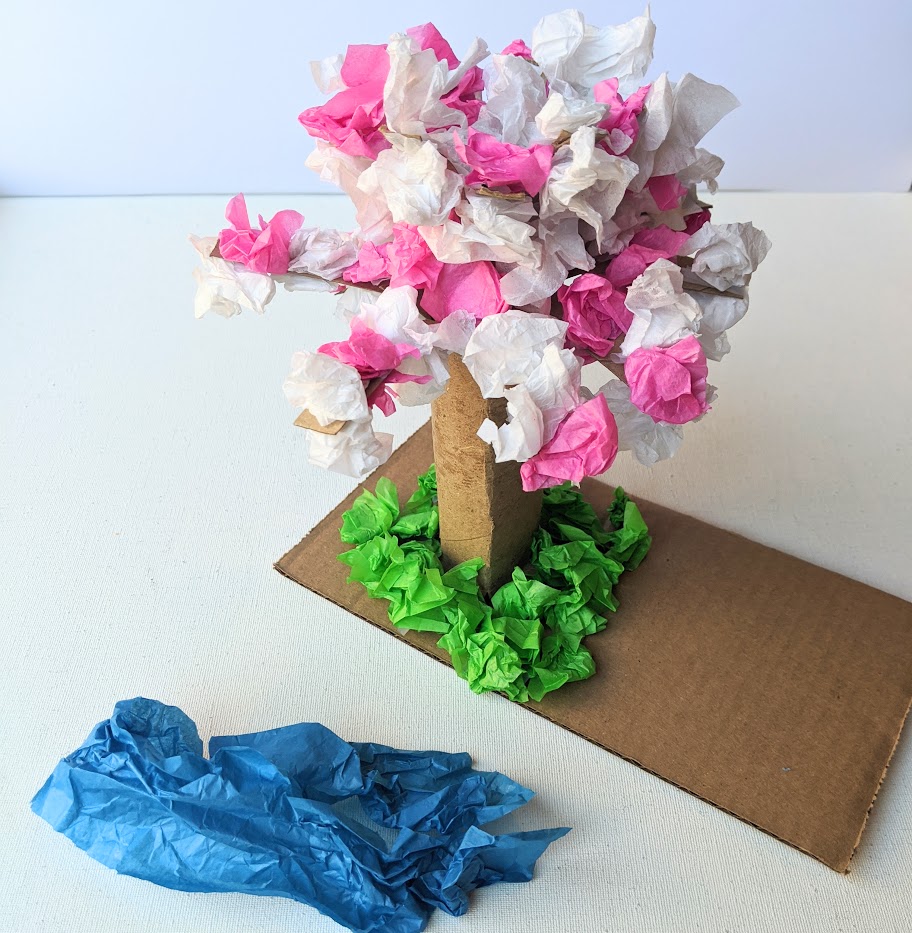
Let your craft dry and enjoy your cherry blossom tree!

Cherry Blossom Tree Craft
This cherry blossom craft is so cute and fun to make, perfect for spring!
Materials
- Tissue paper (pink and white, green and blue optional)
- Paper towel roll
- Scissors
- Glue
- A piece of cardboard
Instructions
- Cut your paper towel roll into two pieces, about 2/3 of the way down.
- On each piece of the roll, cut downward about 1.5-2 inches at 1/4 inch intervals to make the branches. Make the branches longer on the longer piece of the paper towel roll.
- On the short roll, make two slits on the bottom so that it will fold in to fit into the bigger piece. Put glue on the bottom of the smaller piece and gently push it into the top of the bigger piece to make the top layer of the tree.
- On the bottom of your tree, make five slits and fold to a 90-degree angle. Glue these tabs onto your piece of cardboard.
- Cut pieces of white and pink tissue paper into 2"x 2" squares. Crinkle up the tissue paper squares and begin gluing pink and white tissue balls onto the branches. For a fuller tree, glue tissue onto both the top and bottom of the branches, filling in any empty-looking places.T
- Take crumpled green tissue squares and glue them to the area around the base of the tree for your grass. These squares can be bigger and less crumpled than your flower tissue squares.
- Cut a strip of blue tissue paper, crumple it, and glue it across the cardboard to make a stream.
Other posts you might be interested in:
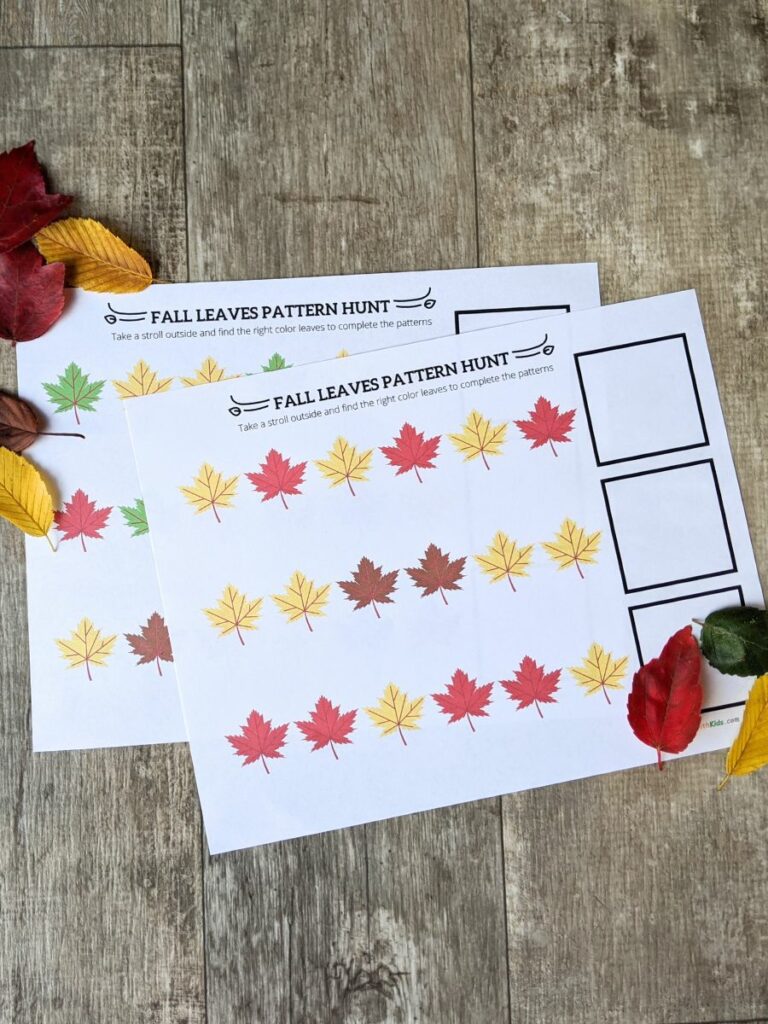
Fall Leaves Tissue Paper Craft
29 Best Open Ended Toys for Creative Play
Best Board Games for 2 Year Olds (That They Can Actually Play!)