There are so many things to love about fall- pumpkin chocolate chip bread, scarves, apple cider…
But one of my kids’ favorite things (and mine!) is seeing the leaves change into vibrant shades of red and orange (and of course jumping on the crunchy ones).
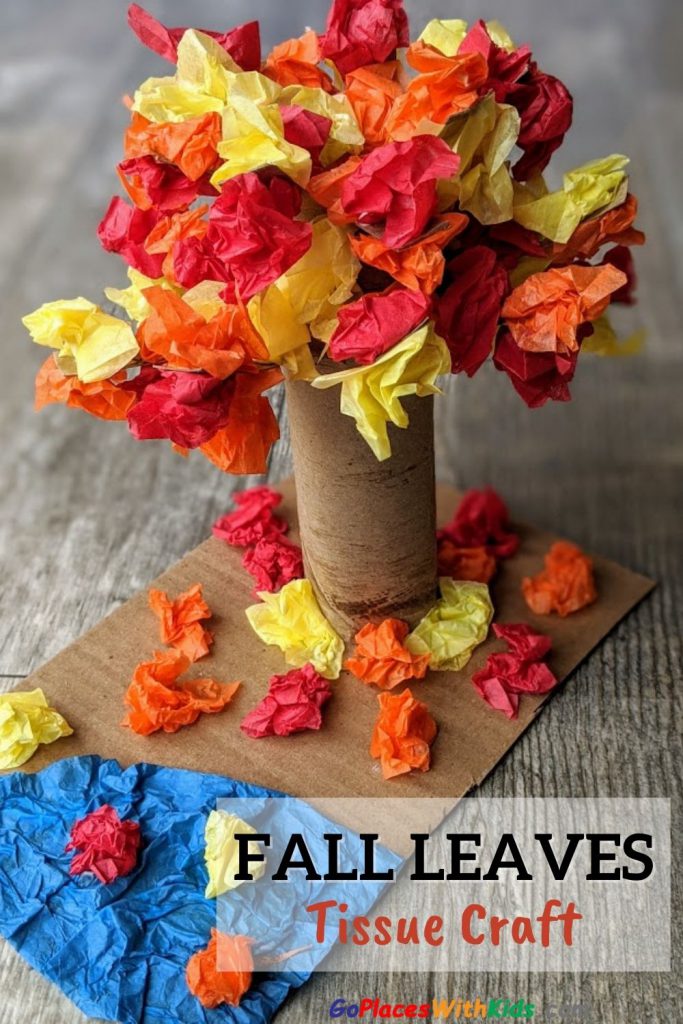
With this fall leaves tissue paper craft, you can recreate that experience right in your home! The colorful fall leaves, not the jumping part…
This craft is easy to make and the end result is stunning. Your kids will be so impressed with their handiwork and this is one craft you will be proud to display!
The nice thing about this fall leaves craft is that it’s simple enough for toddlers to make (with some help with the initial assembly), but it’s also a craft that will be enjoyed by preschoolers and elementary children as well.
Read on for instructions on how to make this gorgeous fall leaves craft.
Fall leaves tissue paper craft
Materials:
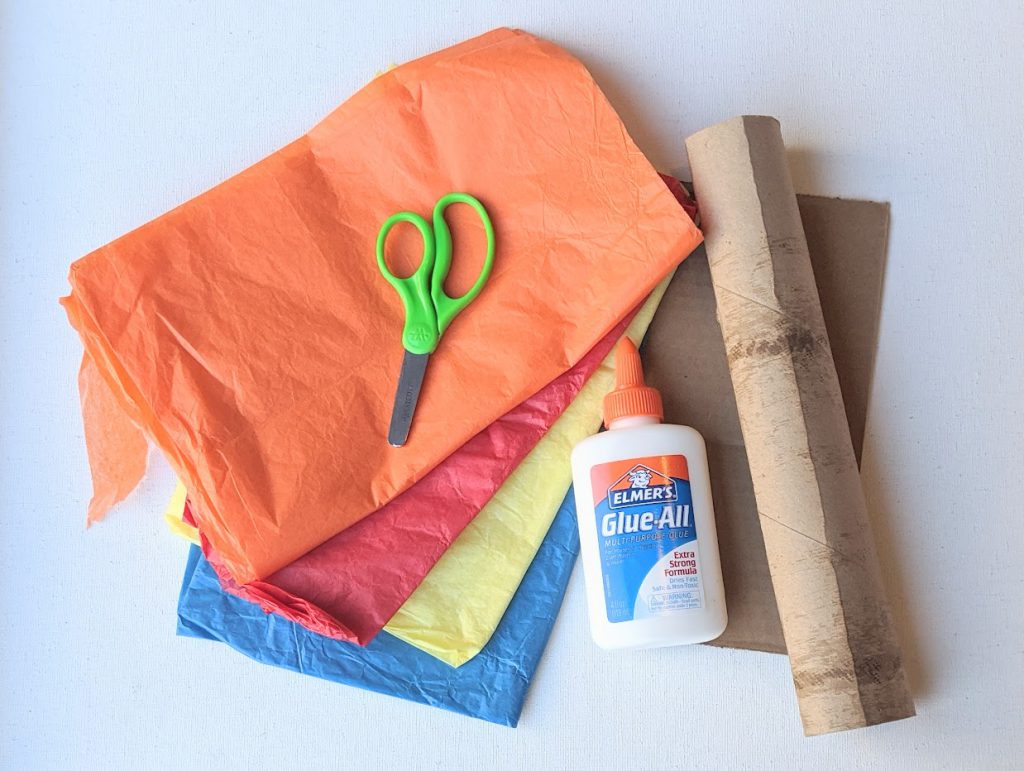
- Tissue paper (orange, yellow and red, blue optional)
- Paper towel roll
- Scissors
- Glue
- A piece of cardboard
Instructions for the fall leaves tree craft:
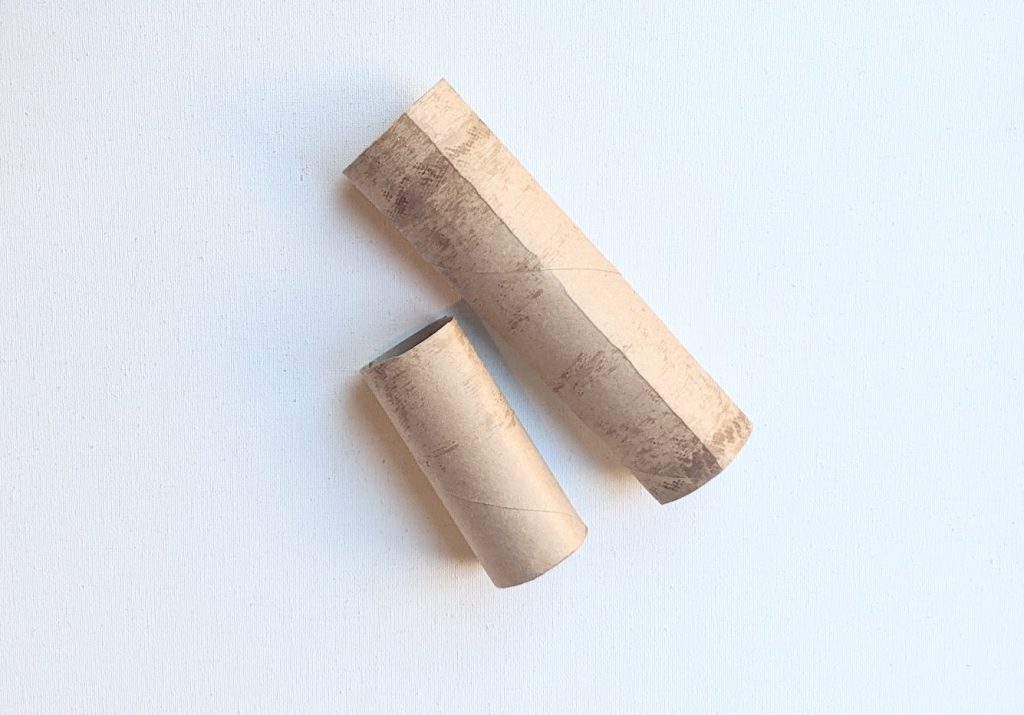
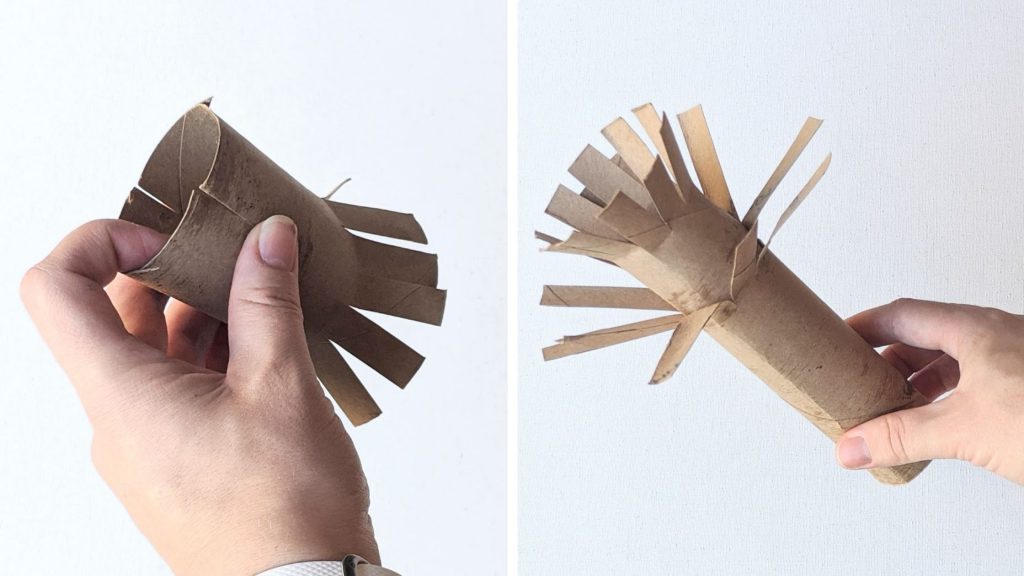
Take your paper towel roll and cut it into two pieces, about 2/3 of the way down.
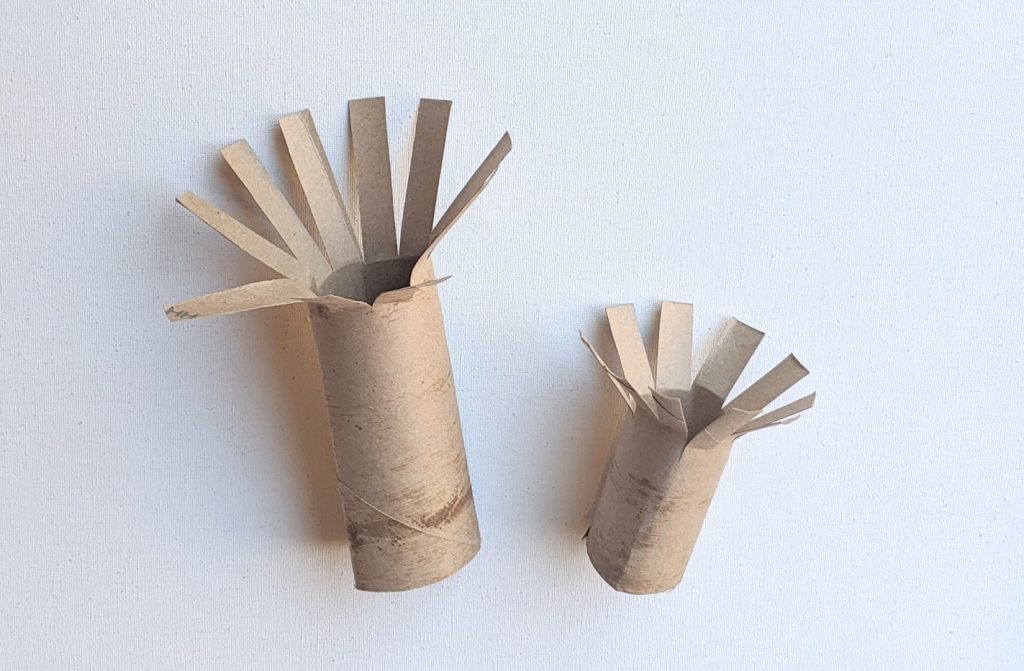
On both pieces of the roll, cut downward about 1.5 to 2 inches at 1/4 inch intervals to make the branches. Make the branches longer on the longer piece of the paper towel roll.
On the short roll, make two slits on the bottom so that it will fold in to fit into the bigger piece.
Put glue on the bottom of the smaller piece and gently push it into the top of the bigger piece to make the top layer of the tree.
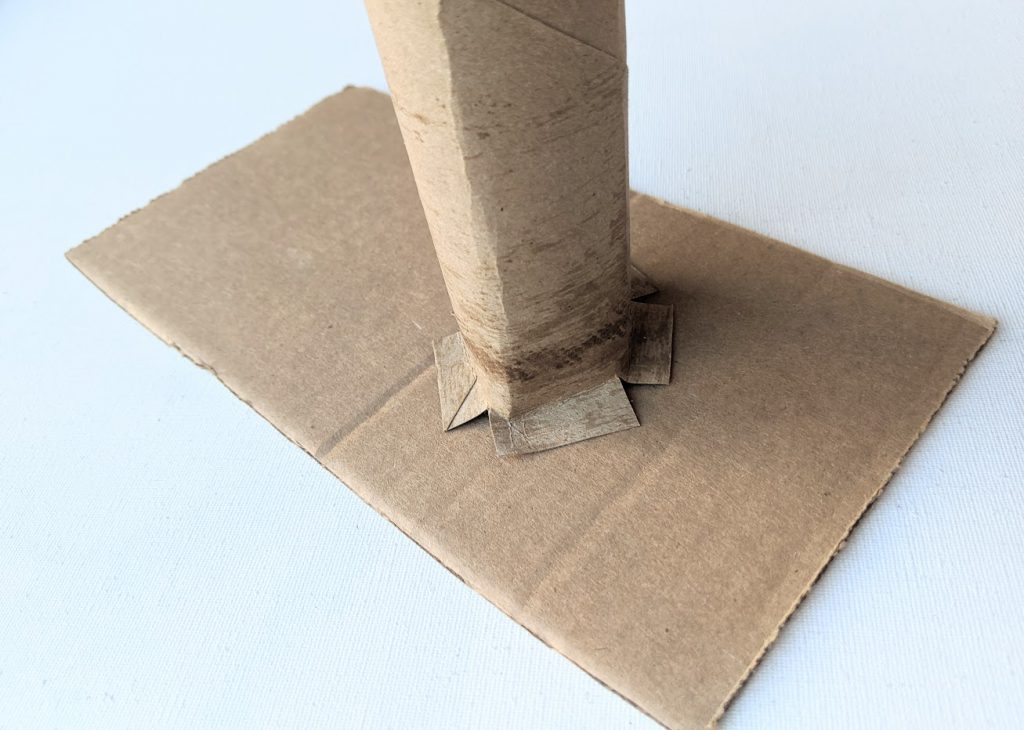
On the bottom of your tree, make five slits and fold to a 90-degree angle. Glue these tabs onto your piece of cardboard.
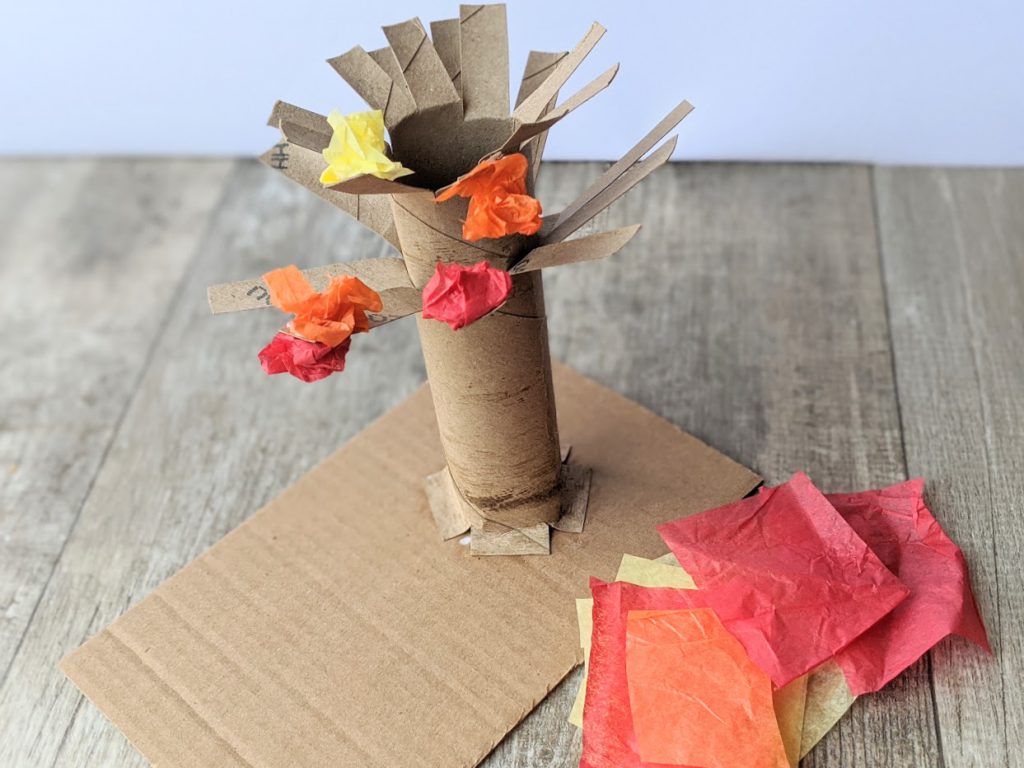
Cut pieces of red, orange, and yellow tissue paper into 2″x 2″ squares. Crinkle up the tissue paper squares and begin gluing the tissue balls onto the branches. For a fuller tree, glue tissue onto both the top and bottom of the branches, filling in any empty-looking places.
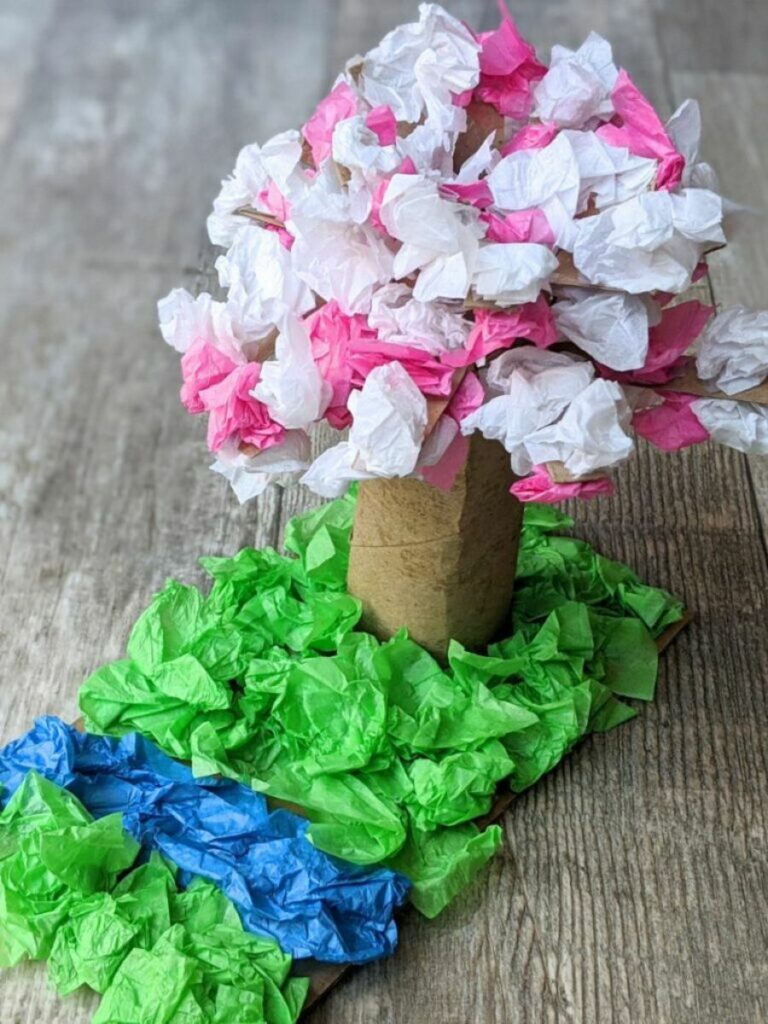
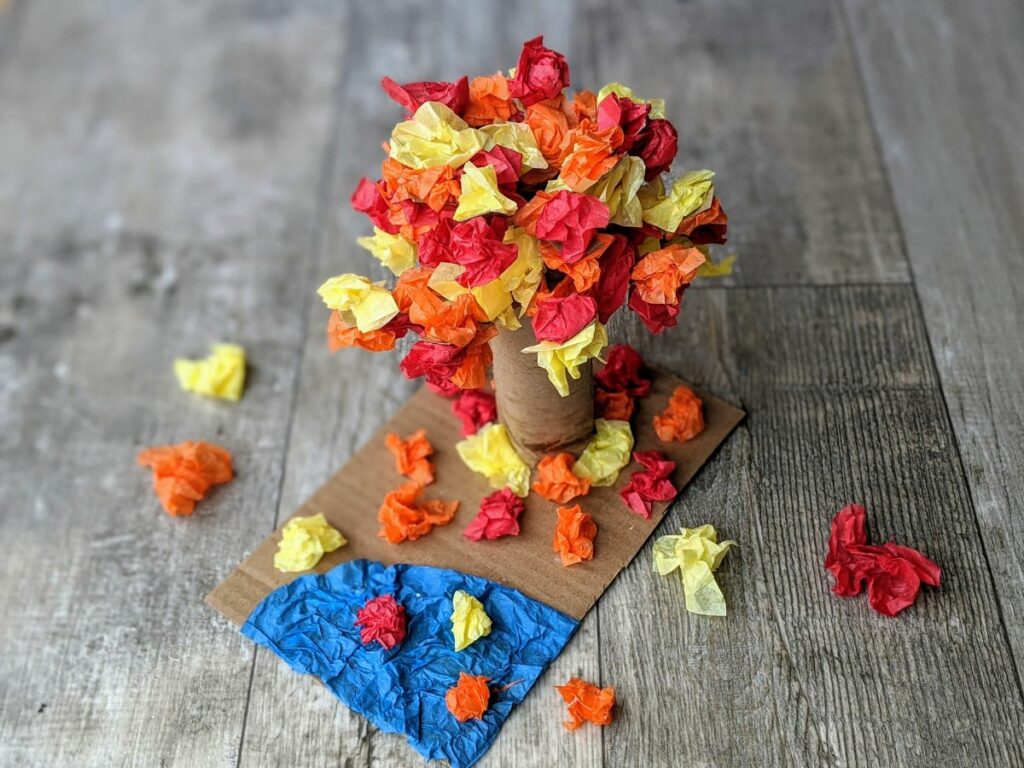
Once your tree is completed, you can add some crinkled tissue to the bottom of the tree to make “fallen leaves” and to cover where it connects to the cardboard.
If you would like to add a pond, cut a larger piece of blue tissue paper. Wrinkle it and glue in on the opposite end of the board from the tree.
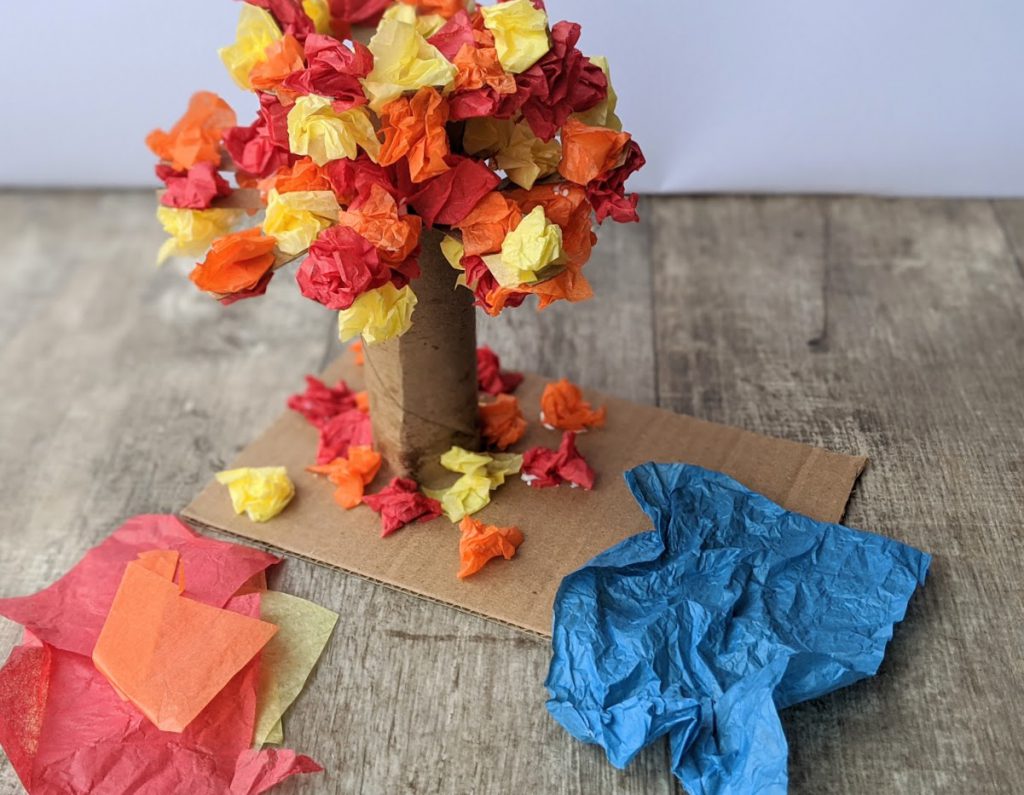
You can add a few colorful pieces of tissue paper on top to look like leaves floating on the water.
And that’s all there is to it. Let the glue dry and enjoy your completed fall craft!
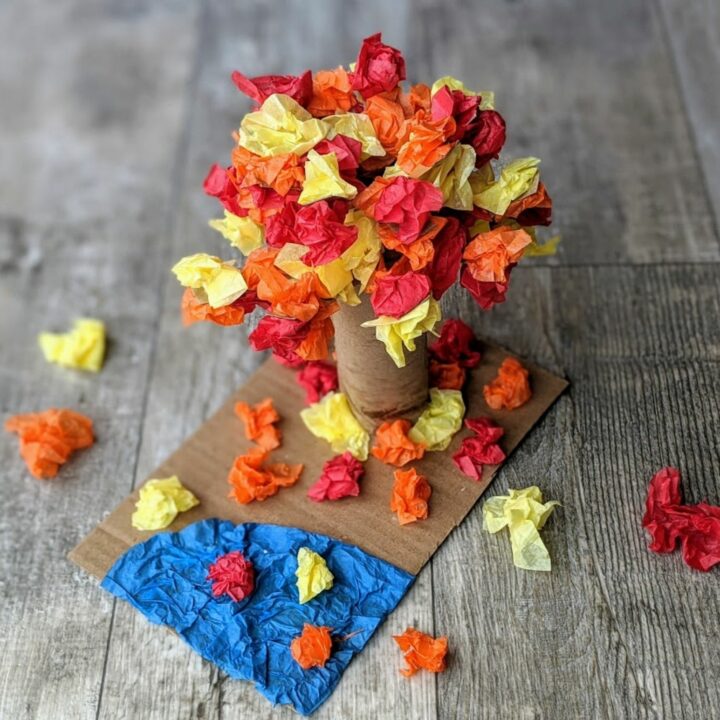
Fall Leaves Tissue Paper Craft
Materials
- Tissue paper (orange, yellow and red, blue optional)
- Paper towel roll
- Scissors
- Glue
- A piece of cardboard
Instructions
- Cut your paper towel roll into two pieces, about 2/3 of the way down.
- On each piece of the roll, cut downward about 1.5-2 inches at 1/4 inch intervals to make the branches. Make the branches longer on the longer piece of the paper towel roll.
- On the short roll, make two slits on the bottom so that it will fold in to fit into the bigger piece.
- Put glue on the bottom of the smaller piece and gently push it into the top of the bigger piece to make the top layer of the tree.
- On the bottom of your tree, make five slits and fold to a 90-degree angle. Glue these tabs onto your piece of cardboard.
- Cut pieces of red, orange, and yellow tissue paper into 2"x 2" squares. Crinkle up the tissue paper squares and begin gluing the tissue balls onto the branches. For a fuller tree, glue tissue onto both the top and bottom of the branches, filling in any empty-looking places.
- Add some crinkled tissue to the bottom of the tree to make "fallen leaves" and to cover where it connects to the cardboard.
- To add a pond, cut a larger piece of blue tissue paper. Wrinkle it and glue in on the opposite end of the board from the tree. Place a few colorful pieces of tissue paper on top to look like leaves floating on the water.
Other posts you might be interested in:
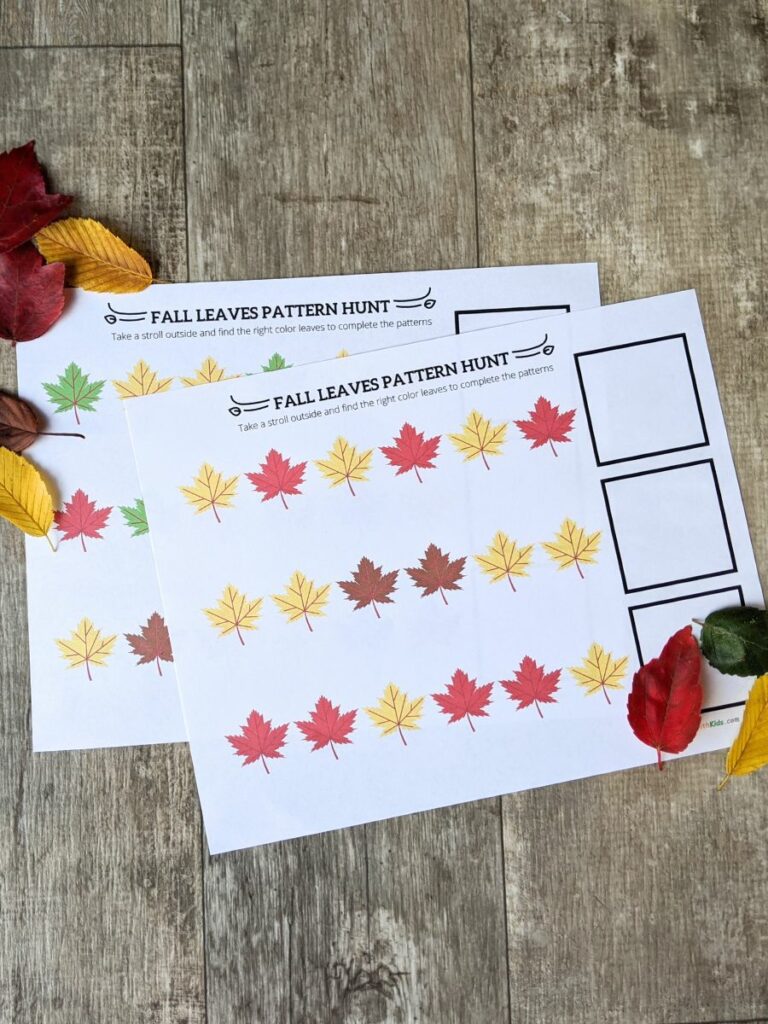
Fall Leaf Preschool Pattern Activity- with Printable
Glowing Jack-o’-Lantern Craft for Kids