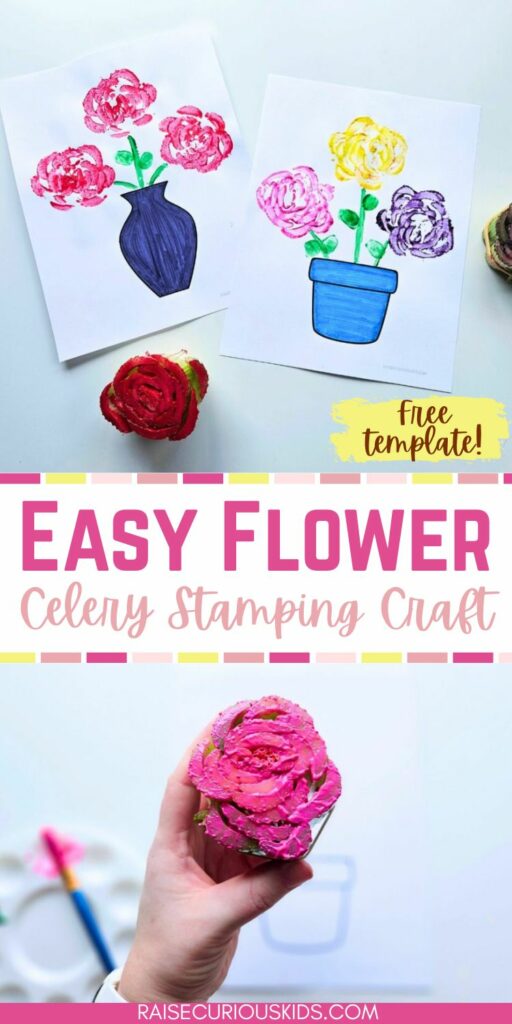
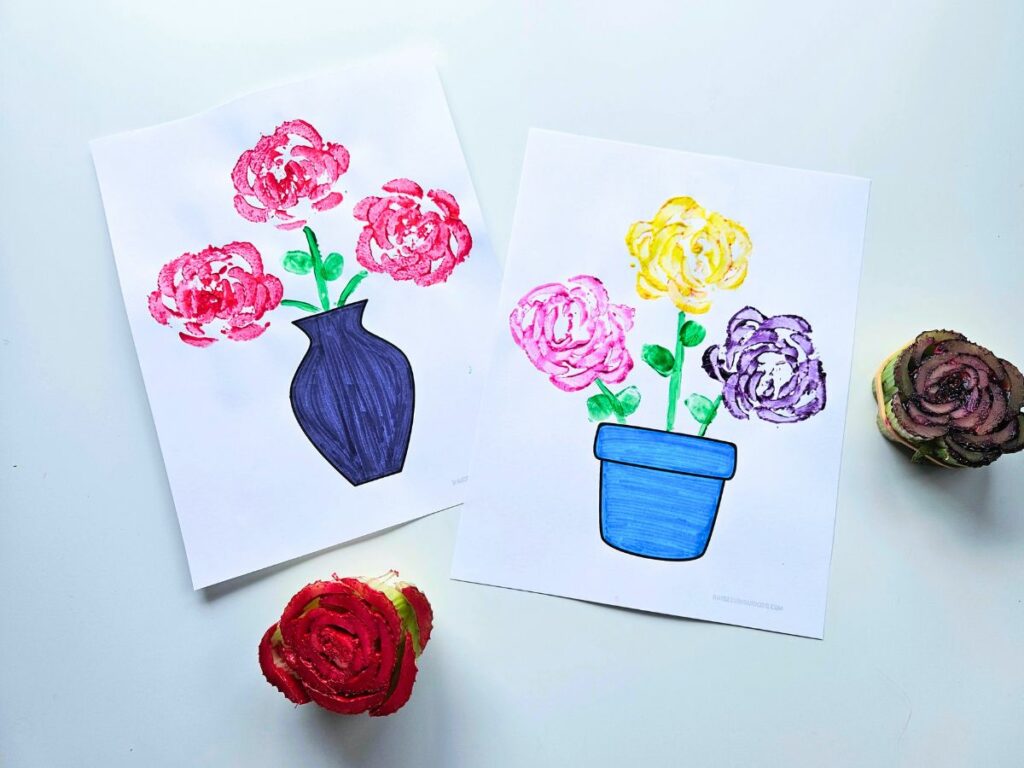
If you want an easy flower craft that turns out absolutely gorgeous, making these celery stamp roses is the art project for you!
This craft is so simple to make, but when completed is definitely gift and display worthy. It also only uses a few materials, so it’s really quick to throw together.
This celery stamp flower craft is perfect for a Mother’s Day or Valentine’s Day gift or just as a fun sensory craft for kids.
We actually used the celery stamp roses as part of our England cultural unit for kids and loved the way that it turned out!
Celery Stamp Flowers
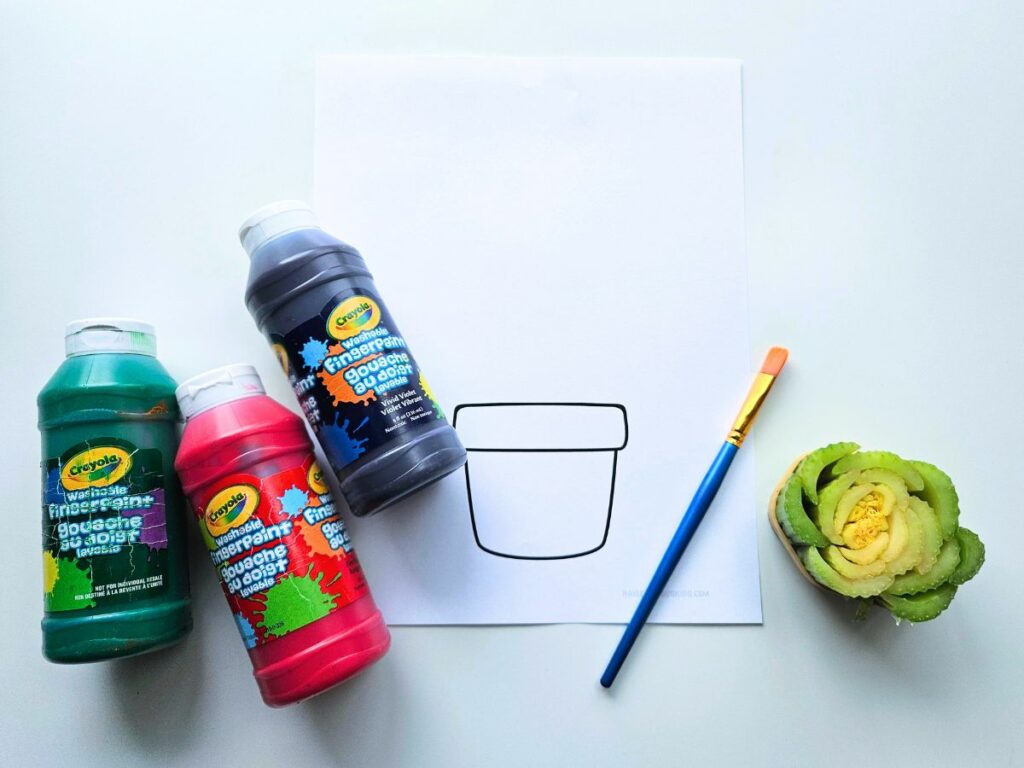
Materials
- Flower pot/vase printable (available for download below)
- A head of celery
- Paint (flower colors and green for the stem)
- Paintbrushes
- Markers or colored pencils
Instructions
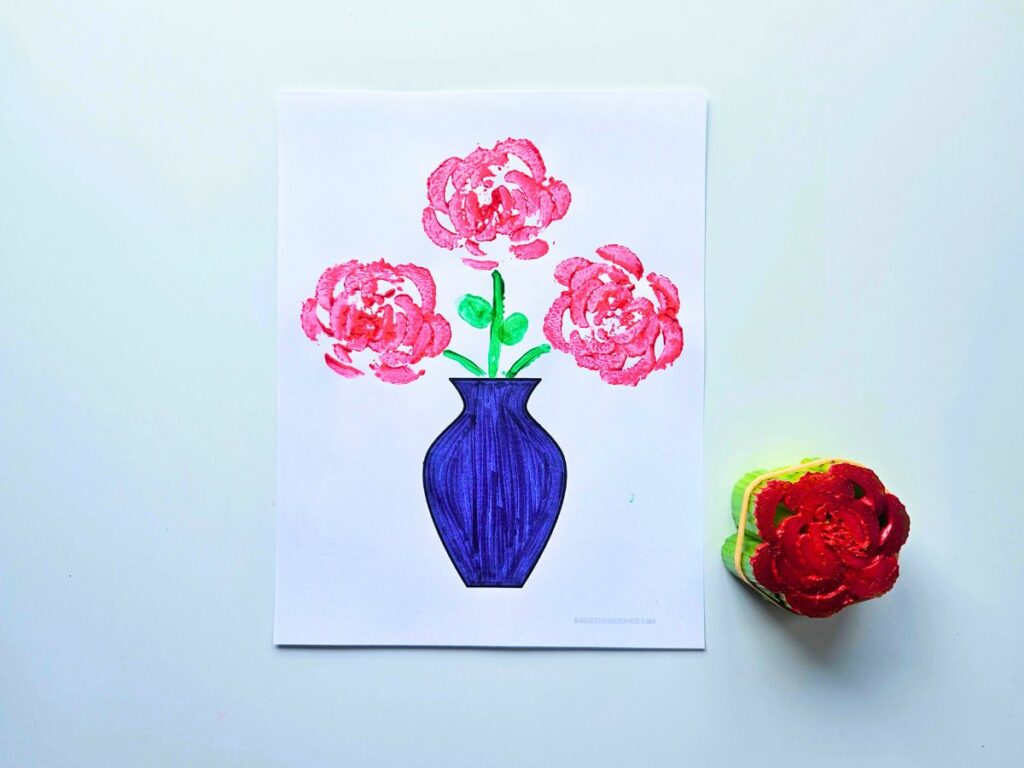
First off, download our flower vase/pot printable (available for free at the bottom of this post). Print out either the flower pot or vase printable, depending on which one version of the craft you want to do. Regular printer paper works just fine for this craft.
Prep your celery for stamping. One way to do this is to cut the celery near the base and use the bottom of the celery head for your stamping. The trick here is to make sure you cut very evenly so that all parts of the celery will touch the paper.
The other option is to use a section from the middle of the celery stock, securing it with a rubber band around the celery.

This was my preferred method. I found it easier to get an even stamp because you can press down on each piece of celery individually.
It’s also convenient if you are stamping with more than one child or color because you can have multiple stamps in use. I also found that the central pieces were less wide and gave a more convincing petal-like appearance.
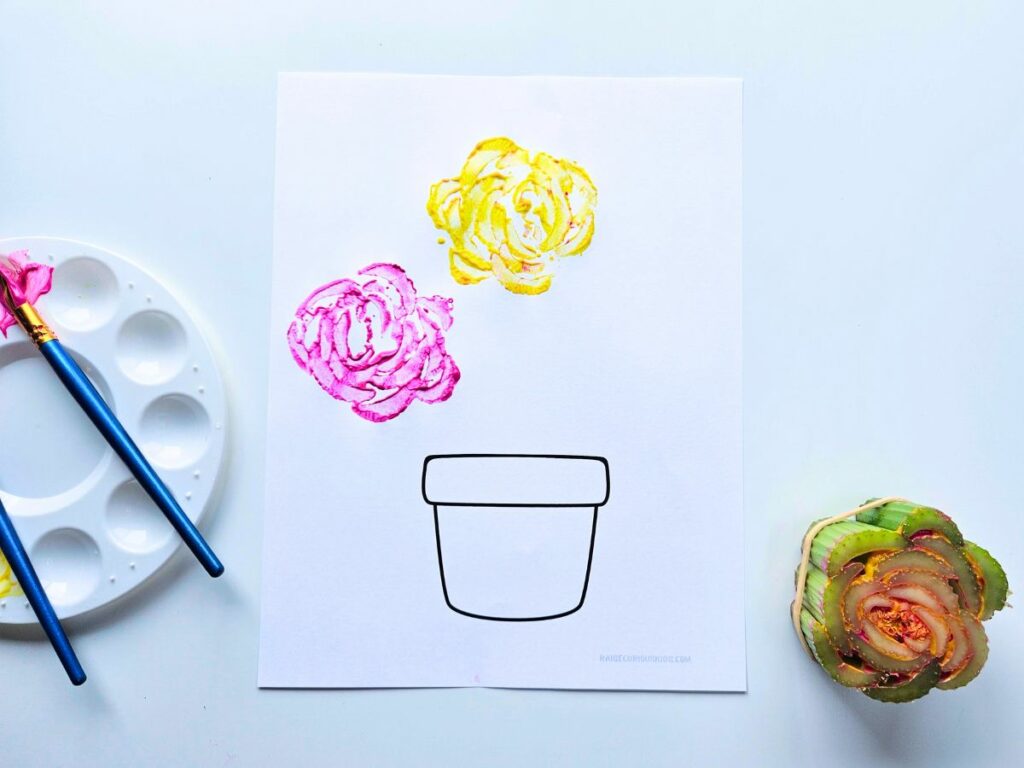
Once you’re ready to begin stamping, use a paintbrush to cover your celery stamp in the color of your choice. Firmly press the stamp down on the printable above the vase or pot.

Continue stamping until you have your desired number of flowers. If you’re using multiple colors you can use different celery stamps or just use a paper towel to wipe off the first color.
Next, use a paintbrush to paint a green stem from the bottom of each flower to the top of the vase.
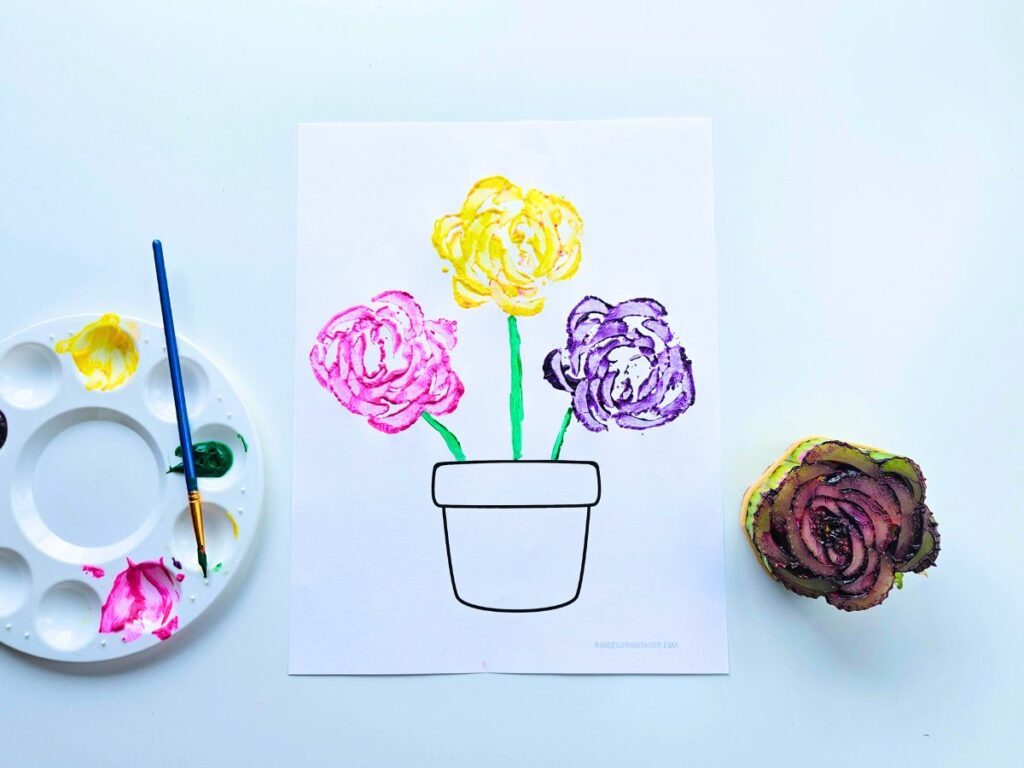
Now it’s time to make the leaves. Use a paintbrush to paint your child’s thumb or pointer finger green, then press it onto the printable on the stem to create leaves.
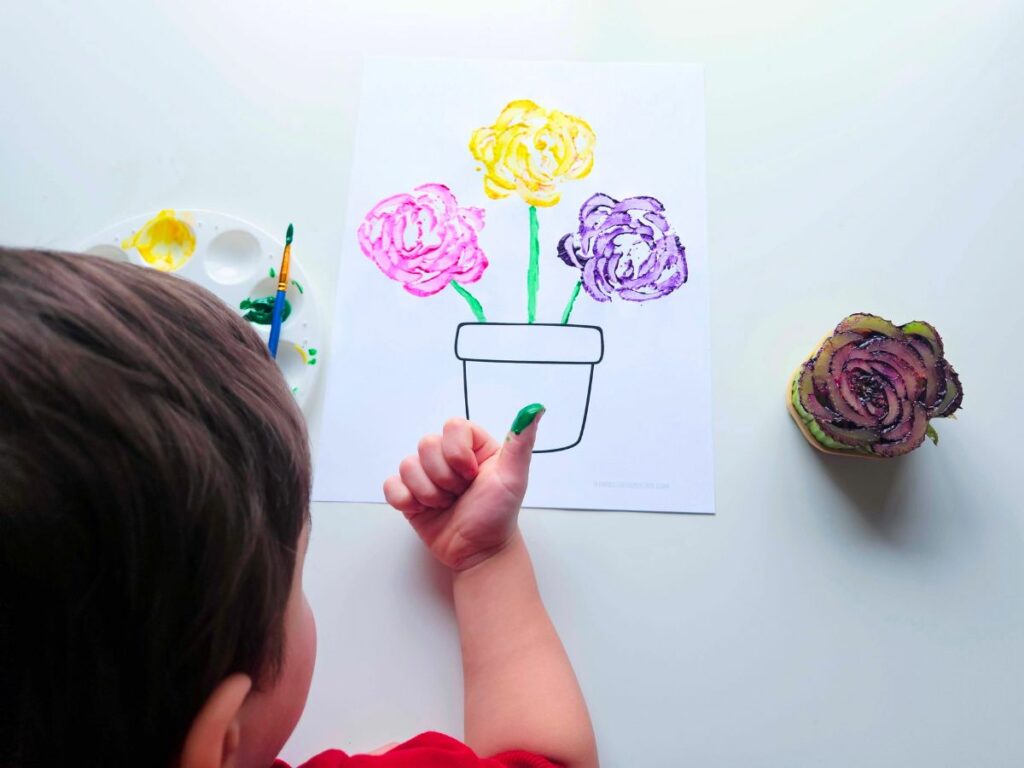
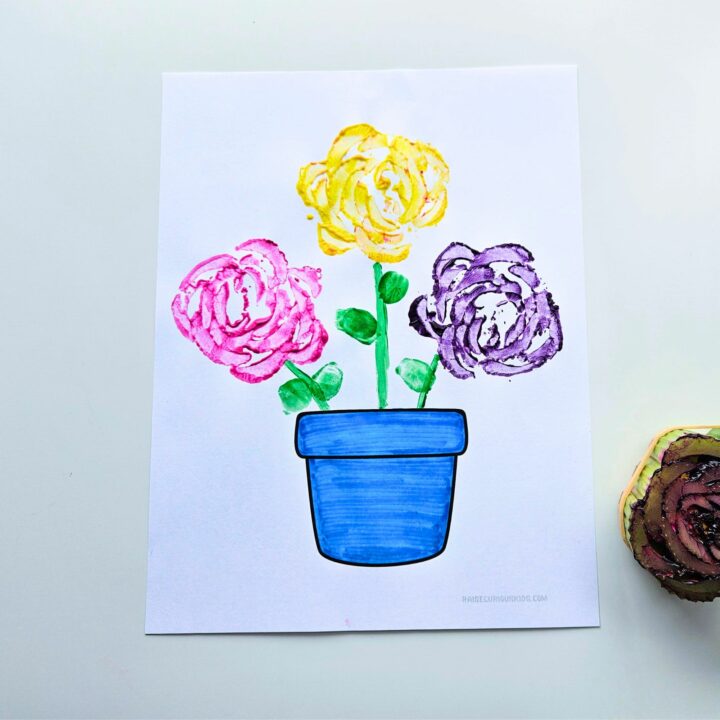
Last of all, color the vase or pot with markers or colored pencils.
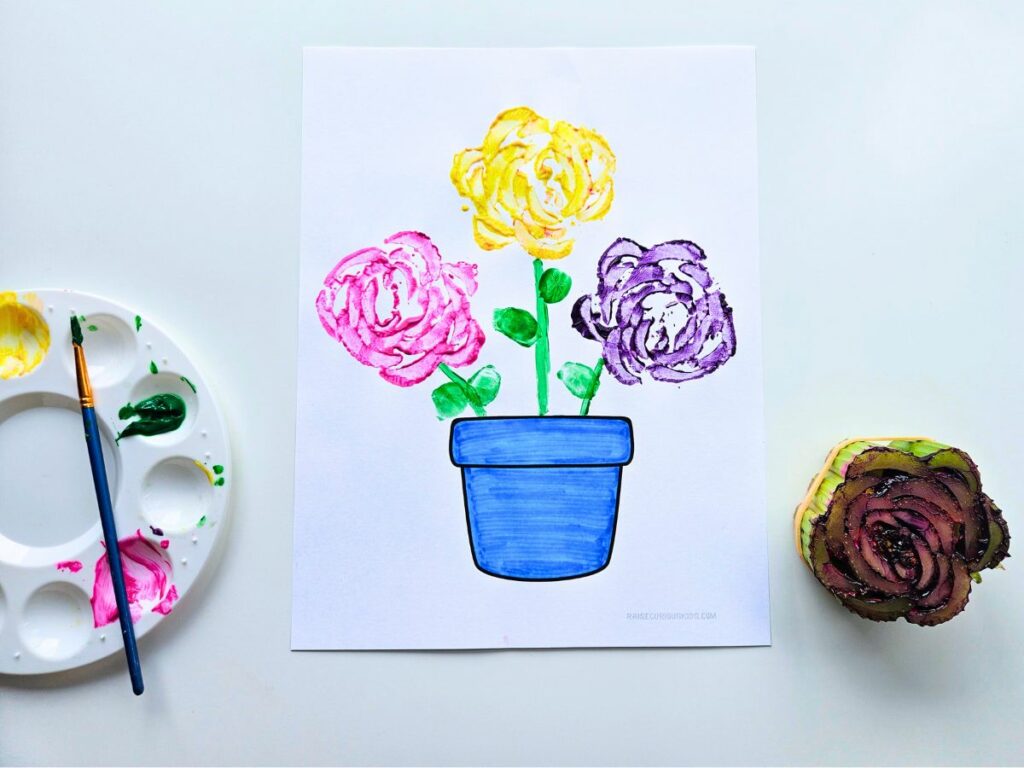
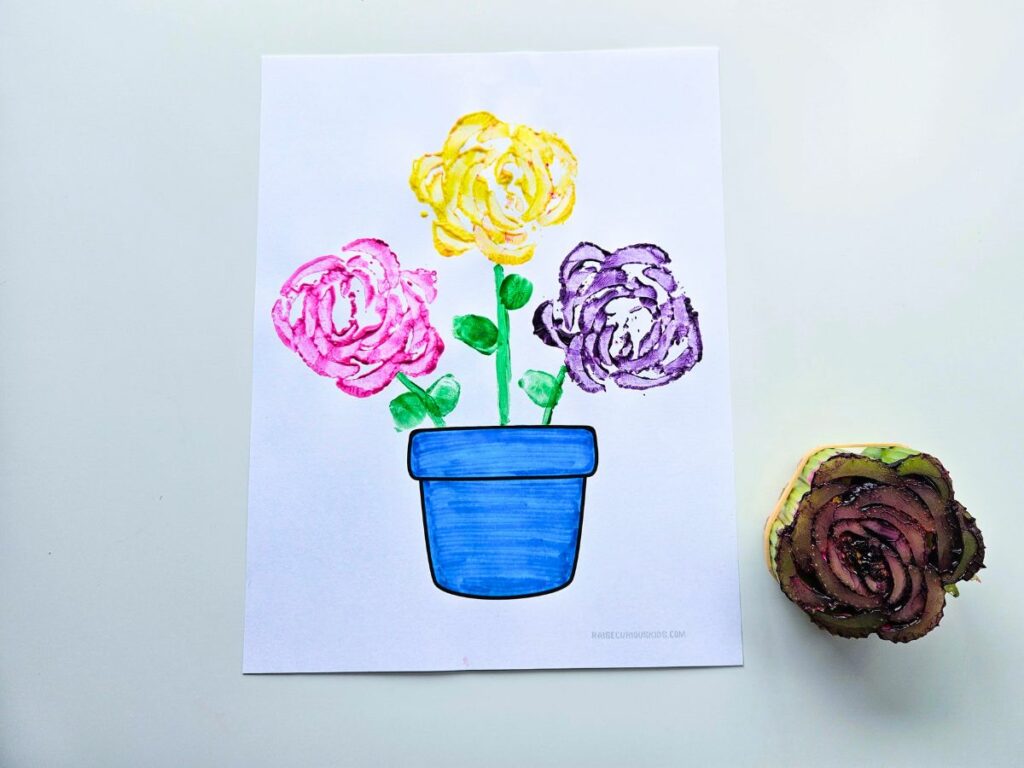
Now your beautiful celery stamp flower craft is complete!
This is such a great art project to give as a personalized gift for Mother’s Day, Valentine’s Day, or a birthday.
It’s also lovely enough that you can proudly frame or display it in your house. My kids couldn’t get enough of these celery stamp roses and neither could I!
Celery Stamp Flowers
Make your own gorgeous celery stamp flowers with this fun and easy craft!
Materials
- Flower pot/vase printable (available for download below)
- A head of celery
- Paint (flower colors and green for the stem)
- Paintbrushes
- Markers or colored pencils
Instructions
- Download and print out the flower pot or flower vase printable.
- Prep your celery for stamping. Either cut the bottom off the head of celery to use (be sure to cut evenly), or cut a cross section from the center of the celery, securing it with a rubber band.
- Cover the celery stamp with a layer of paint. Firmly press the celery to the printable above the pot or vase.
- Continue stamping until you have your desired number of flowers. If using different colors, wipe the paint off the stamp with a paper towel or use a different celery stamp.
- Use a paintbrush to paint a green stem from the bottom of each flower to the top of the vase.
- Next, paint your child's thumb or pointer finger green, then press it onto the printable on the stem to create leaves.
- Last of all, color the vase or pot with markers or colored pencils.
Other Crafts to Try:
Easy Rabbit Tissue Paper Craft for Kids
Shamrock Sponge Painting Craft (free St. Patrick’s Day Card Templates)