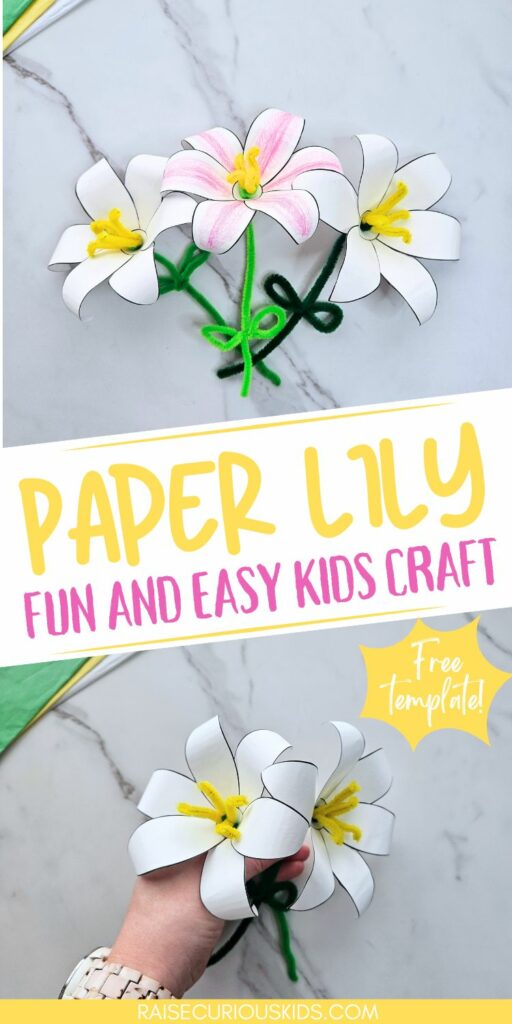
If you’re looking for a fun and easy activity that kids will love, this paper lily craft is for you! Whether you are looking for a meaningful Easter activity or a hands-on way to teach a unit on flowers, this project is as educational as it is beautiful.
Specifically designed for preschool and elementary-aged kids, this craft uses a free printable template to make assembly a breeze. With just some basic cutting, rolling, and gluing, children can transform flat paper into a stunning 3D blossom.
It’s a wonderful way to practice fine motor skills and symmetry while creating a “forever flower” that will never wilt!
Lily Paper Craft
Materials
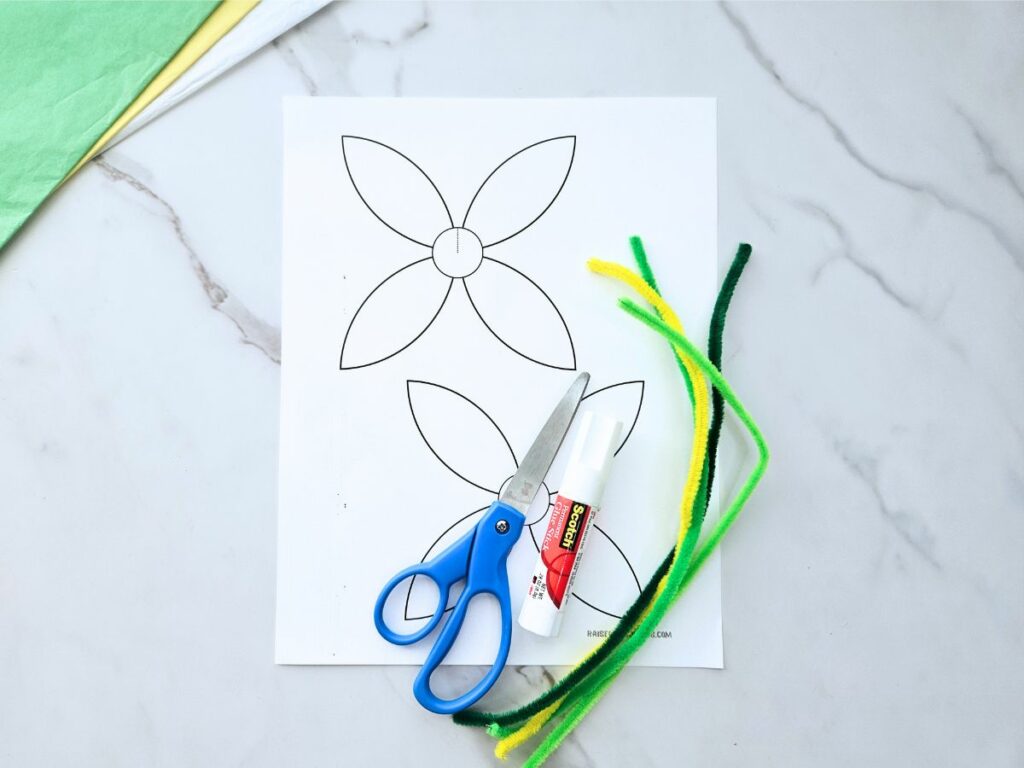
- Lily craft template (available for download below)
- Green and yellow pipe cleaners
- Scissors
- Glue
- Pencil
Instructions
First, download and print out the free lily craft template, which you can find at the bottom of this page.
Next cut out the pieces of the template.
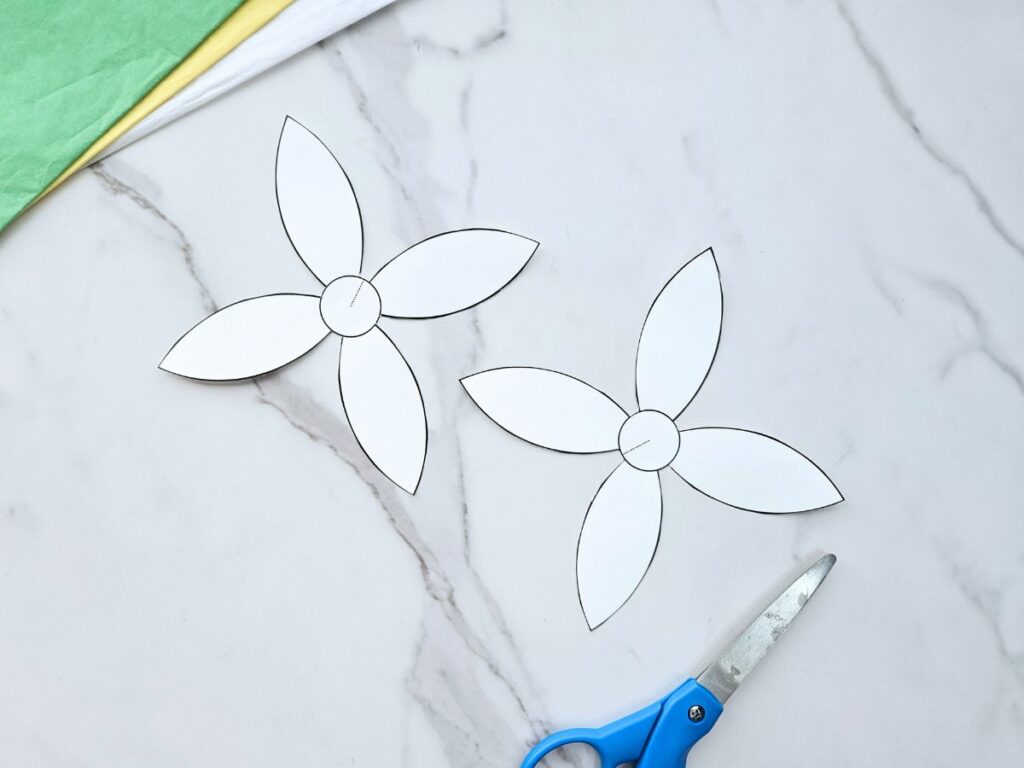
Cut the dotted lines in the center circles.

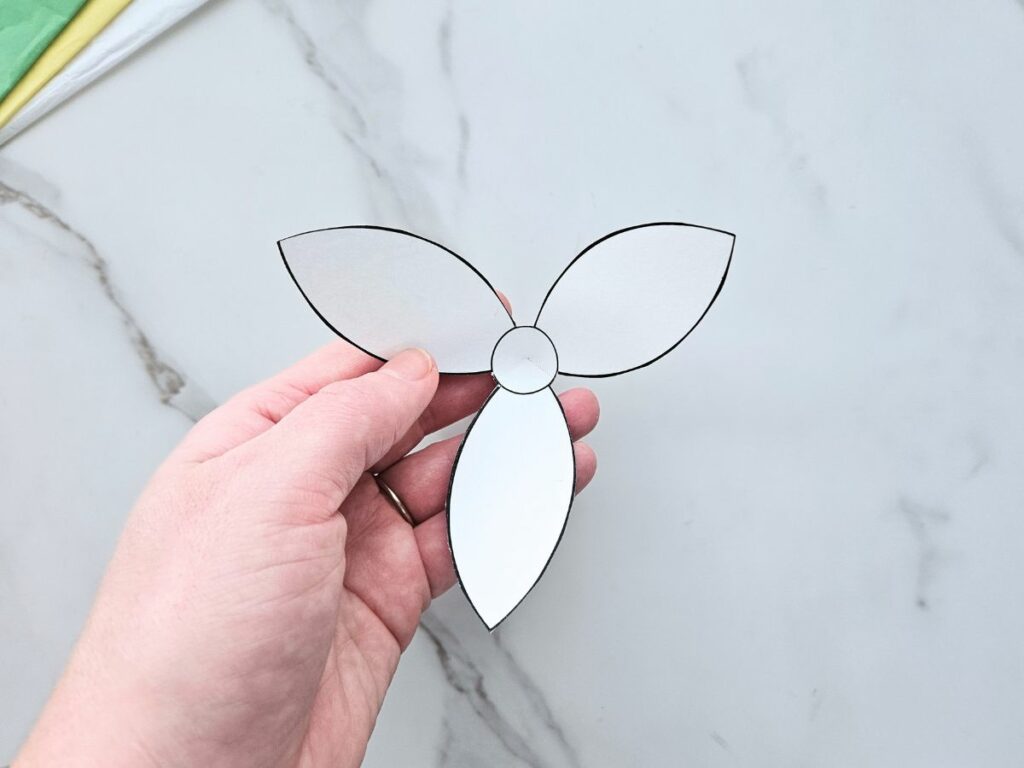
Overlap the the two petals on either side of the dotted line and glue the top petal to the bottom petal. When you’re done, you should have only three visible petals.
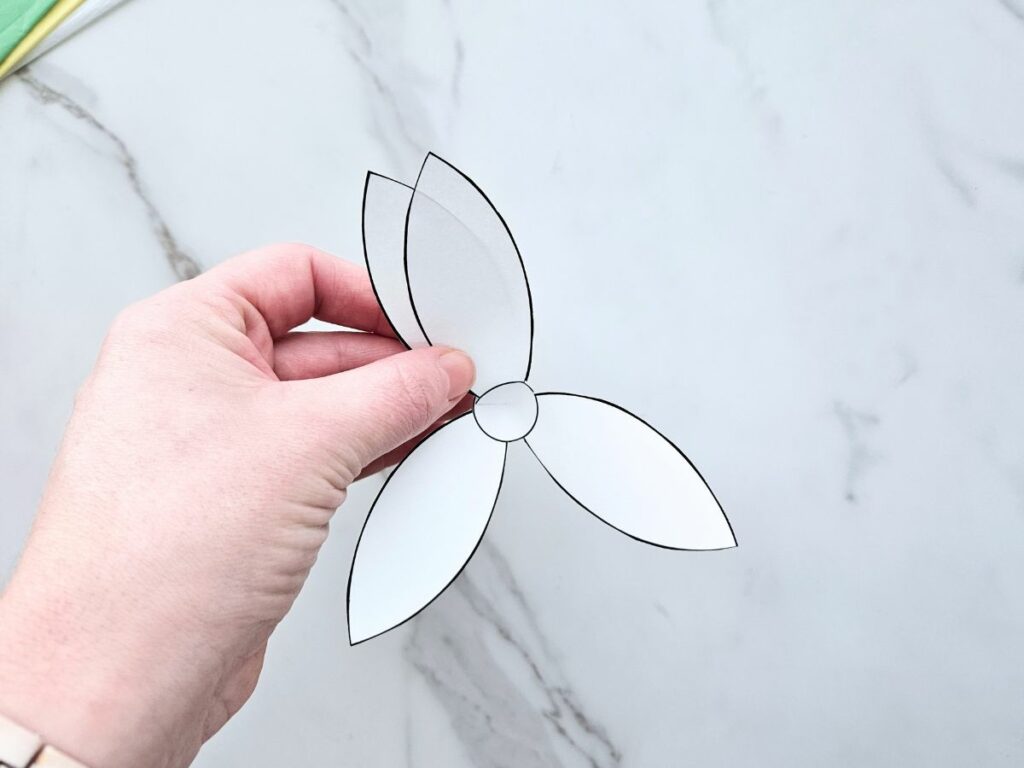
Do the same with the other piece from the template.
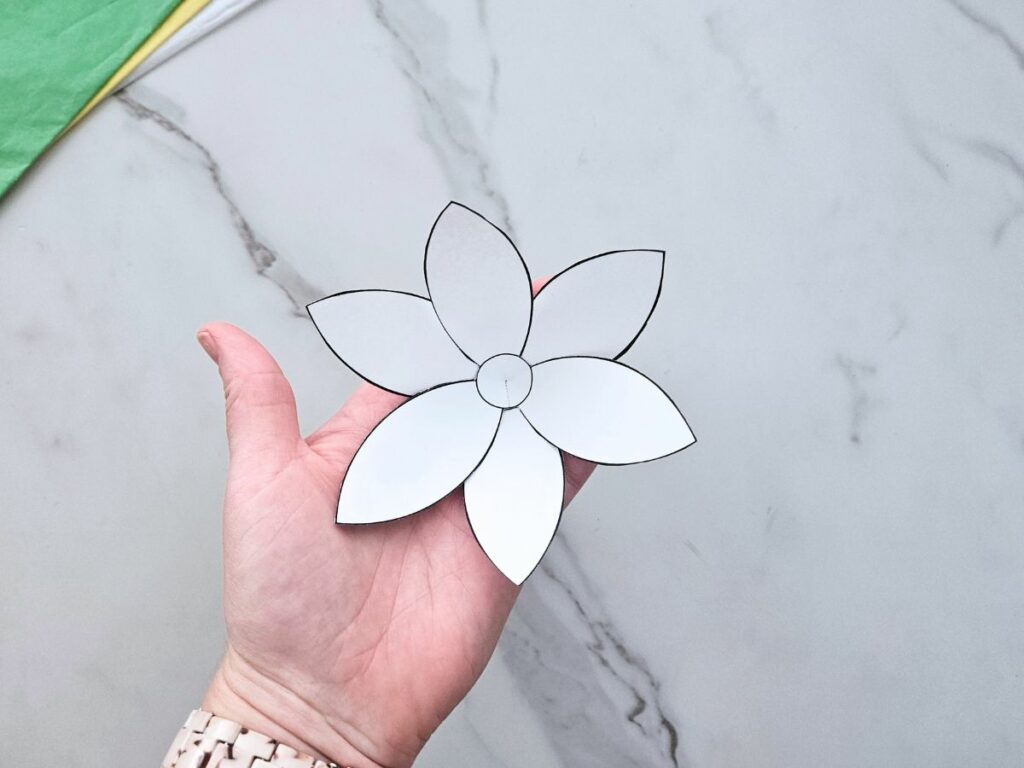
Stack the two petal pieces together, rotating them so that the bottom and top petals are alternating. Use glue to secure the two pieces together.
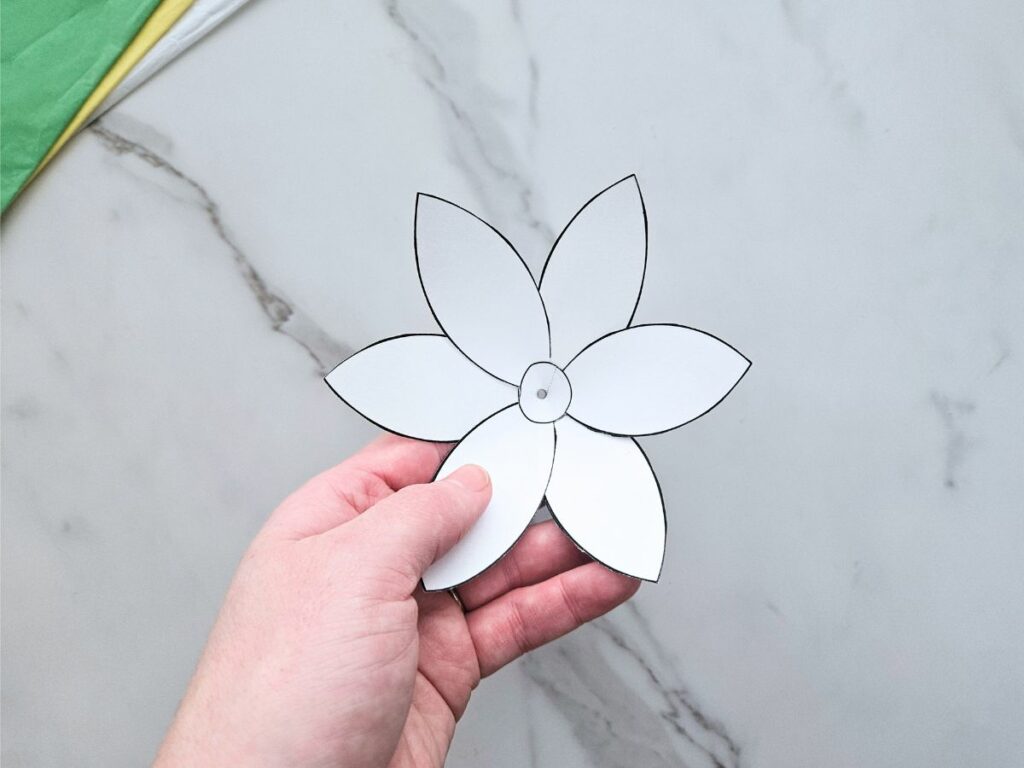
Use a pencil to poke a hole through the the center of the flower, being sure to pierce through both layers.
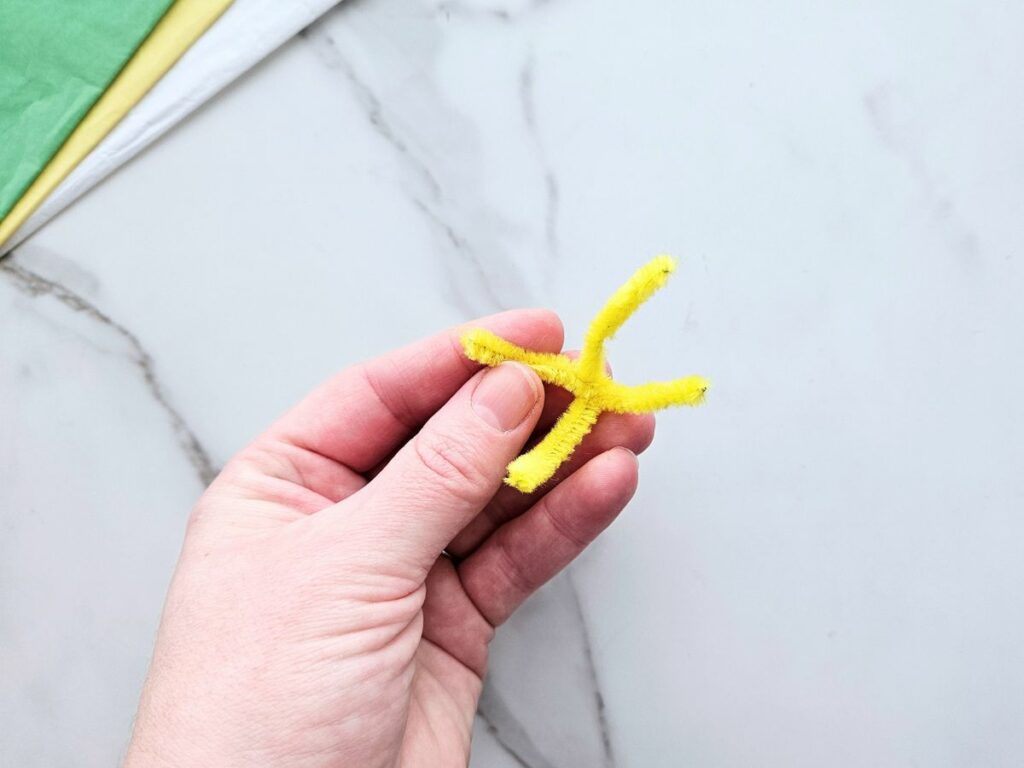
Now take a yellow pipe cleaner and cut two small pieces, making each about 1.5 inches long.

Twist the two pieces together in the center to connect them.
Take a piece of green pipe cleaner and wrap one end around the middle of the yellow pieces. Twist the green piece back into itself to make a secure loop around yellow pipe cleaners.
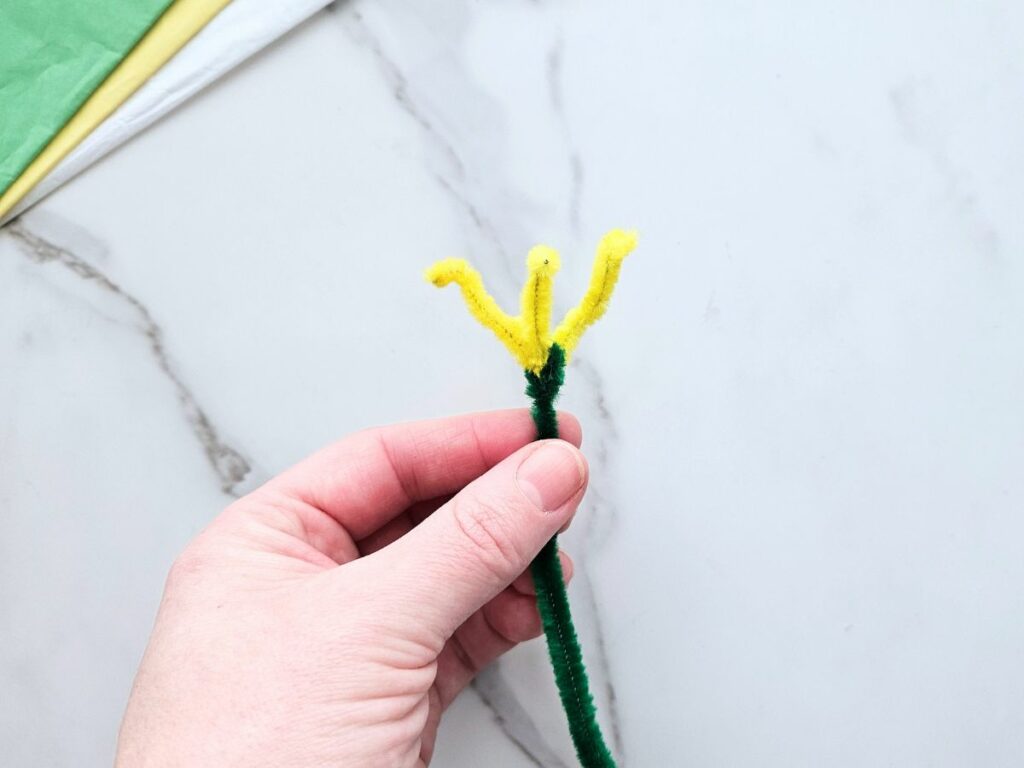
Point the four yellow ends up and bend the top of each yellow piece down slightly.
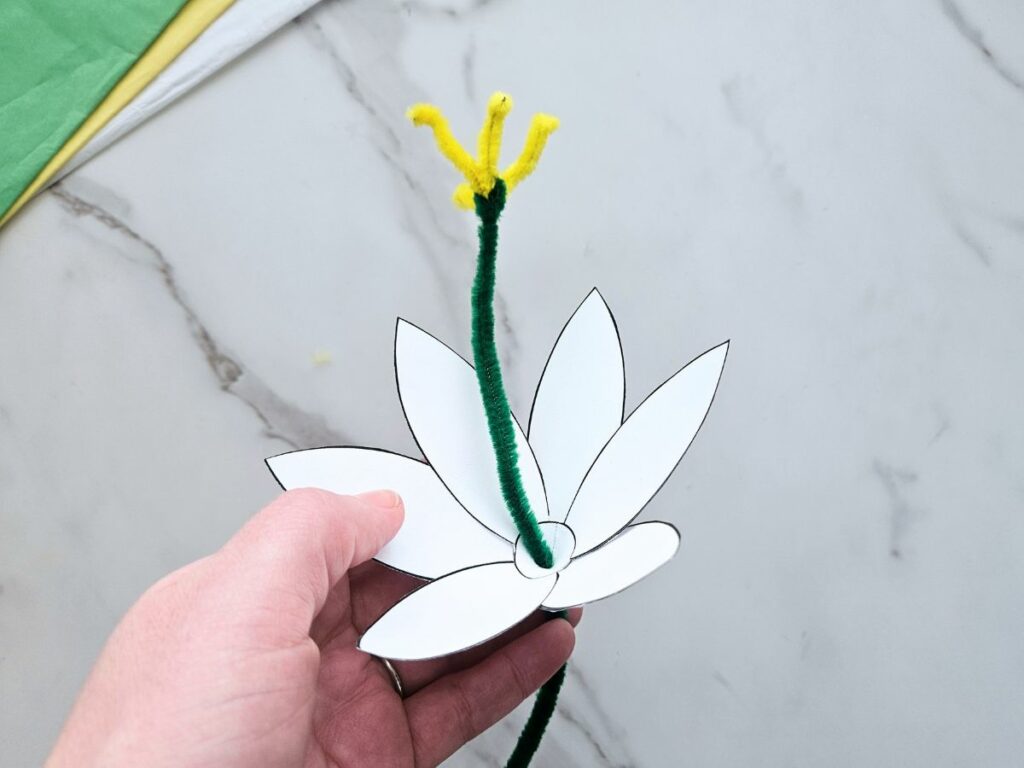
Poke the bottom of the green pipe cleaner through the hole in the center of the petals, pulling it all the way through until just the yellow pipe cleaner pieces are showing on top.
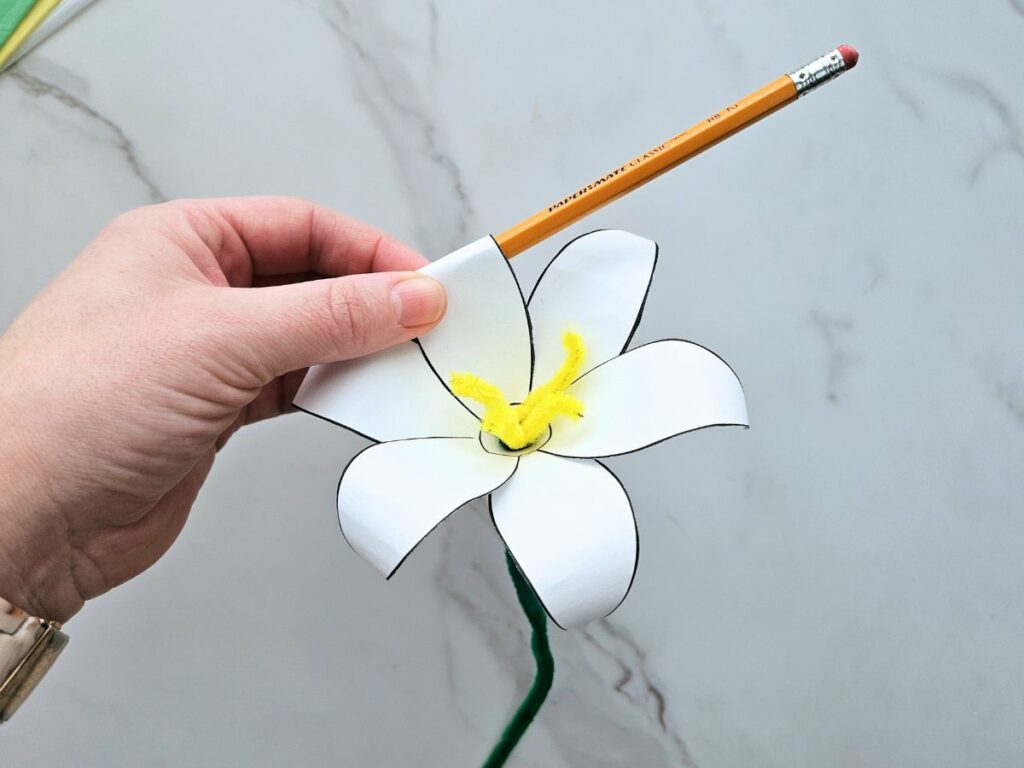
Carefully curl each petal around a pencil to give them a gentle bend.
In the center of the green pipe cleaner, create a small loop and twist at the base of the loop to form a leaf.
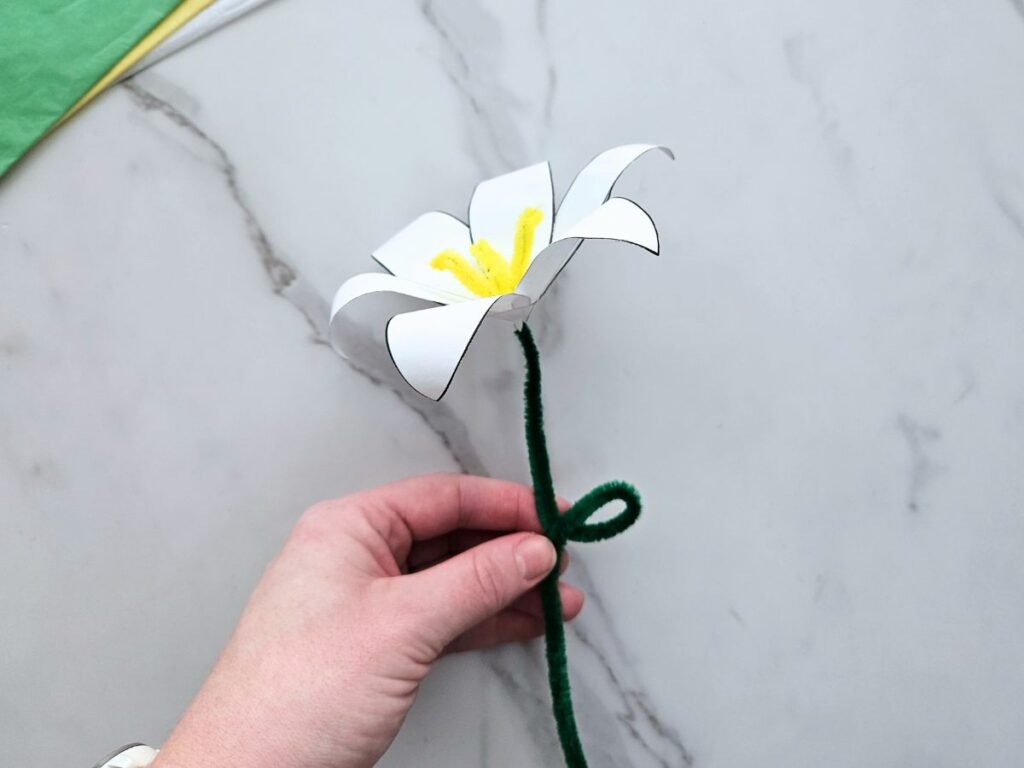
Make another leaf on the other side if desired.
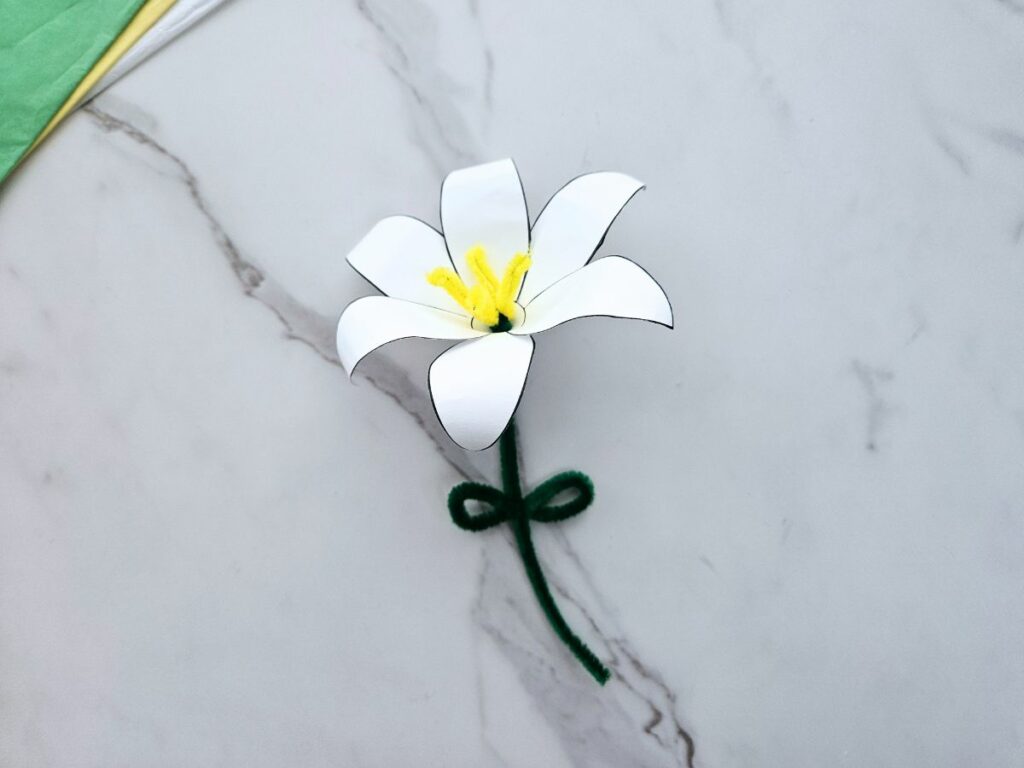
And that completes your lovely lily craft!
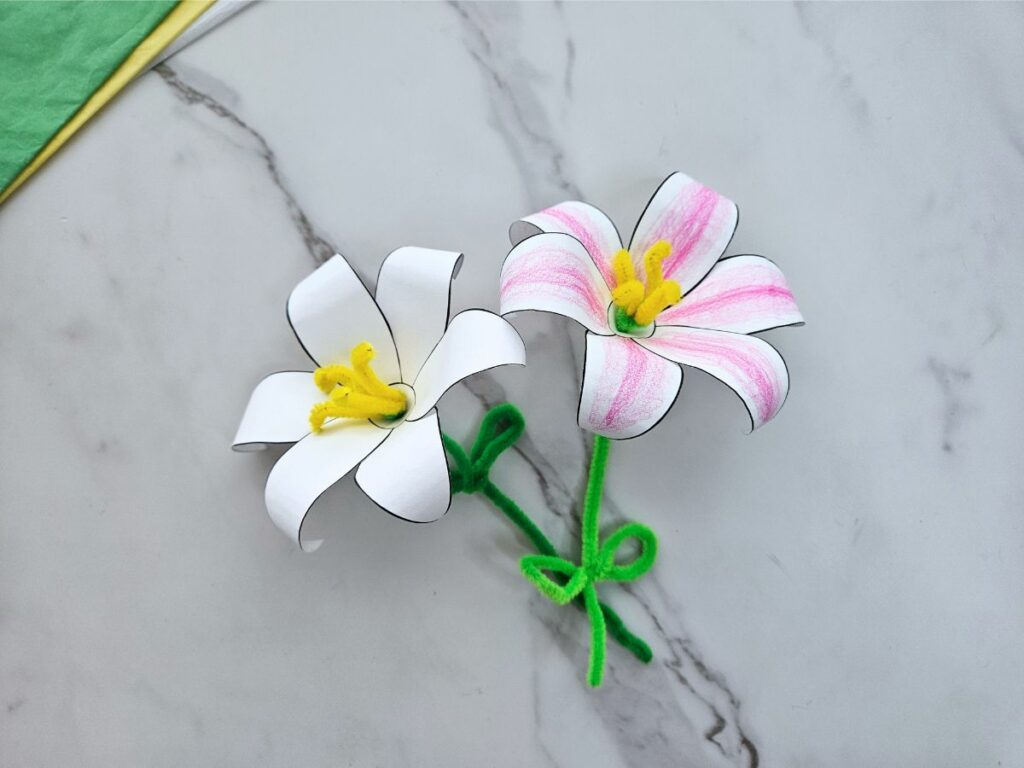
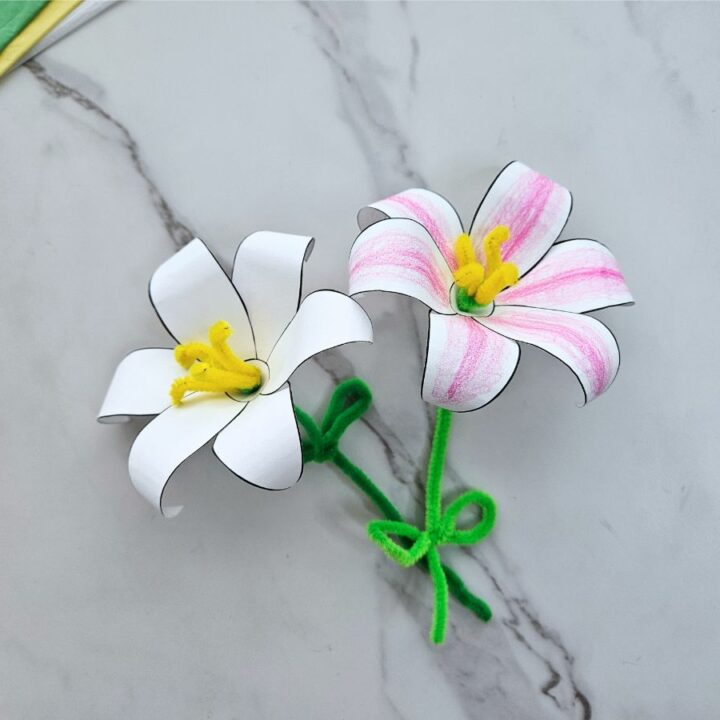
You can also play around with different colored lilies by coloring the petals before you cut the pieces out.
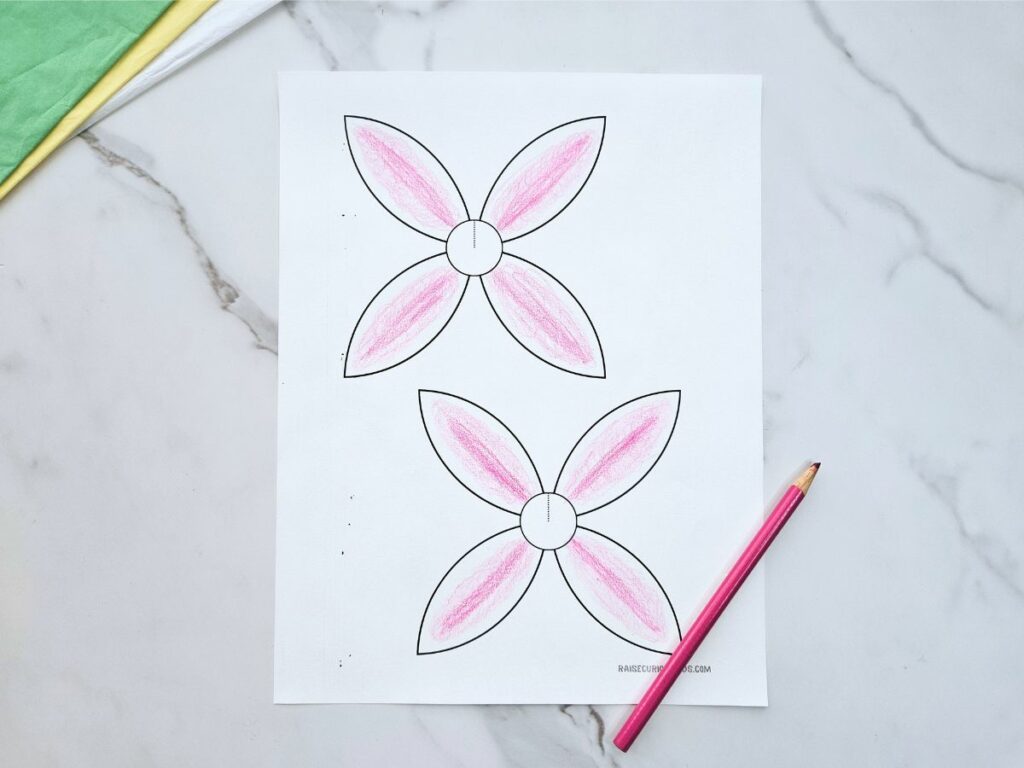
Using this technique you can create bright, vibrant lilies as well as the classic white variety.
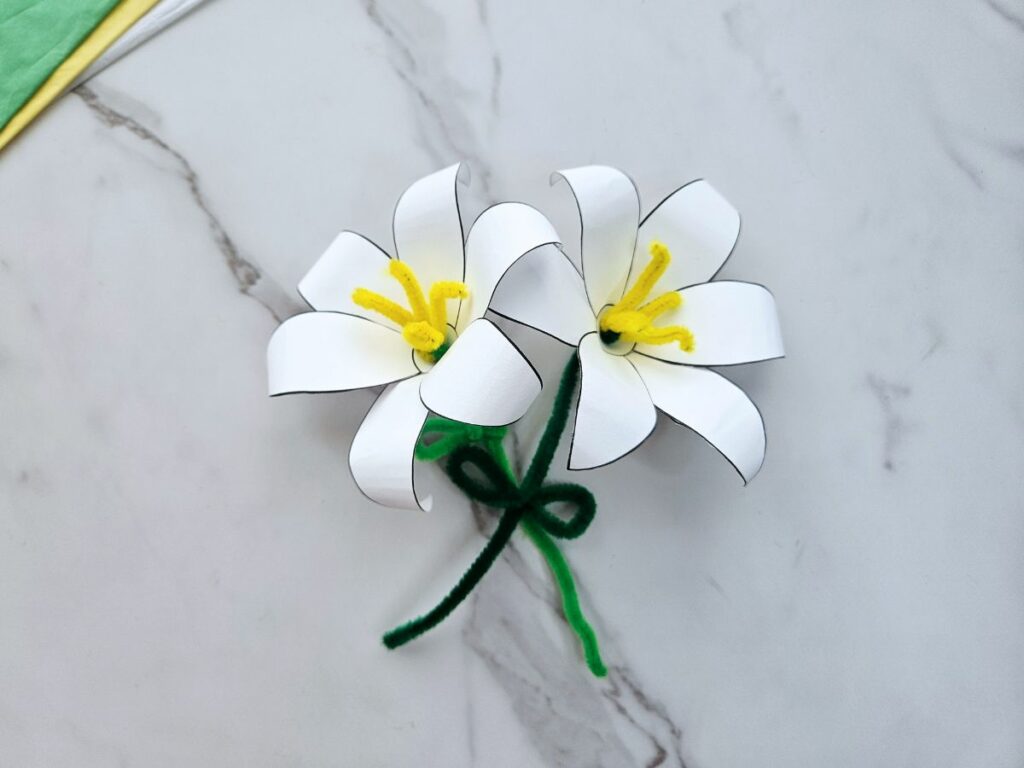
This craft is a perfect activity for Easter or learning about different types of flowers. It would also make a lovely personalized bouquet to gift to mom for Mother’s Day!
It’s a wonderful way to spark creativity while helping young children build confidence in their crafting skills. Whether shared as a gift or used to brighten up a room, the finished result is a cheerful reminder of how much fun simple paper creations can be.
Lily Paper Craft
Create your own bouquet with this easy paper lily craft!
Materials
- Lily craft template
- Green and yellow pipe cleaners
- Scissors
- Glue
- Pencil
Instructions
- Download and print out the lily craft template.
- Cut out the pieces of the template (color first if you want a colorful flower). Cut along the dotted line in the center circle.
- Overlap the two petals on either side of the dotted line and glue together, leaving only three petals. Do the same with the other piece.
- Stack the two petal pieces together, arranging them so that the petals on top and bottom alternate. Glue the two pieces together.
- Use a pencil to poke a hole through the center of the flower, being sure to pierce both layers.
- Take a yellow pipe cleaner and cut two small pieces, approximately 1.5 inches each. Twist the two pieces together in the middle to connect them.
- Take a green pipe cleaner and wrap one end around the center of the yellow pipe cleaners, forming a tight loop. Twist the green piece back into itself on the bottom.
- Point the four yellow pipe cleaner ends up and bend the top of each yellow piece down slightly.
- Poke the bottom of the green pipe cleaner through the hole in the center of the petals, pulling it all the way through until just the yellow pipe cleaner pieces are showing on top.
- Curl each petal downward around a pencil.
- In the center of the green pipe cleaner, create a small loop and twist at the base of the loop to form a leaf. Create another leaf on the other side as well if desired.