If you’re looking for a fast and easy way to make a piñata at home, this is the post for you! This is an simple way to make a piñata in less than an hour, no paper mache required.
In fact, it’s so easy that now my six year old is constantly making piñatas for any minor event that comes up, with no help needed!
This is a great activity for a birthday party, Cinco de Mayo celebration, or preschool/elementary school cultural unit on Mexico.
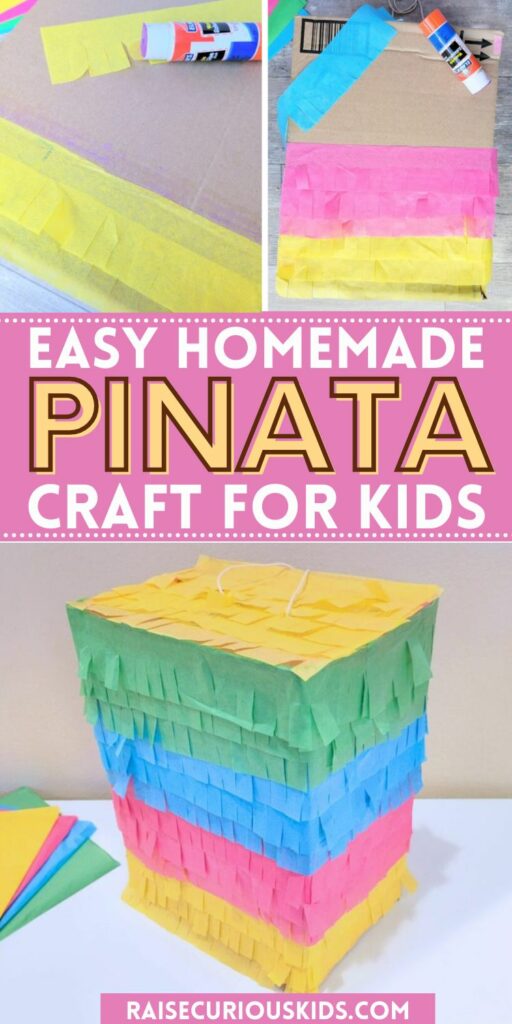
Fast and Easy Homemade Piñata

Materials
- Cardboard box
- Tissue paper (various colors)
- Painters tape
- Pinata fillers (candy, small toys, stickers, etc.
- Scissors
- Glue stick
- String
Instructions
Take your cardboard box and cut off the top and bottom flaps on both sides of the box. When you finish, you should only be left with two flaps on each side of the box.
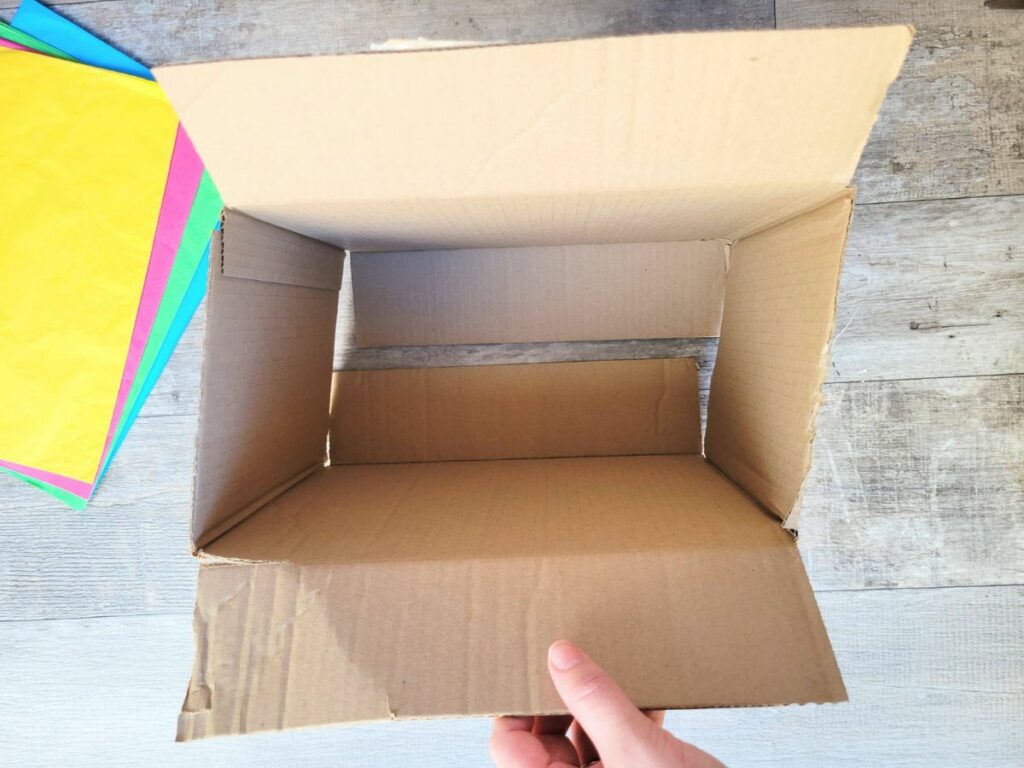
This makes it a lot easier to eventually break the piñata open (whereas if you leave all four flaps on it can take a long time).
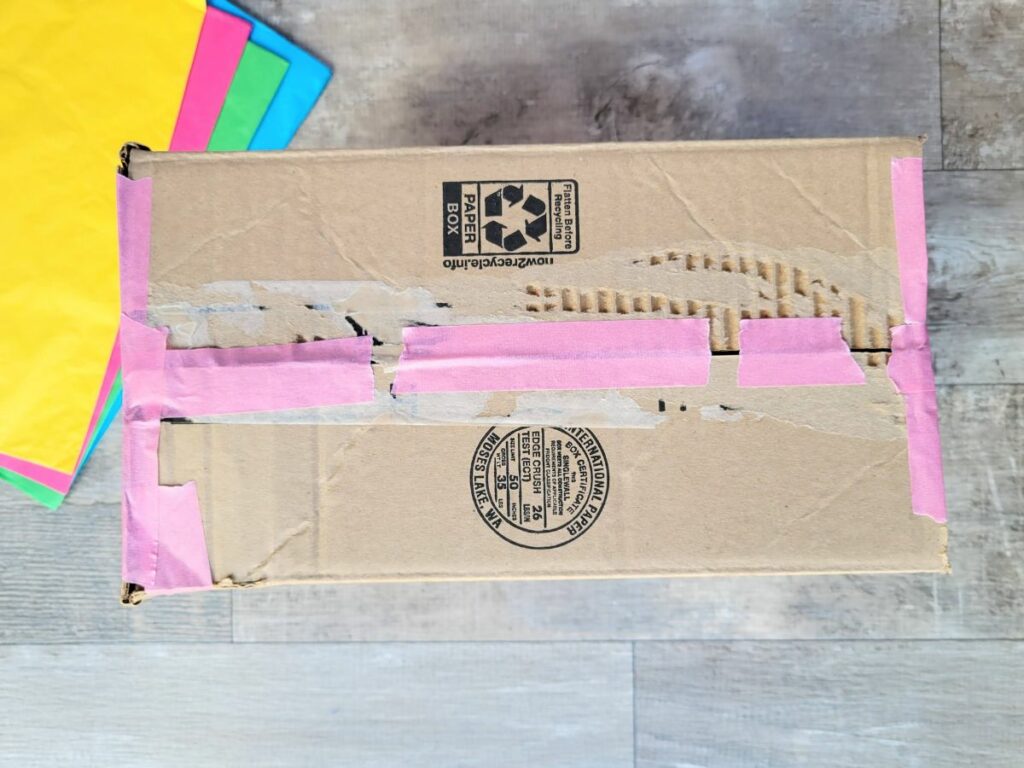
Use painters tape to tape one side of the piñata shut. For a more challenging piñata, seal all the way along the openings. For a slightly easier piñata, leave gaps between pieces of tape.
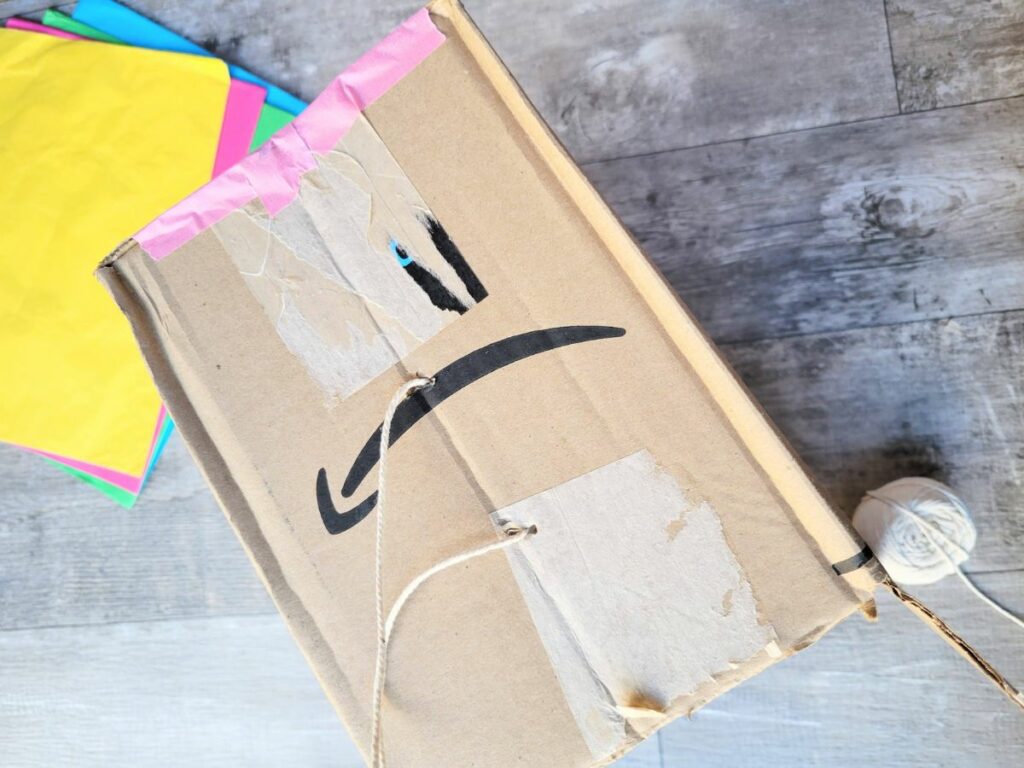
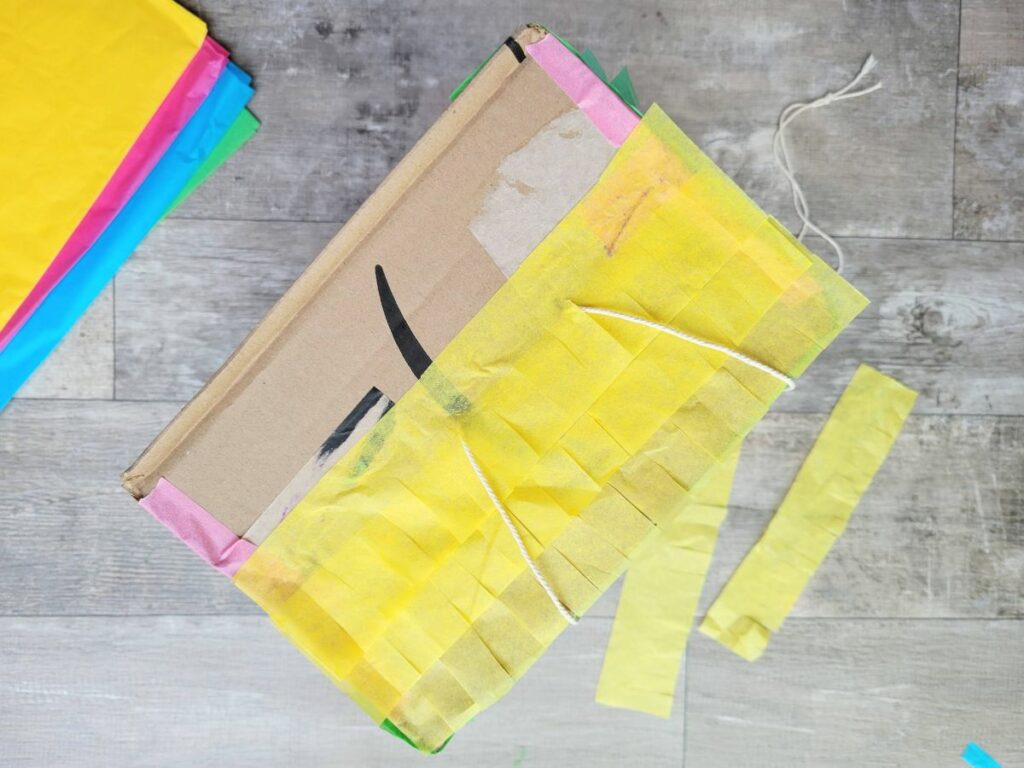
In the side that you want to be the top, poke two holes about two inches apart. Take a string and feed it down through one hole and back up the other. Pull the string to the length you want it and tie the ends of the string together.
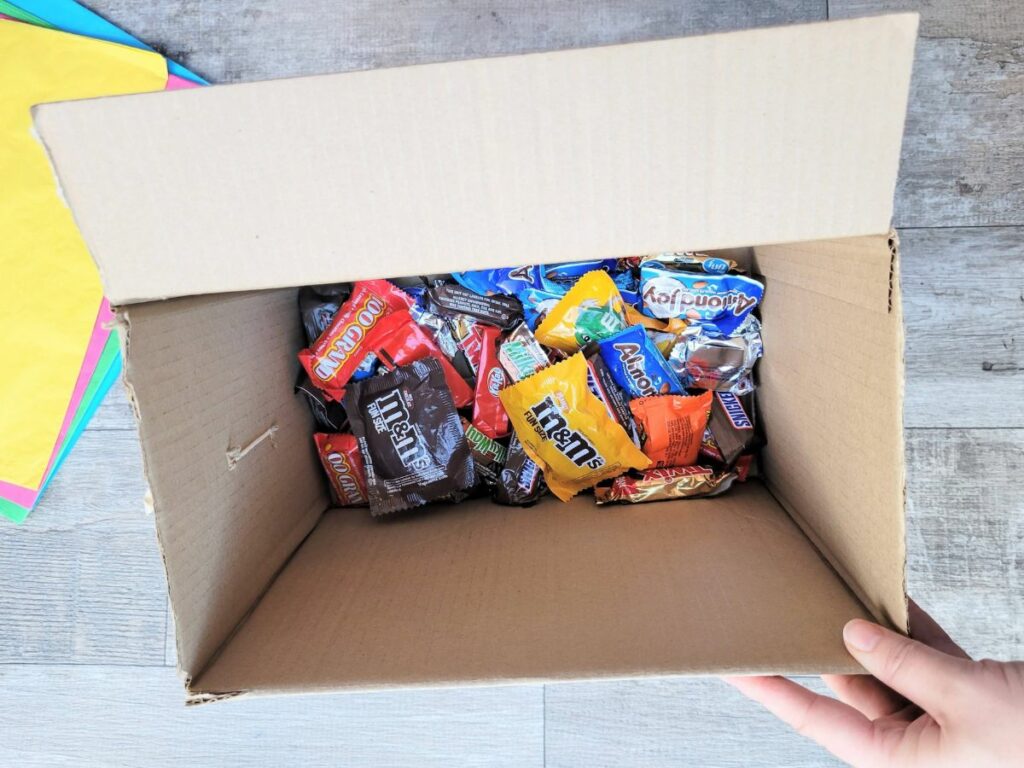
Fill the piñata with whatever you want to put inside. We usually do an assortment of candy and snacks.
Seal the other side with painters tape.

Once the box is sealed, you can begin decorating the outside.
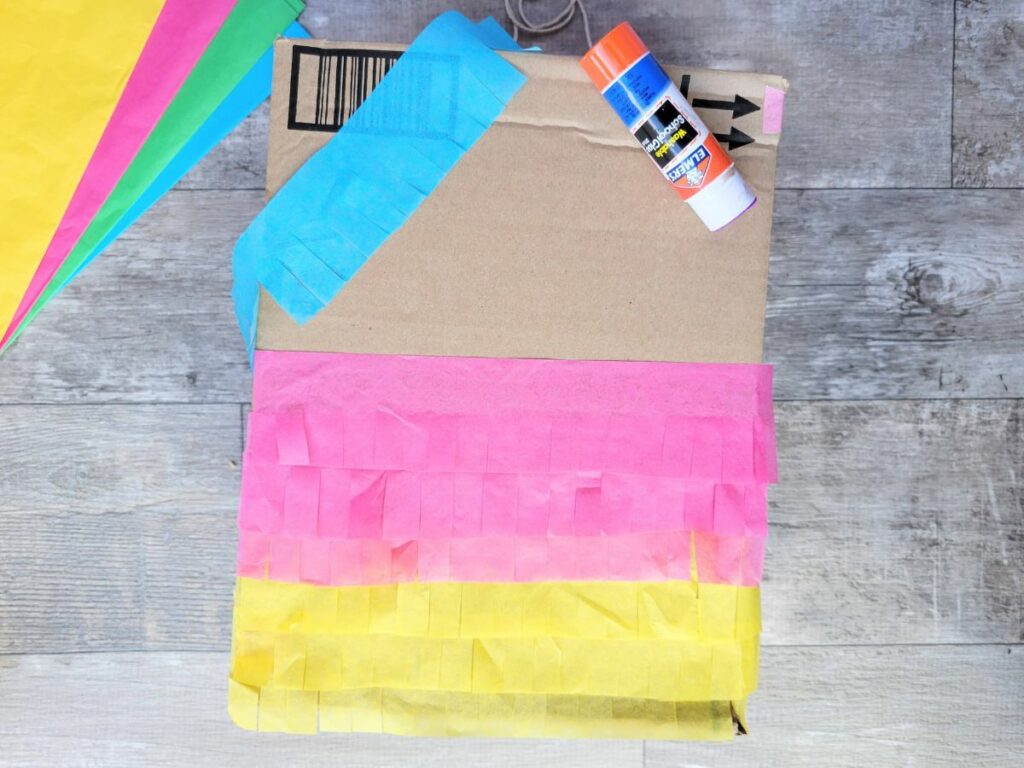
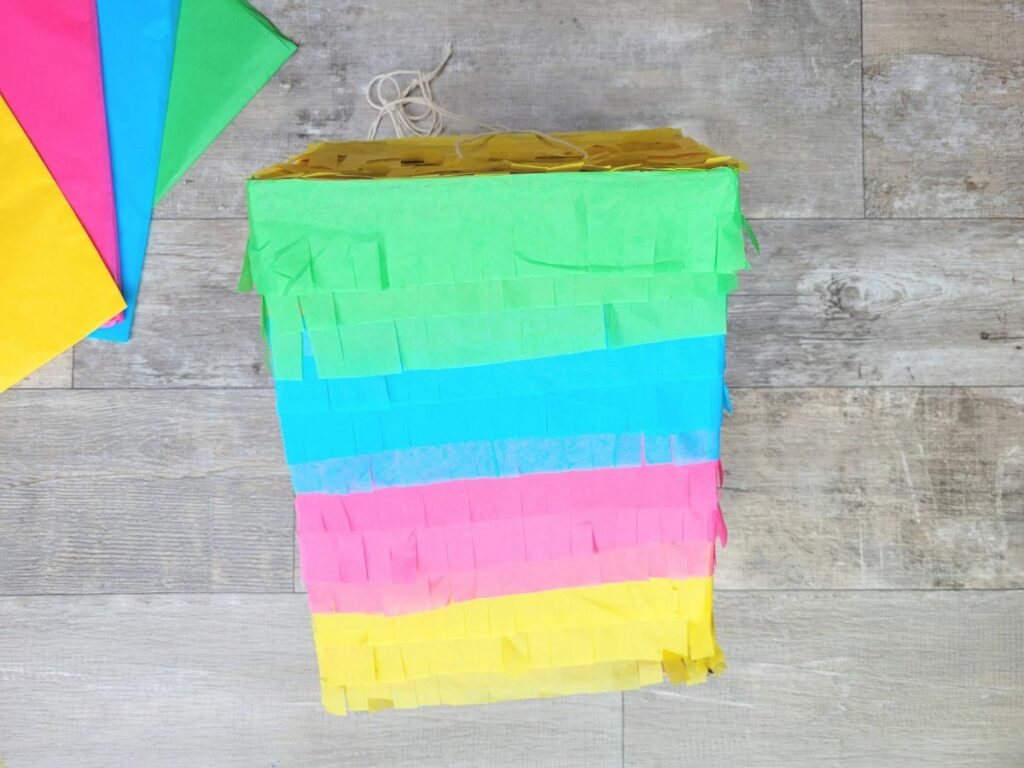
Take pieces of tissue paper and cut them into long strips about two inches wide. Cut one inch slits up the tissue paper to form a fringe with pieces spaced about half an inch apart.

Place a line of glue two inches above the bottom of the box. Press the strip of tissue paper into the glue along the uncut part, leaving the fringe loose. The bottom edge of the fringe should be even with the base of the box.
Take another piece of tissue paper and cut a fringe in this one as well. Place a line of glue directly above the top of the last strip of tissue. The fringe of this tissue paper should cover the glued-down portion of the previous strip of tissue paper.

Continue working your way up the box, cutting tissue paper and gluing it to the box until you reach the top.
This part is pretty forgiving. Even if it isn’t perfect it will still look great when it’s completely decorated. My son does this all on his own and his piñatas look awesome when he’s done!

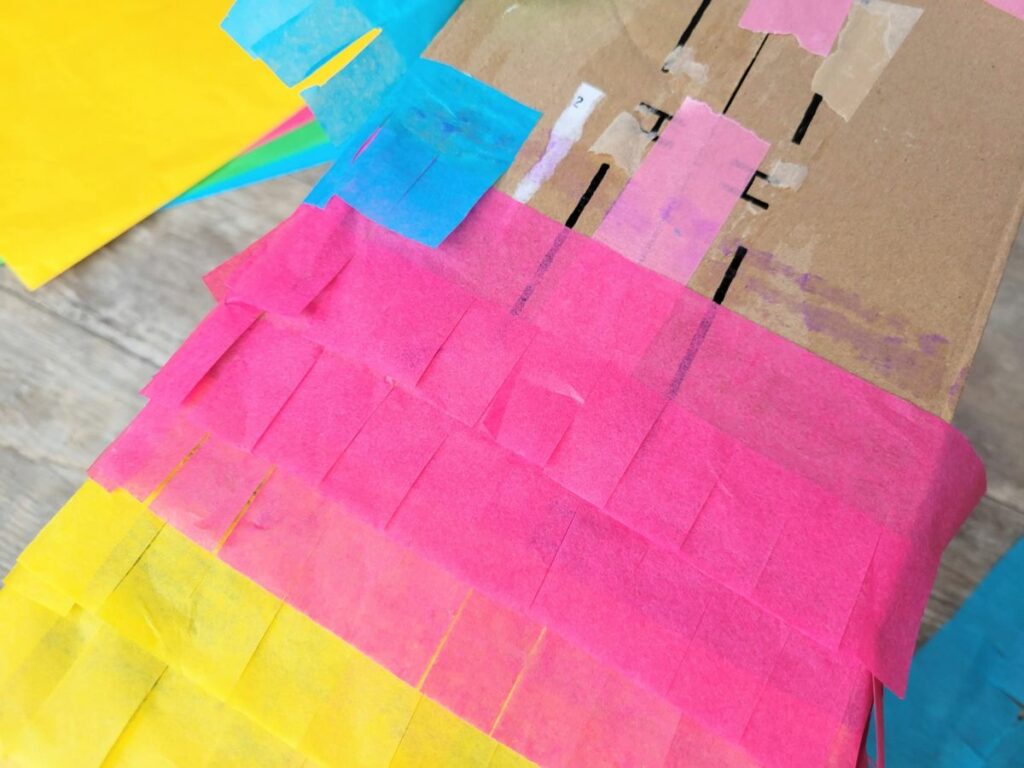
If there’s a marking on the box that will show through the tissue paper (like at the top of the box in the picture above), either place a layer of tissue paper down before you add the fringe or just put another layer directly on top of it.
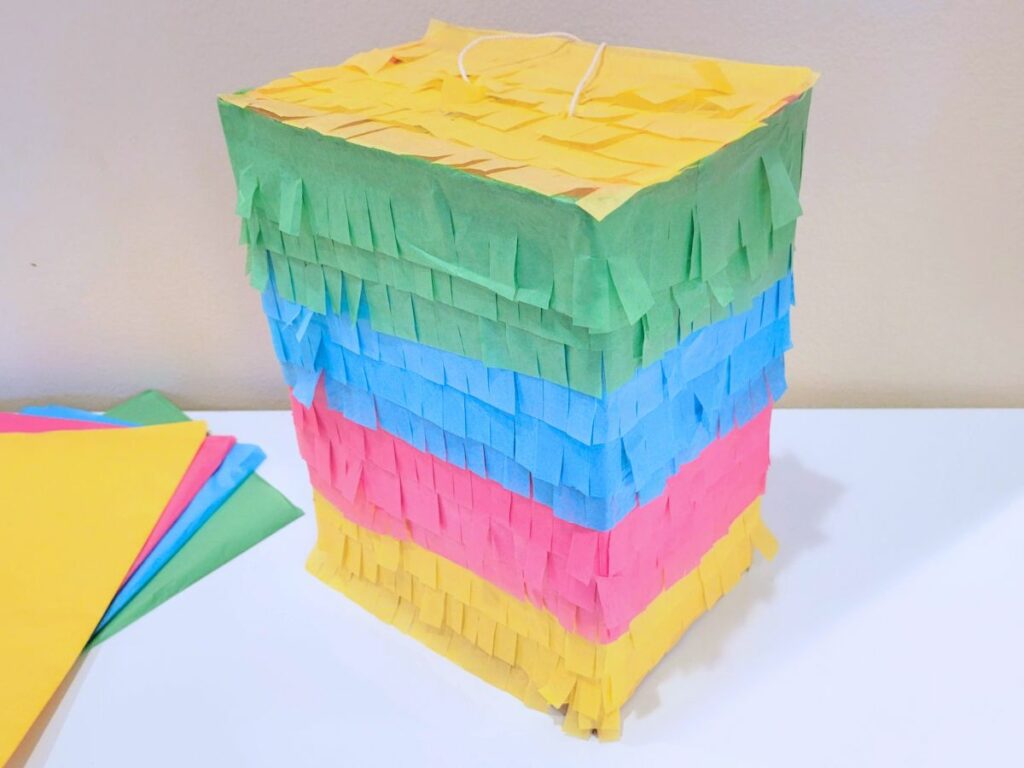
Once you finish the first side, move on to the other sides of the box. To continue a strip that has ended, slightly overlap the new piece with the old piece, keeping the color the same.
Finally, decorate the top and bottom of the piñata with tissue paper strips as well.
Once you’re done decorating, you’re ready to enjoy your piñata right away!
We usually tie ours to the end of a long pole and have an adult raise and lower it for the children to swing at.
You could also secure it to a ceiling or overhead beam if you have the way to do so.
If you use a pole, make sure that it is long enough that the person holding it won’t get hit with the stick while someone is trying to hit it.
In our experience, this homemade piñata is actually quite sturdy and can take some pretty good hits before it begins to break open.
This is such a fun activity that people of all age will enjoy participating in!
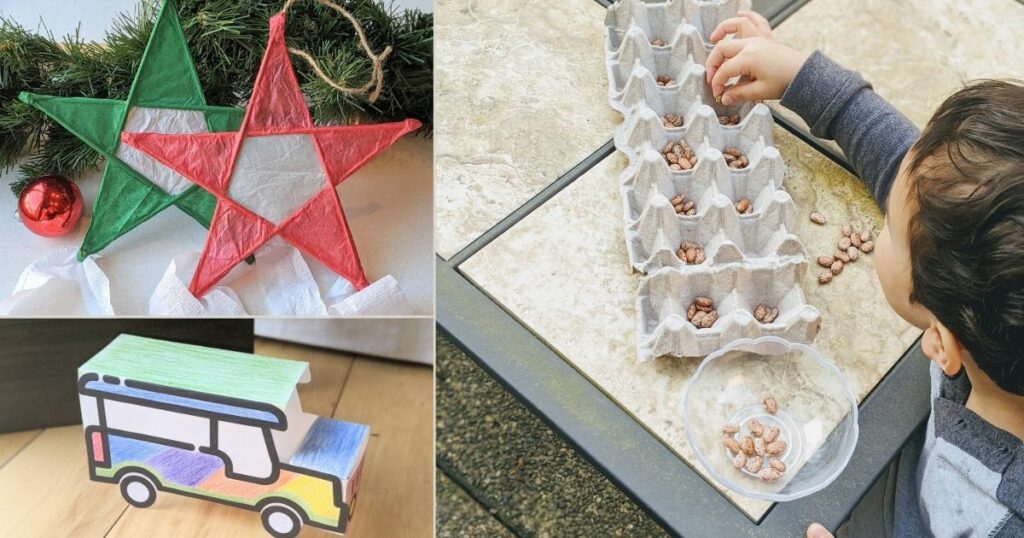
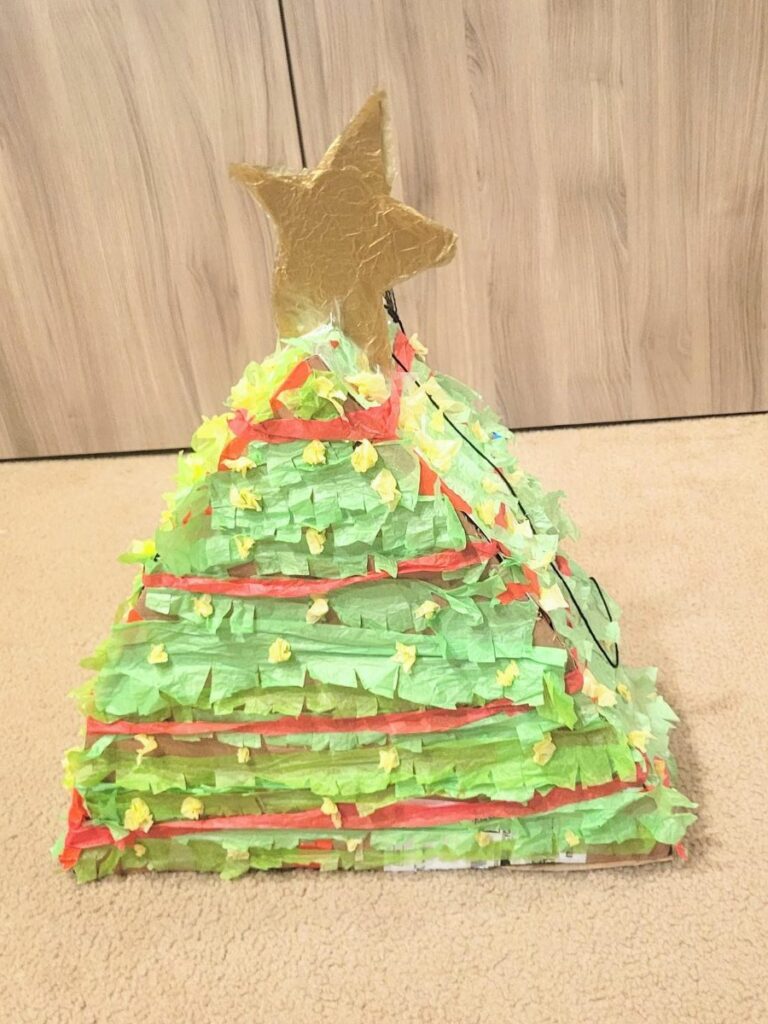
Our son loved learning to make a piñata so much that he has since been making them for every occasion. Here’s one that he made on his own for Christmas!

Easy Homemade Piñata
Make your own pinata out of a cardboard box with this fast and easy pinata craft!
Instructions
- On both sides of the box, cut off the top and bottom flaps, leaving only the middle flaps.
- Use painters tape to tape one side of the pinata shut.
- Poke two holes in the top of the box about two inches apart. Take a string and feed it down through one hole and back up the other. Pull the string to the length you want it and tie the ends of the string together.
- Fill the piñata. Seal the open side of the box with painters tape.
- Take pieces of tissue paper and cut them into long strips about two inches wide. Cut one inch slits up the tissue paper to form a fringe with pieces spaced about a half inch apart.
- Place a line of glue two inches above the bottom of the box. Press the strip of tissue paper into the glue along the uncut part, leaving the fringe loose. The bottom edge of the fringe should be even with the base of the box.
- Take another piece of tissue paper and cut a fringe in this one as well. Place a line of glue directly above the top of the last strip of tissue. The fringe of this tissue paper should cover the glued-down portion of the previous strip of tissue paper.
- Continue working your way up the box, cutting tissue paper and gluing it to the box until you reach the top.
- Add tissue paper strips to all the sides, bottom, and top of the box.
- Once your piñata is fully decorated it's ready to enjoy!
Other Crafts to Try

Sugar Skull Dot Art Craft– Express your creativity by making your own colorful sugar skull with our sugar skull template!
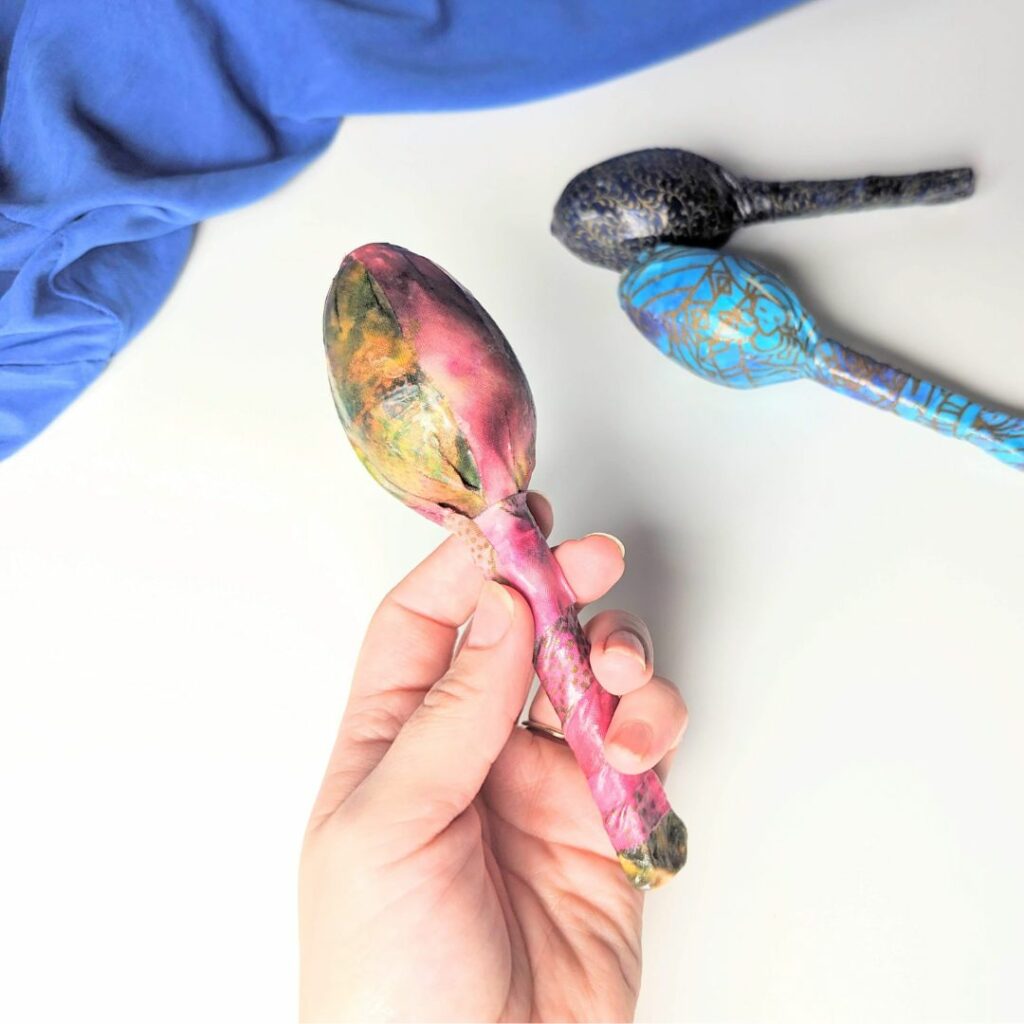
DIY Maracas– These homemade maracas are a fun and entertaining craft for kids to enjoy!