Spring is nearly here and if feels like the perfect time for some cute spring crafts, like this adorable paper plate bunny rabbit craft for kids!
This craft is quick and easy to put together and when you’re done you have a fun Easter bunny or spring-themed decoration to display.
In order to do the craft, you just need our free printable and some easy to come by materials. It’s a fun activity for preschoolers, kindergarteners, or elementary aged children.
So read on for instructions on how to make this sweet bunny rabbit paper craft.
And don’t miss out on our other fun Easter crafts and activities!
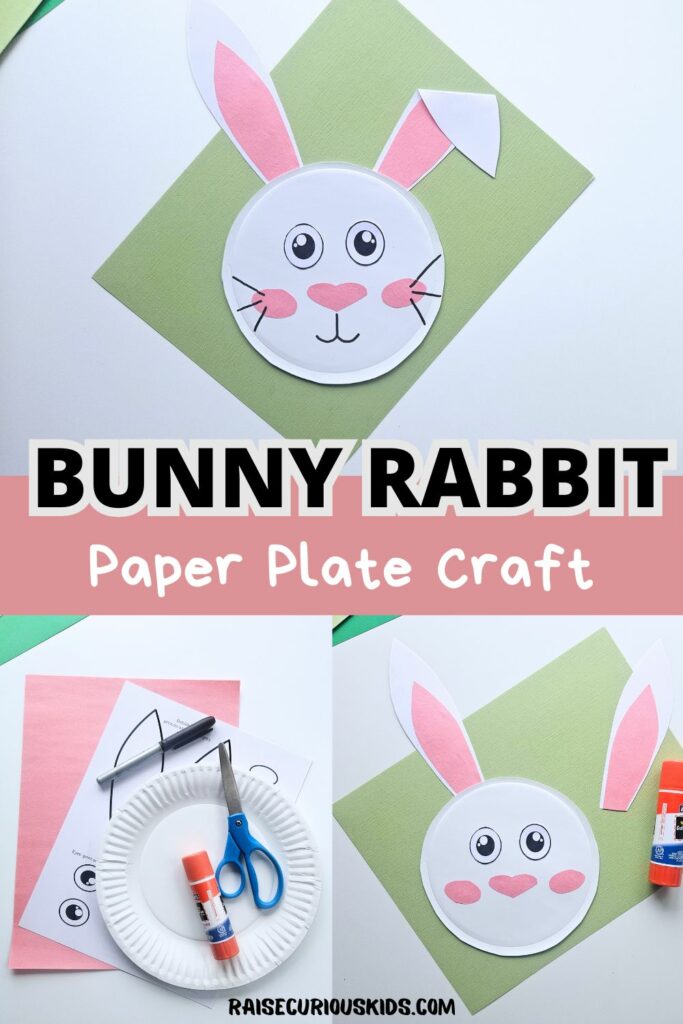
Bunny Paper Plate Craft for Kids
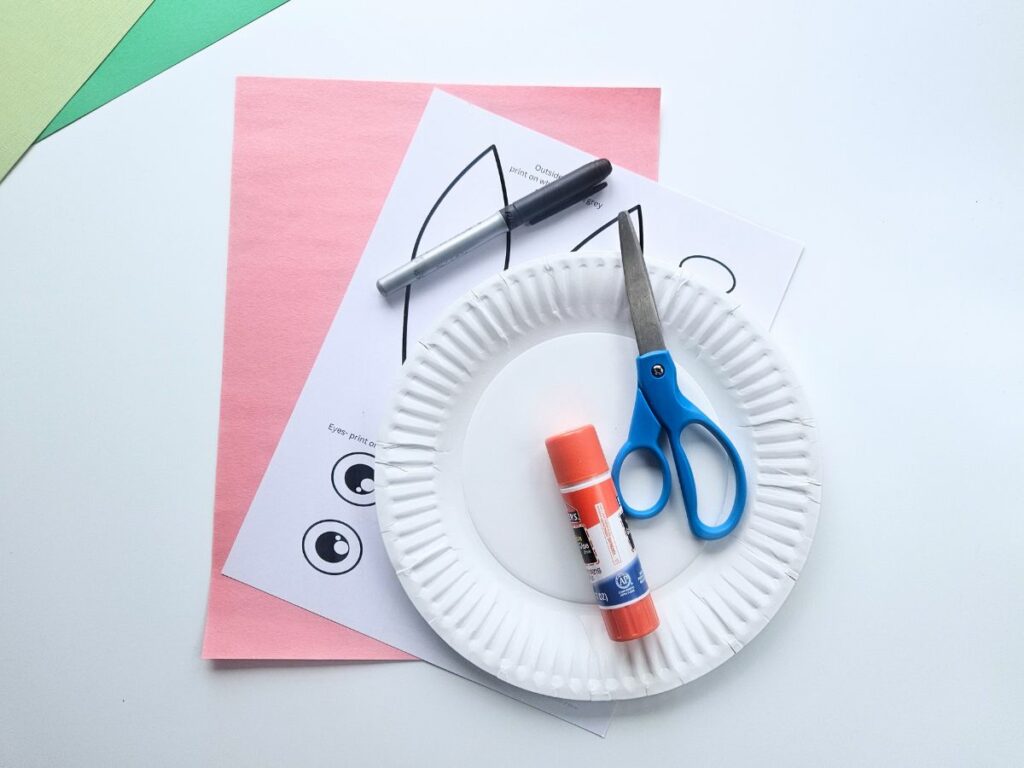
Materials
- Bunny printable (available for download below)
- Cardstock paper
- Paper plate
- Pink paper
- Glue
- Scissors
- Black pen
Instructions
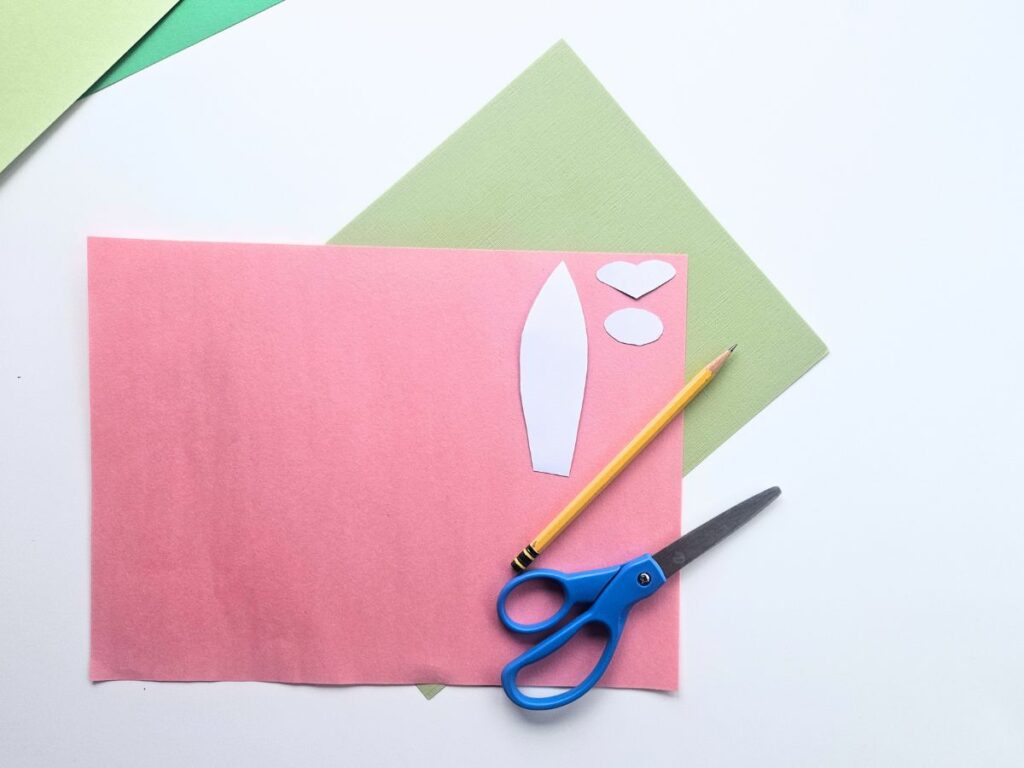
First, download and print out the bunny printable (if you’re making the ears white, it’s best to use cardstock paper so that you’re ears aren’t too floppy).
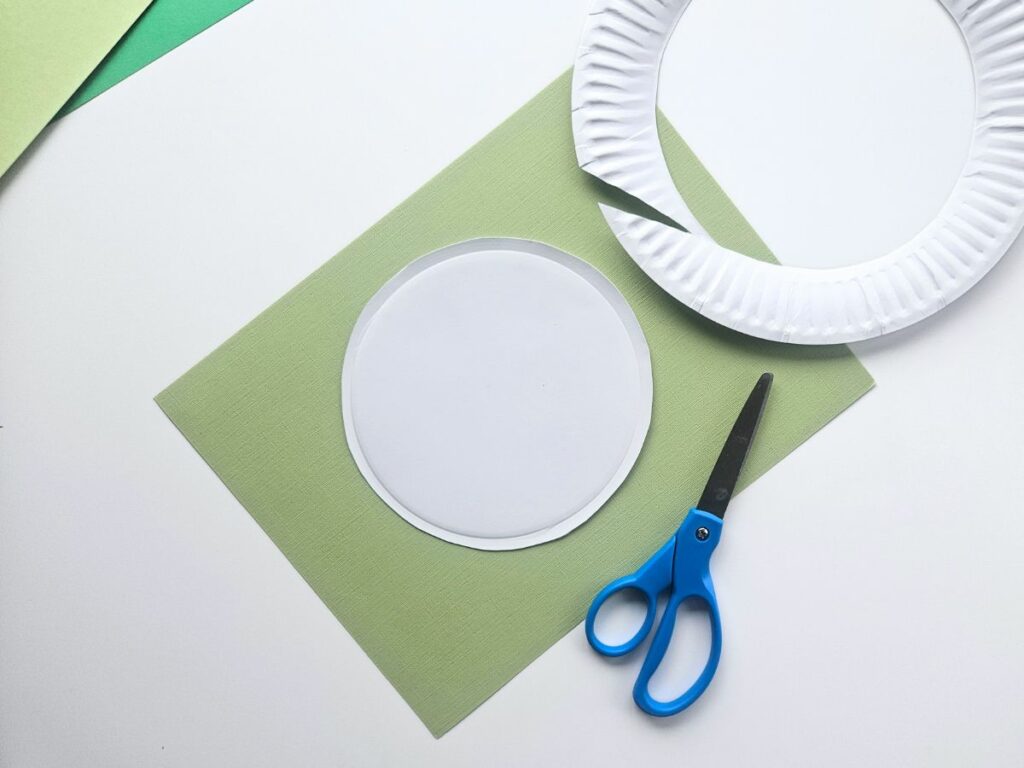
Cut out the center of your paper plate to remove the textured edges.
Next, cut out all of the pieces from the bunny printable.
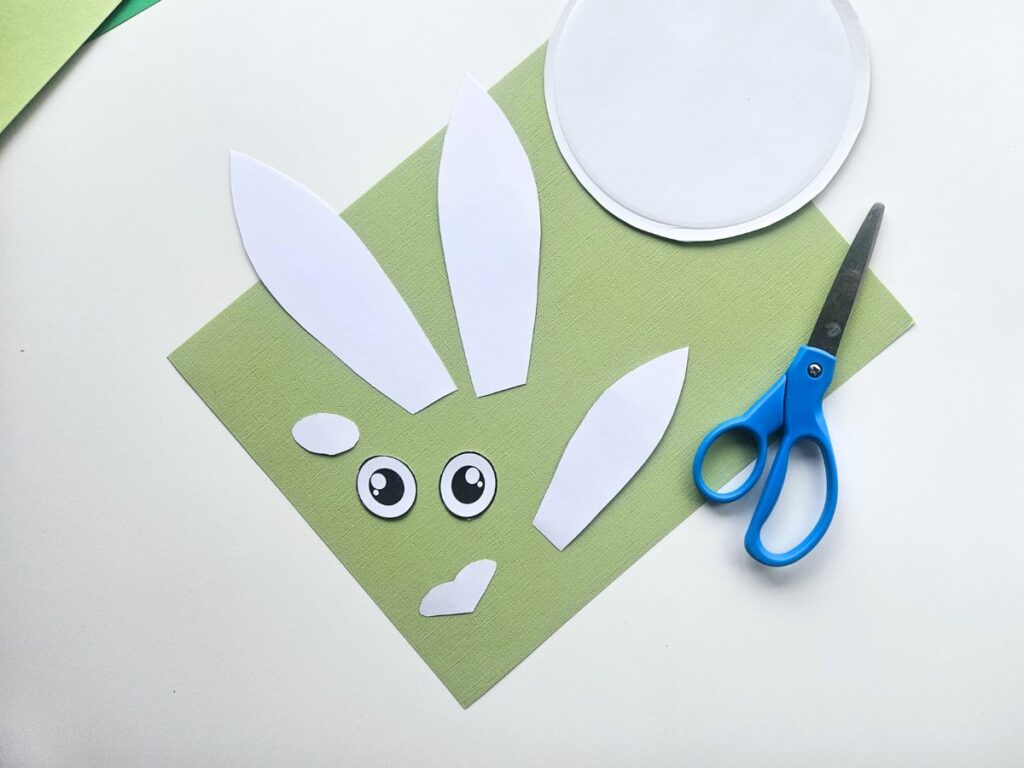
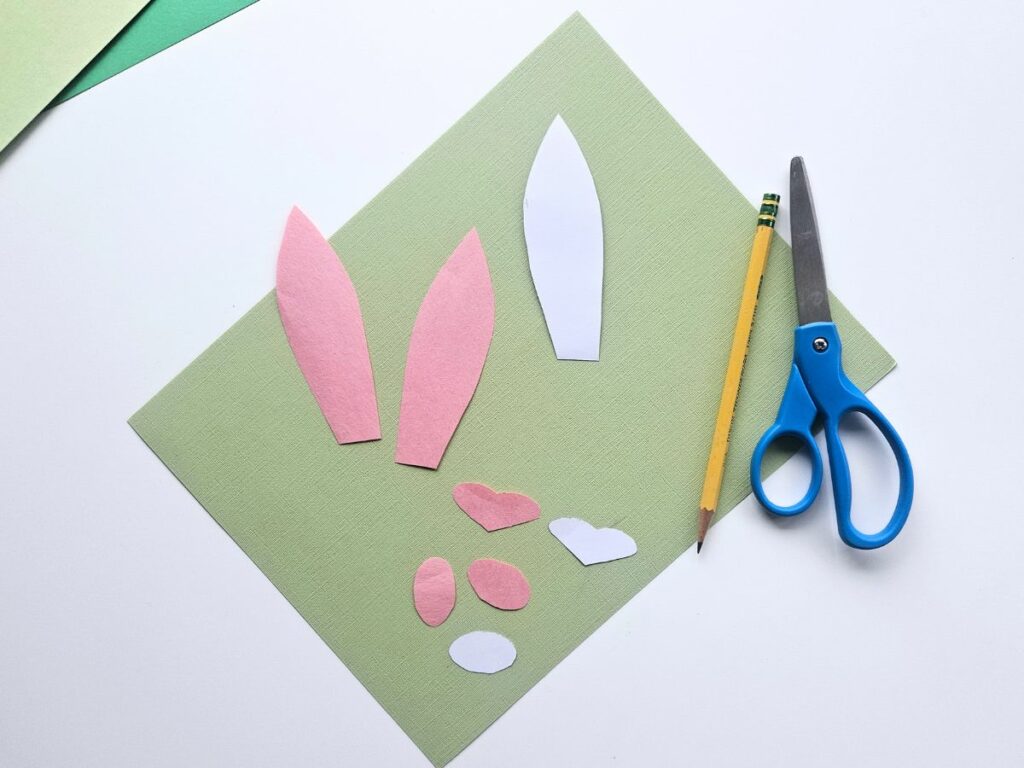
Trace the inner ear (2x), the cheek pieces (2x), and the nose onto a piece of pink paper.
Cut them out.
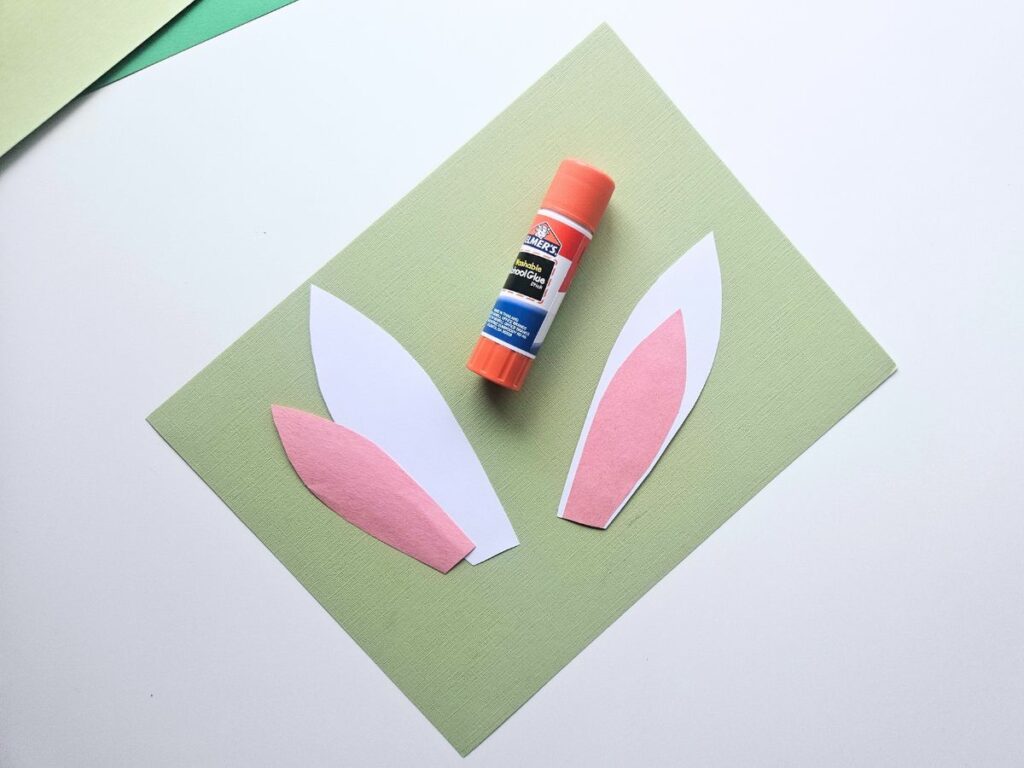
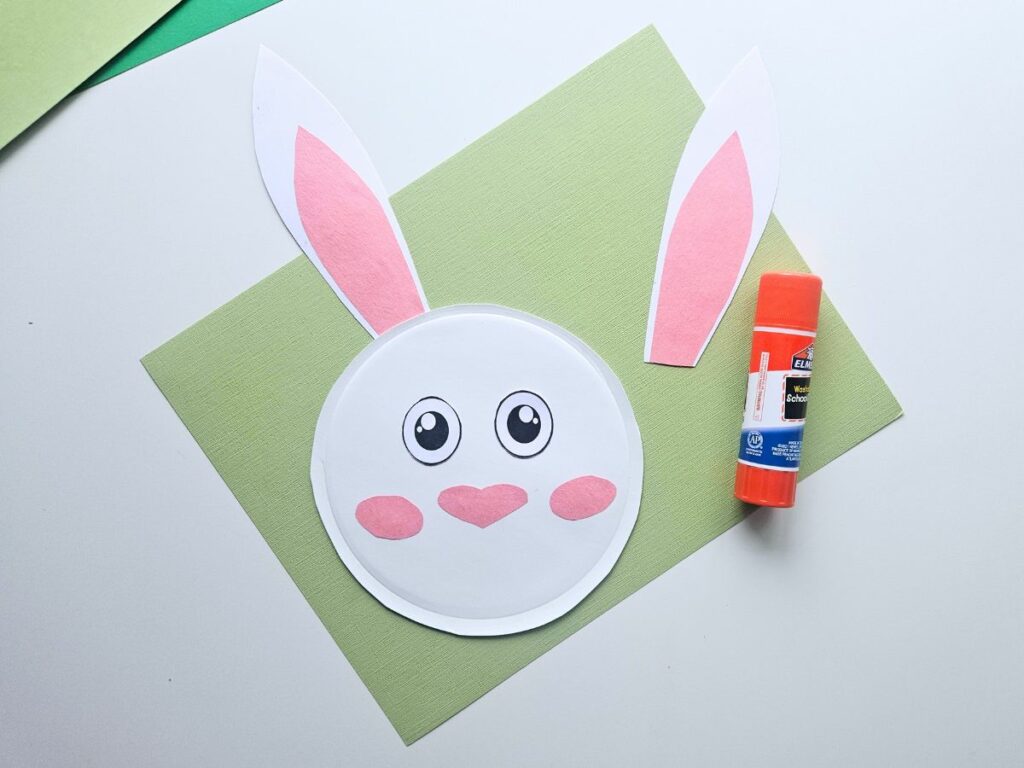
Glue the pink inside of the ear to the white outside.
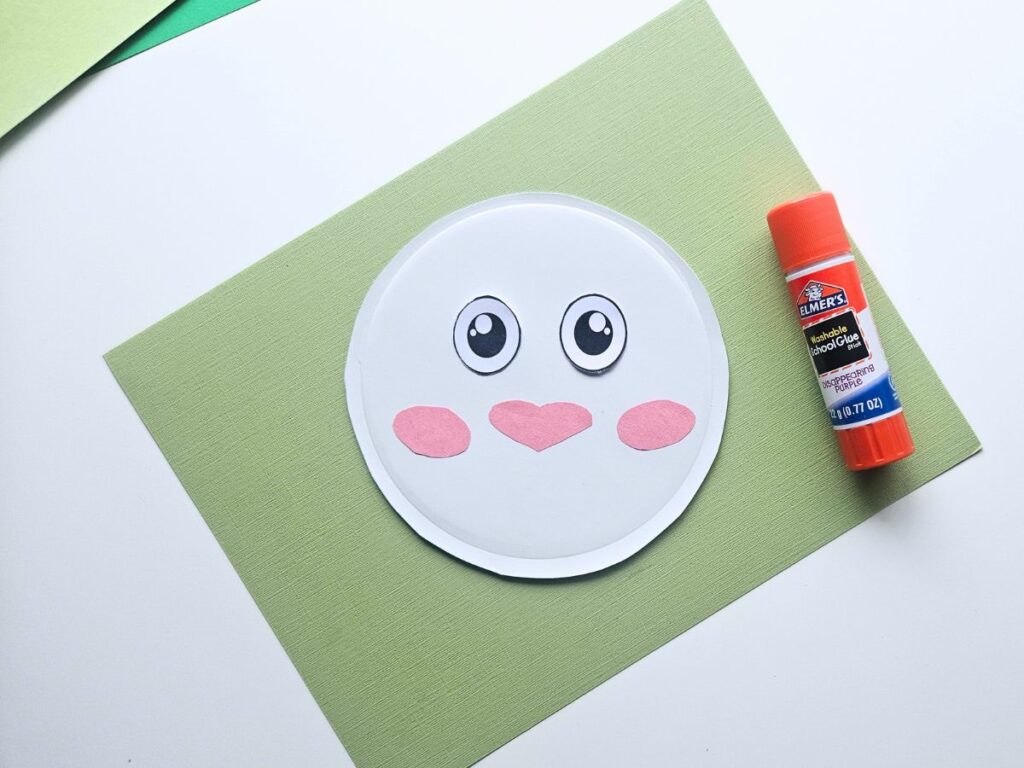
Glue the eyes, nose, and cheek pieces onto the paper plate.
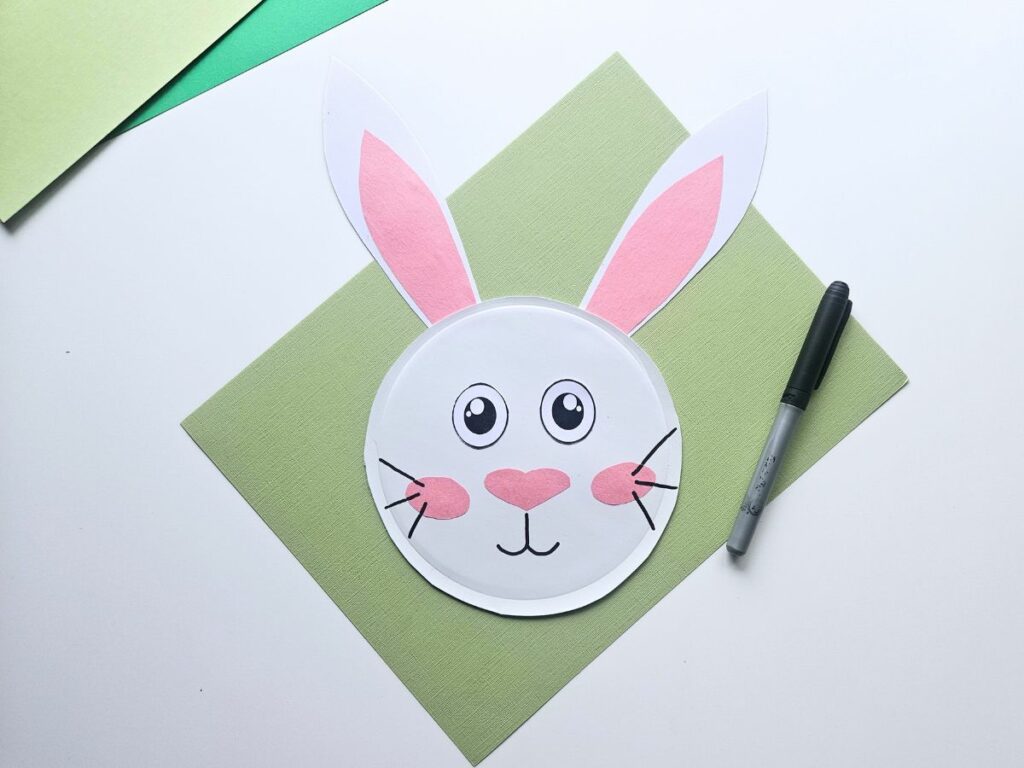
Apply a small amount of glue to the bottom of each ear and stick them to the back of the rabbit’s head.
Use a black pen to draw a mouth and whiskers on the rabbit.
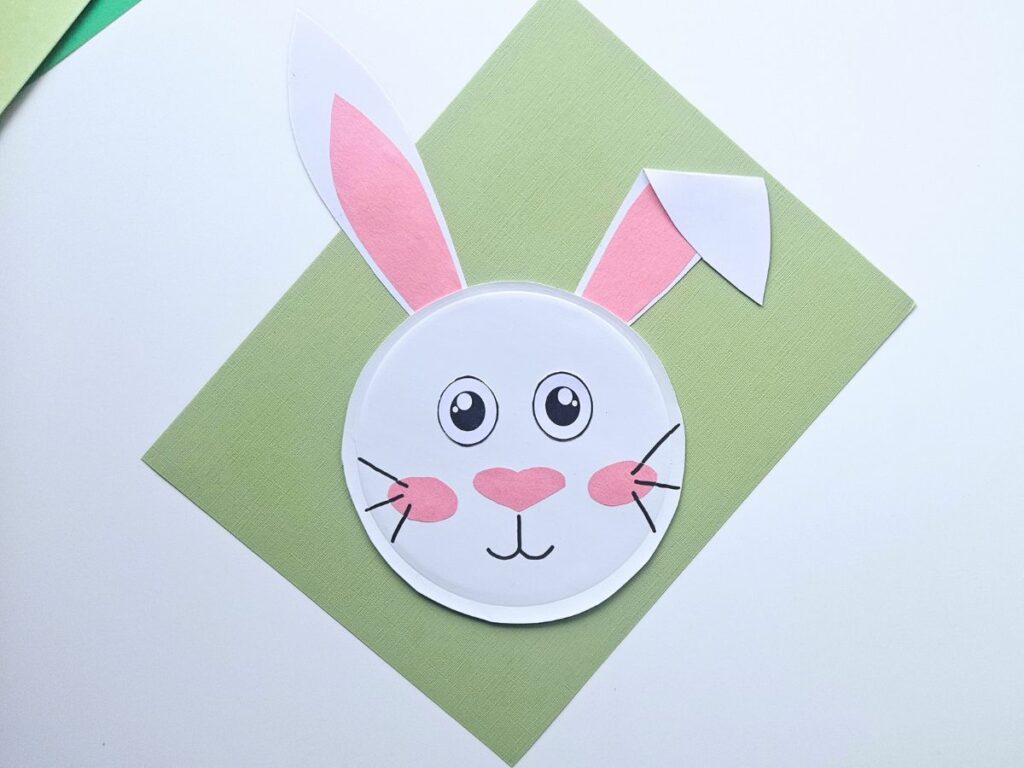
If desired, fold down one ear on your bunny.
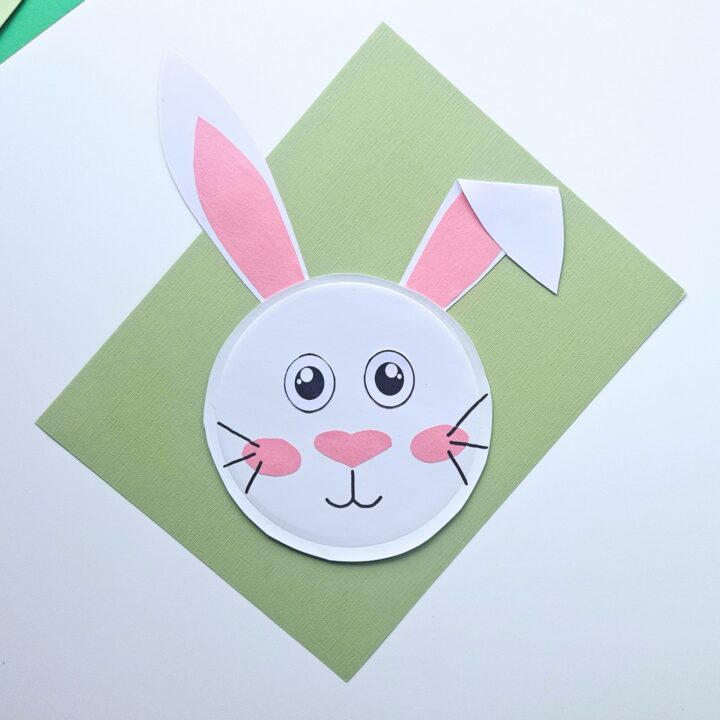
Now your paper plate bunny rabbit is complete and can be used to decorate your house for Easter or spring.
Kids are sure to love this adorable completed bunny craft!
Bunny Rabbit Paper Plate Craft
Materials
- Bunny printable
- Cardstock paper
- Paper plate
- Pink paper
- Glue
- Scissors
- Black pen
Instructions
- First, download and print out the bunny printable. For white ears, print on cardstock paper for sturdy ears.
- Cut out the center of your paper plate to remove the textured edges.
- Next, cut out the pieces from the bunny printable.
- Trace the inner ear (2x), the cheek pieces (2x), and the nose onto a piece of pink paper. Cut them out.
- Glue the pink inside of the ear to the white outside.
- Glue the eyes, nose, and cheek pieces onto the paper plate.
- Apply a small amount of glue to the bottom of each ear and stick them to the back of the rabbit's head.
- Use a black pen to draw a mouth and whiskers on the rabbit.
- If desired, fold down one ear on your bunny about a third of the way from the top.
Other crafts to try: