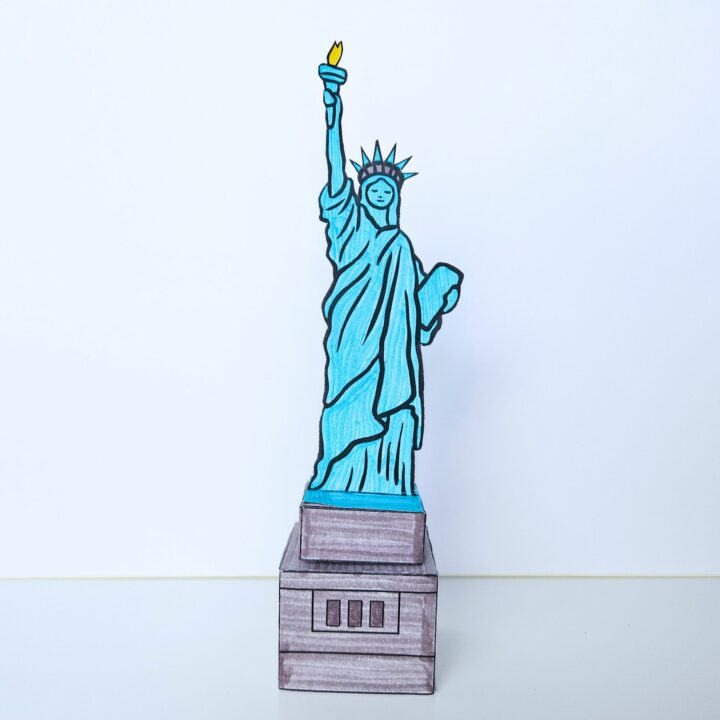
Make your own 3D Statue of Liberty with this fun and easy kids craft!
This craft is really simple to make and looks fantastic when complete. It’s a perfect craft for celebrating the Fourth of July or as part of a learning unit on the United States or New York.
And it’s a great activity for kids of all ages! Kindergarteners and elementary aged children will love making their own statues and even preschoolers will enjoy this fun craft with some help (my preschooler loved decorating the craft and I helped him with the assembly).
At the bottom of this page you will find some interesting facts about the Statue of Liberty that you can discuss while making this craft to learn more about this historic statue.
Read on for instructions to make your Statue of Liberty craft!
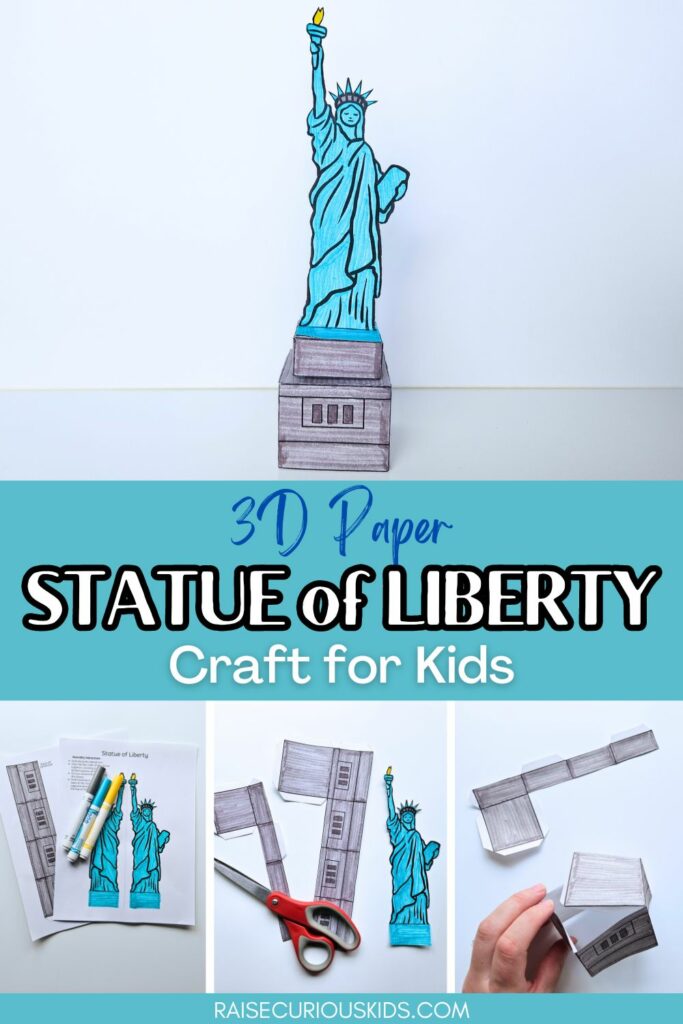
Statue of Liberty 3D Craft
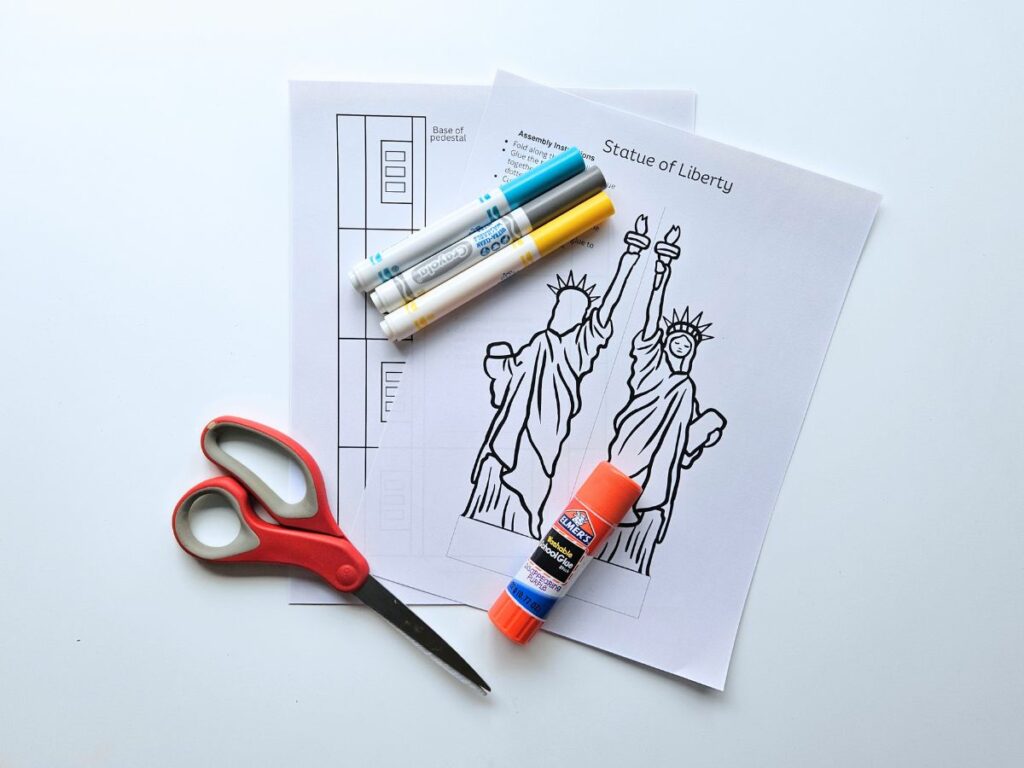
Materials
- Statue of Liberty 3D Printable Template (Etsy link)
- Scissors
- Glue
- Markers or colored pencils
Instructions
First, download and print out your 3D Statue of Liberty printable. You can use cardstock paper to make it sturdier, but the craft works just fine with regular printer paper.
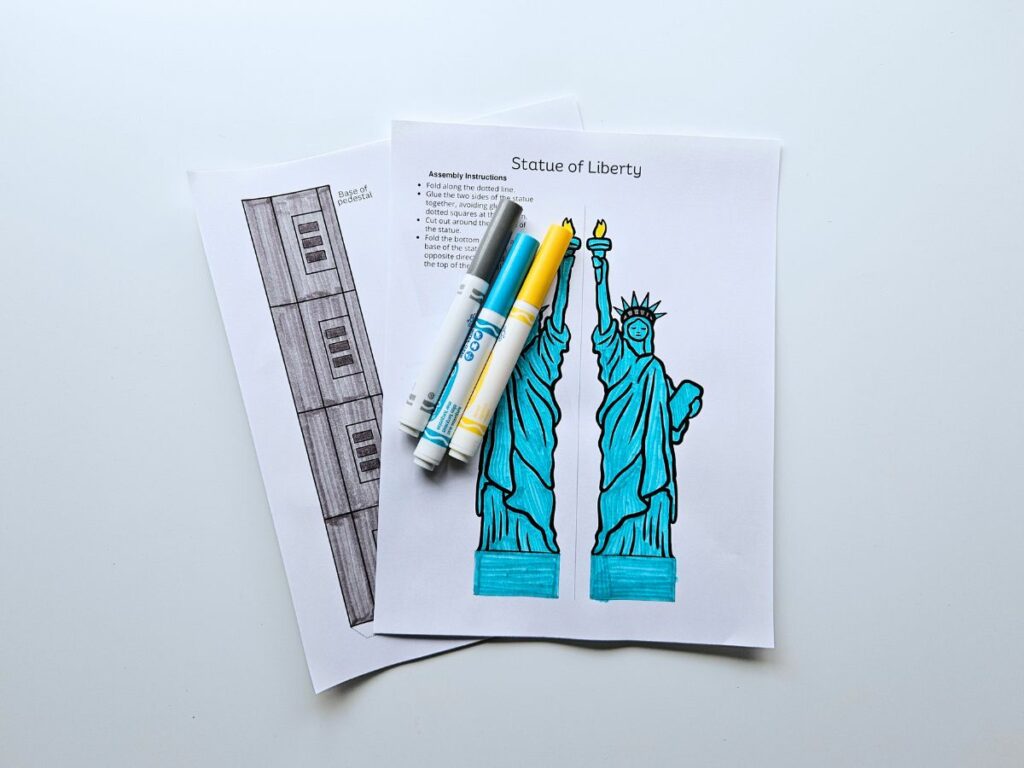
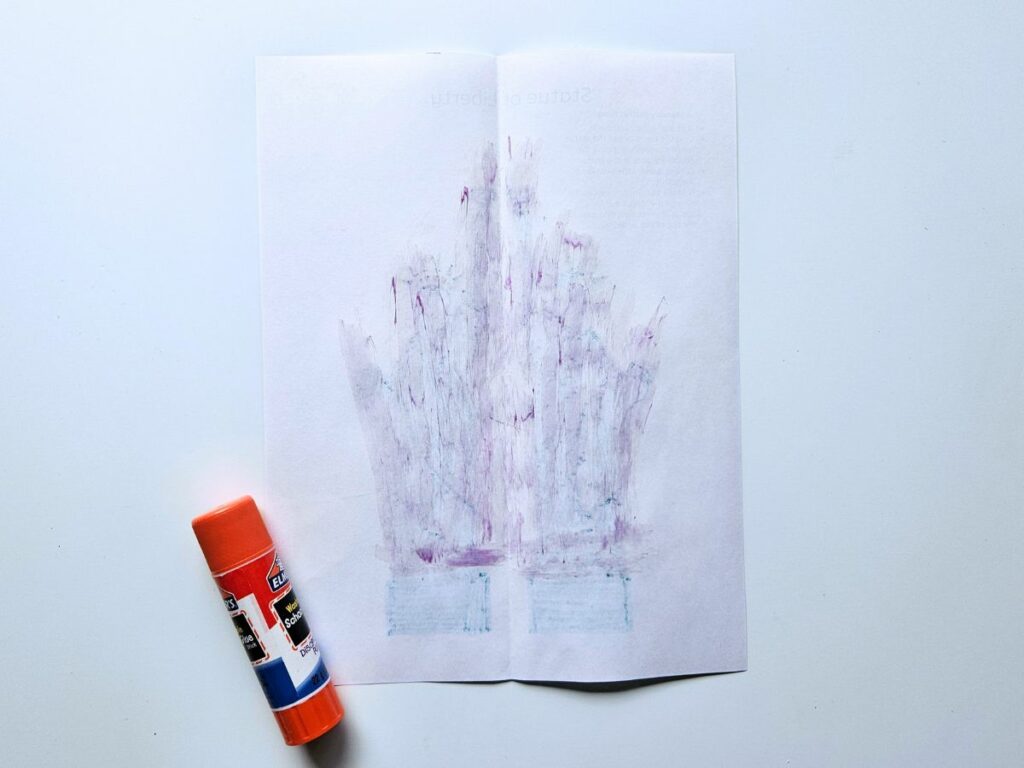
Next, color your Statue of Liberty and pedestal. You can use the medium of your choice here, from markers to colored pencils to paint. Be sure to color both sides of the Statue of Liberty and the dotted box at the bottom, which will be the base.
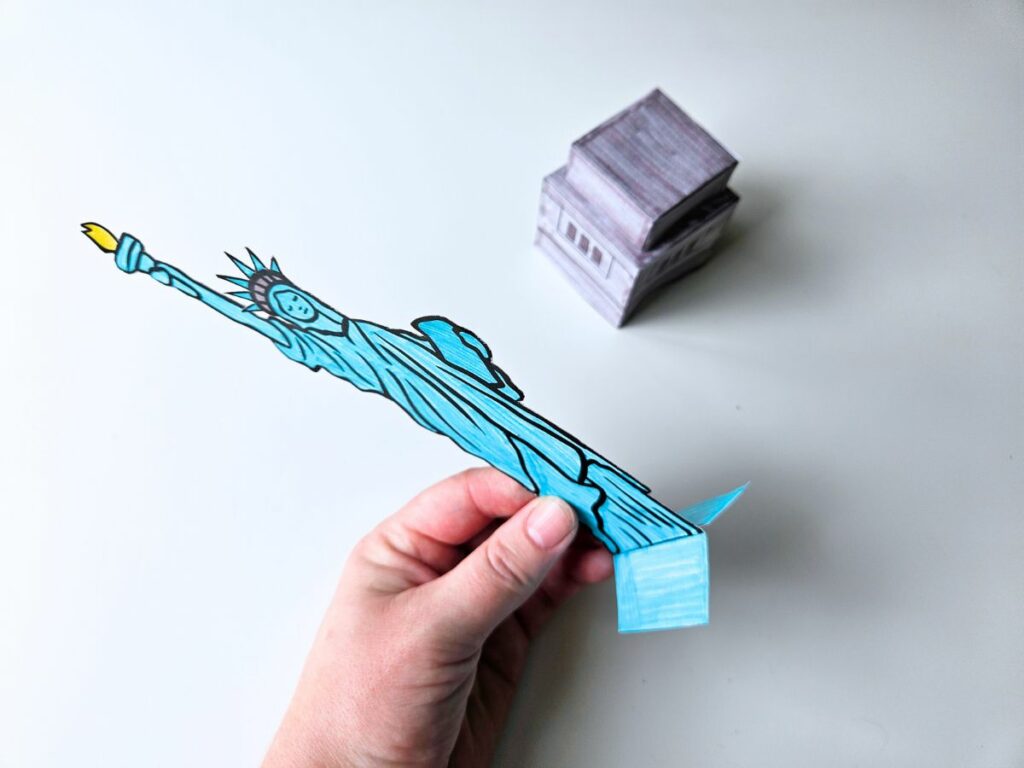
Once your craft is colored, fold the Statue of Liberty paper along the dotted line. Be sure to fold precisely on the dotted line to bring the front and back of the statue into alignment.
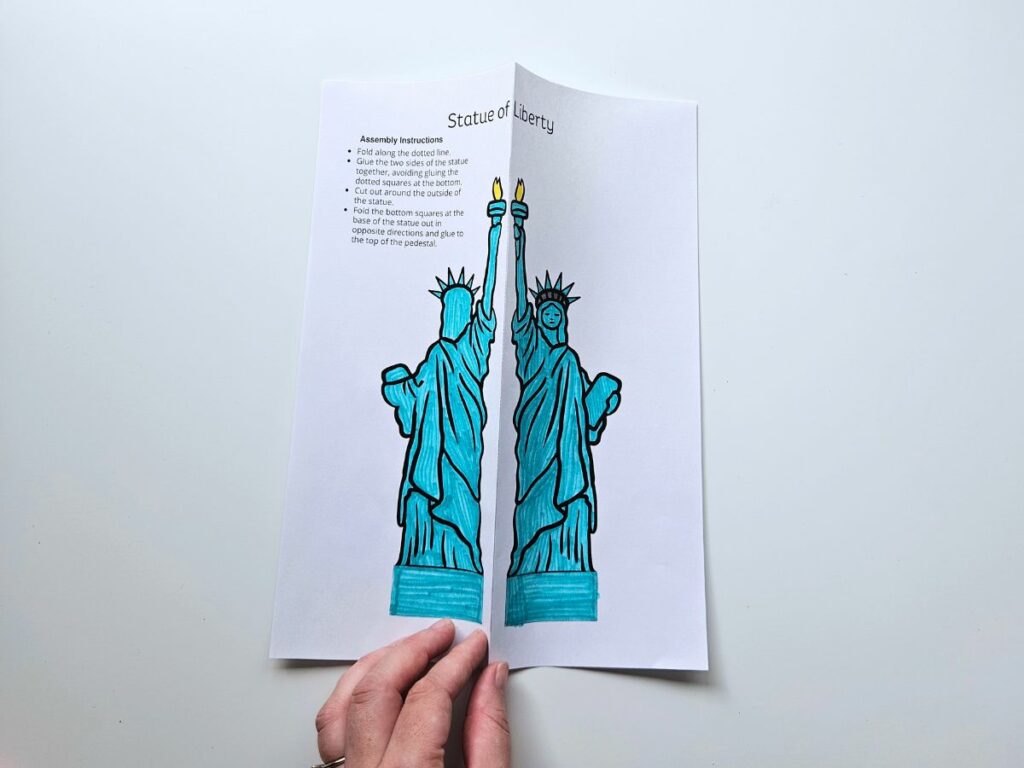
Apply glue to the inside of the paper and press together to secure both sides of the statue together. *Avoid getting glue on the dotted boxes at the bottom of the statue. *
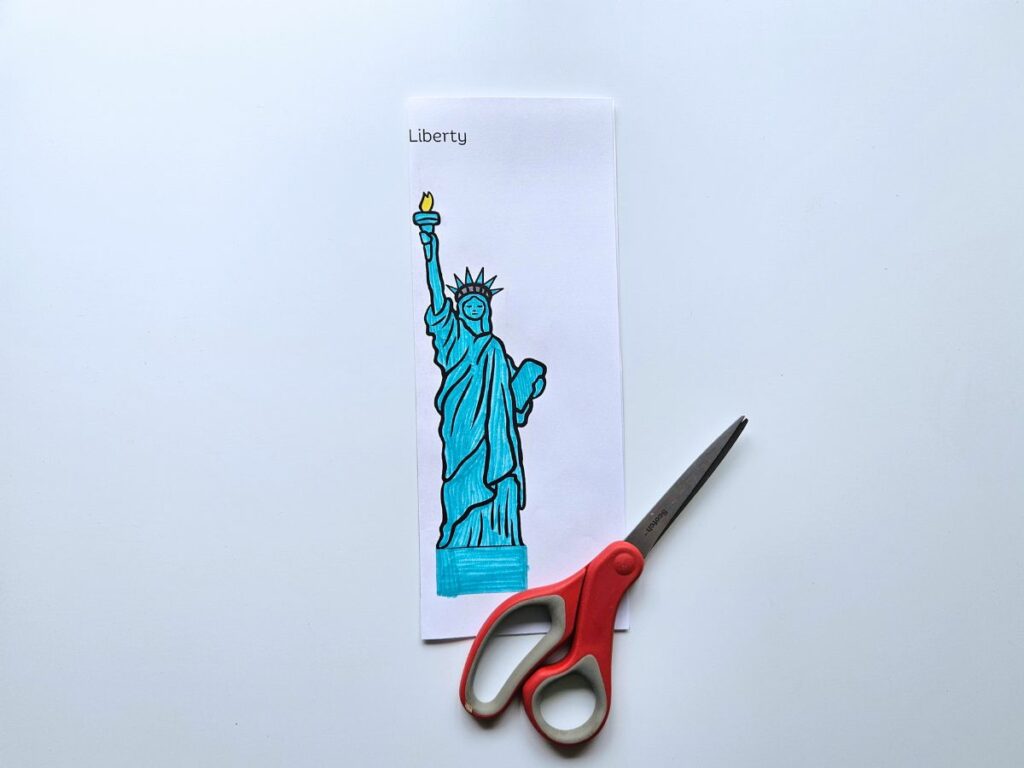
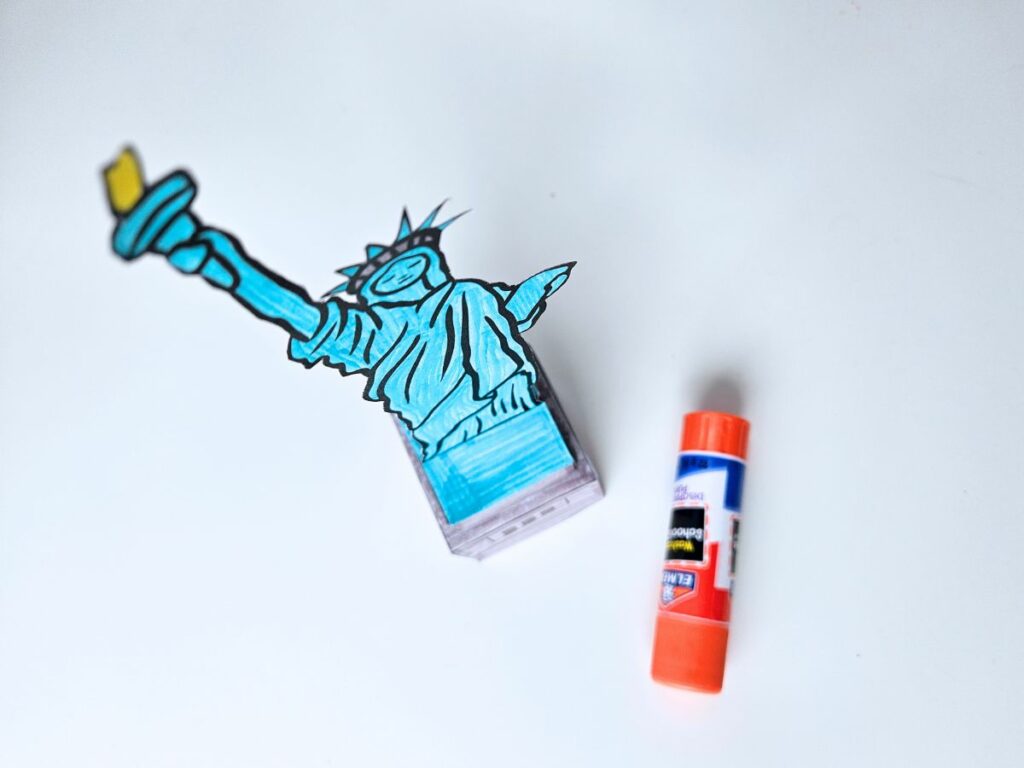
Cut out around the outside of the statue of liberty and around the dotted box at the bottom.
Also cut out the two pieces of the pedestal.
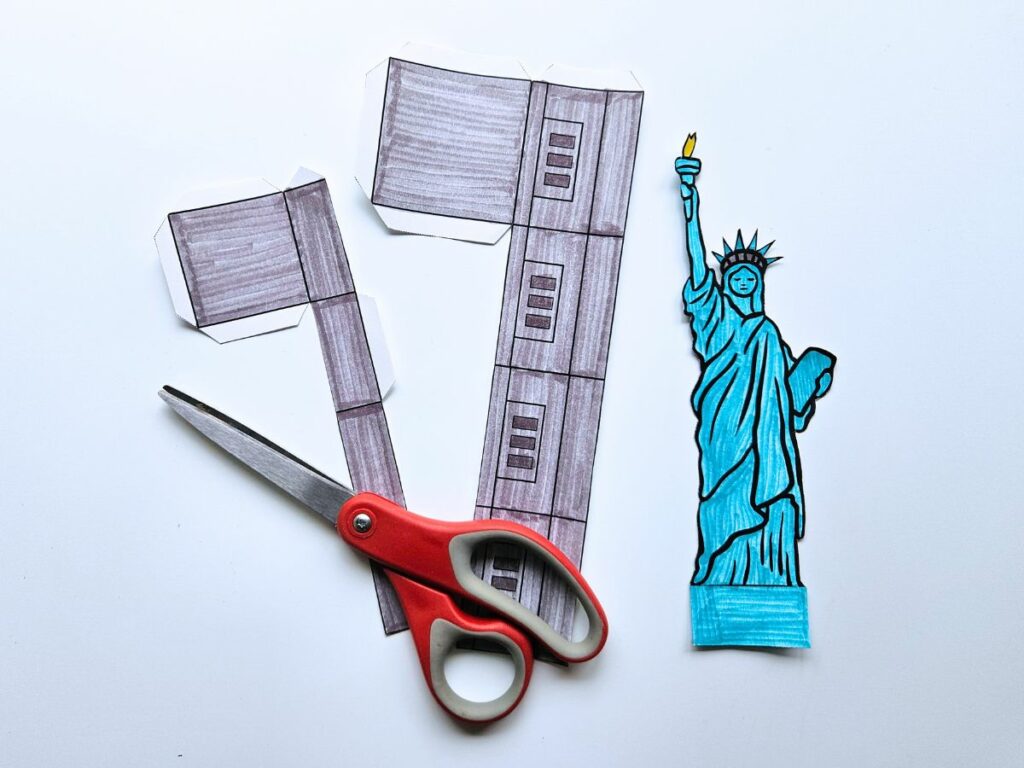
Fold and glue the two pieces of the pedestal into boxes using the tabs provided.
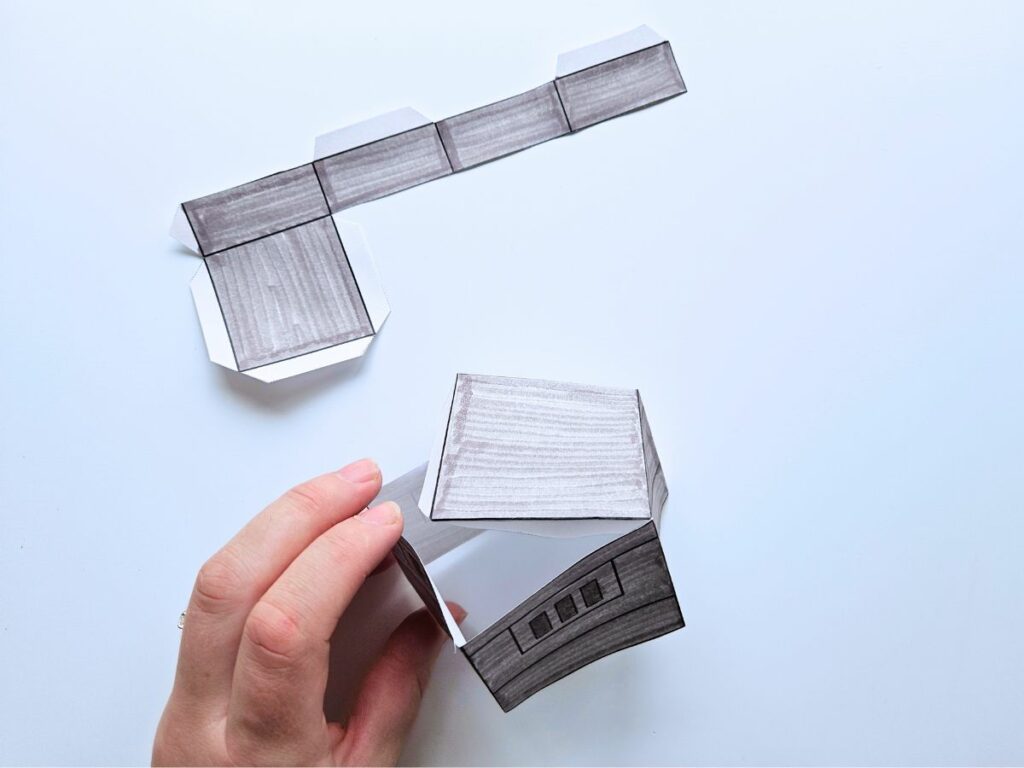
Glue the top of the pedestal to the bottom using the two flaps at the base of the top pedestal.
Fold the bottom squares at the base of the statue out in opposite directions and glue to the top of the pedestal.
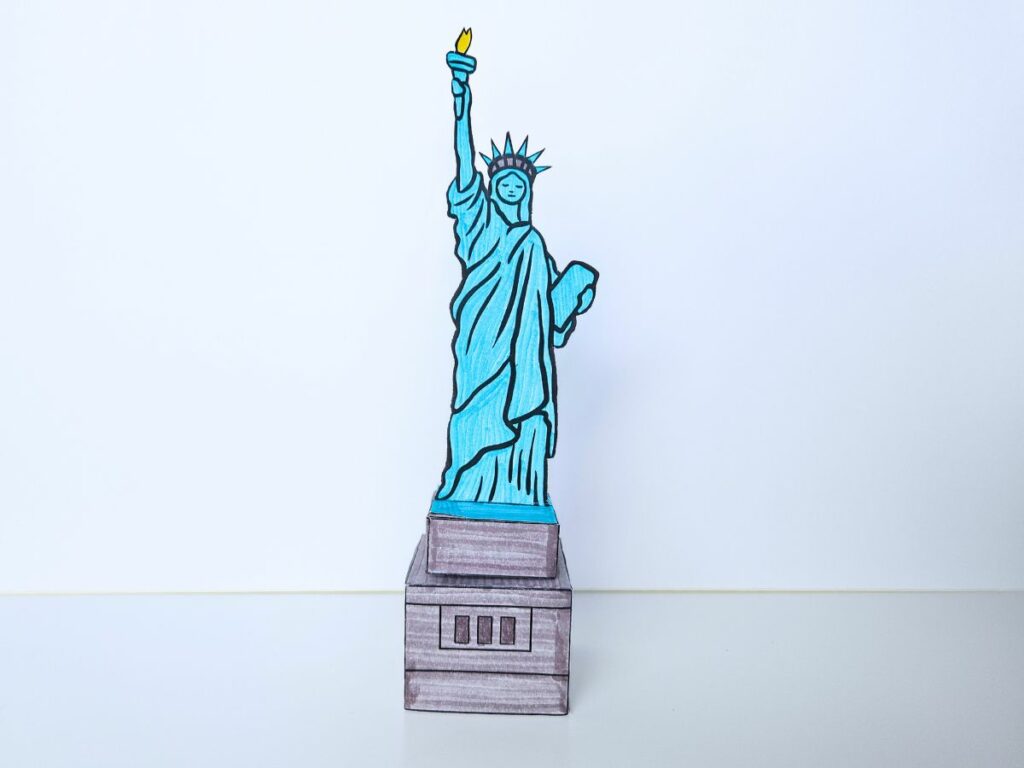
Now your Statue of Liberty 3D craft is complete!
Facts About the Statue of Liberty

Here are some interesting facts about the Statue of Liberty to discuss while you’re making your craft.
- The Statue of Liberty was a gift from France to the United States, given in 1886 to celebrate the friendship between the two countries.
- She represents freedom and democracy and has welcomed millions of immigrants arriving in the United States.
- The statue is very tall, standing at 305 feet from the ground to the tip of her torch, which is as tall as a 22-story building!
- Her torch lights up at night, guiding ships and symbolizing hope.
- The statue is made of copper, which has turned green over time due to weathering.
- At her feet are broken chains symbolizing freedom from oppression.
- She weighs about 225 tons, which is as much as 40 elephants!
- She holds a tablet with the date July 4, 1776, inscribed on it, which is America’s Independence Day.
- Visitors can climb up inside the statue to the crown, which has 354 steps, offering a stunning view of New York City.
Statue of Liberty 3D Craft
Make your own 3D version of the Statue of Liberty with this 3D craft for kids!
Materials
- Statue of Liberty 3D Printable Template
- Scissors
- Glue
- Markers or colored pencils
Instructions
- Download and print out the 3D Statue of Liberty printable.
- Color your Statue of Liberty and pedestal. Be sure to color both sides of the Statue of Liberty and the dotted box at the bottom, which will be the base.
- Fold the Statue of Liberty paper along the dotted line. Be sure to fold precisely on the dotted line to bring the front and back of the statue into alignment.
- Apply glue to the inside of the paper and press together to secure both sides of the statue together. *Avoid getting glue on the dotted boxes at the bottom of the statue. *
- Cut out around the outside of the statue of liberty and around the dotted box at the bottom.
- Cut out the two pieces of the pedestal. Fold and glue into boxes using the tabs provided. Glue the top of the pedestal to the bottom using the two flaps at the base of the top pedestal.
- Fold the bottom squares at the base of the statue out in opposite directions and glue to the top of the pedestal.
Other posts you might enjoy:
USA Crafts and Activities for Kids (Perfect for Fourth of July!)