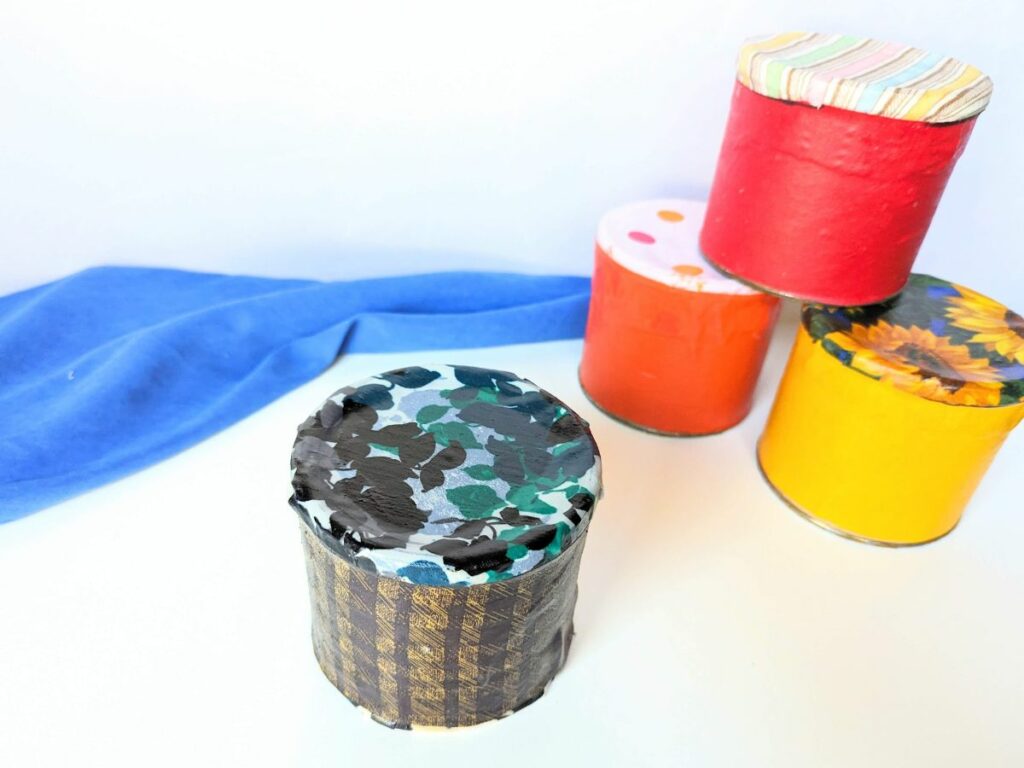
Make your own musical instrument at home with this drum craft for kids!
Using Mod Podge and fabric, you can transform a regular can into an adorable and sturdy little drum for children to enjoy.
The great thing about these drums is that you can customize them for different events or themes depending on what fabric you choose.
These homemade drums are perfect for birthday parties, cultural events or school units, or just for kids to enjoy making their own music at home! They can be used by toddlers, preschoolers, or school age children.
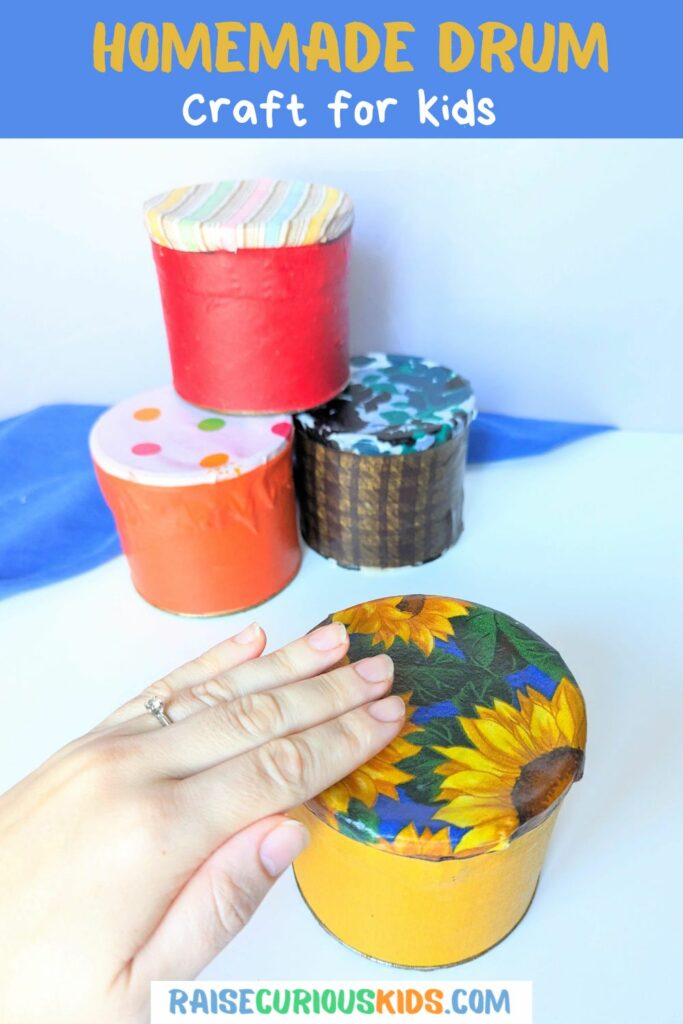
Homemade drum craft for kids
Materials
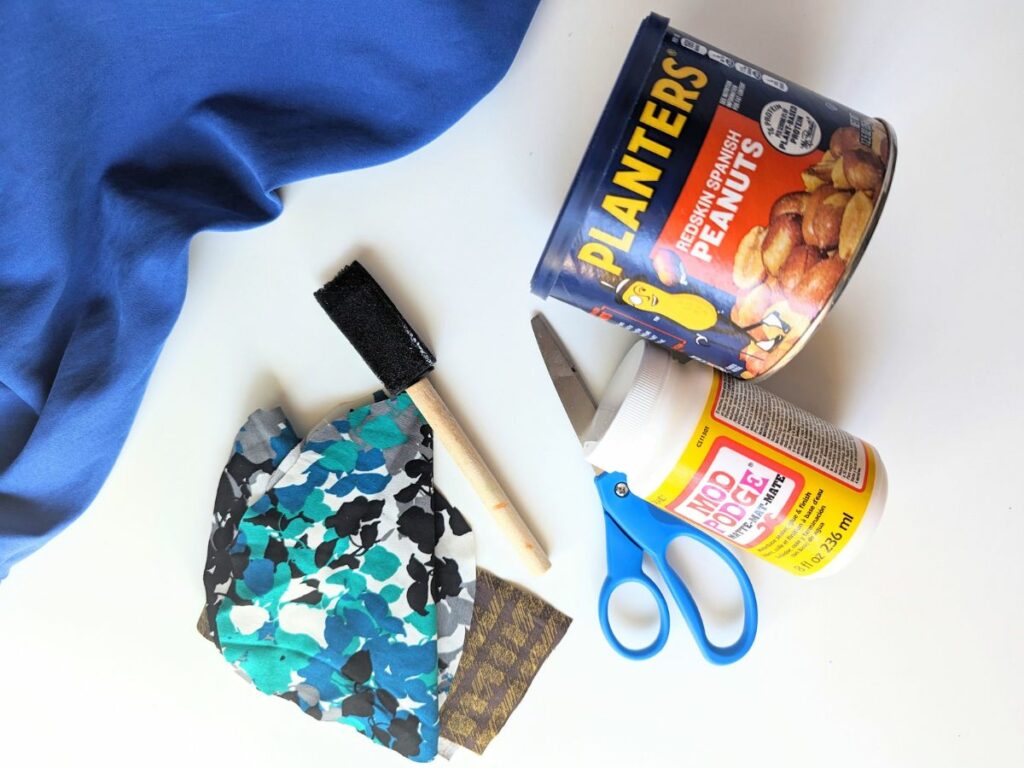
For this craft, you will need a small empty can (peanut cans work well) to act as the base for your drum.
You will be covering the can with fabric and then using Mod Podge to seal the fabric to the can and create a smooth surface. Through trial and error we’ve found that it’s best to cover both the bottom and top with fabric, otherwise the bottom can rust a bit over time.
Instructions
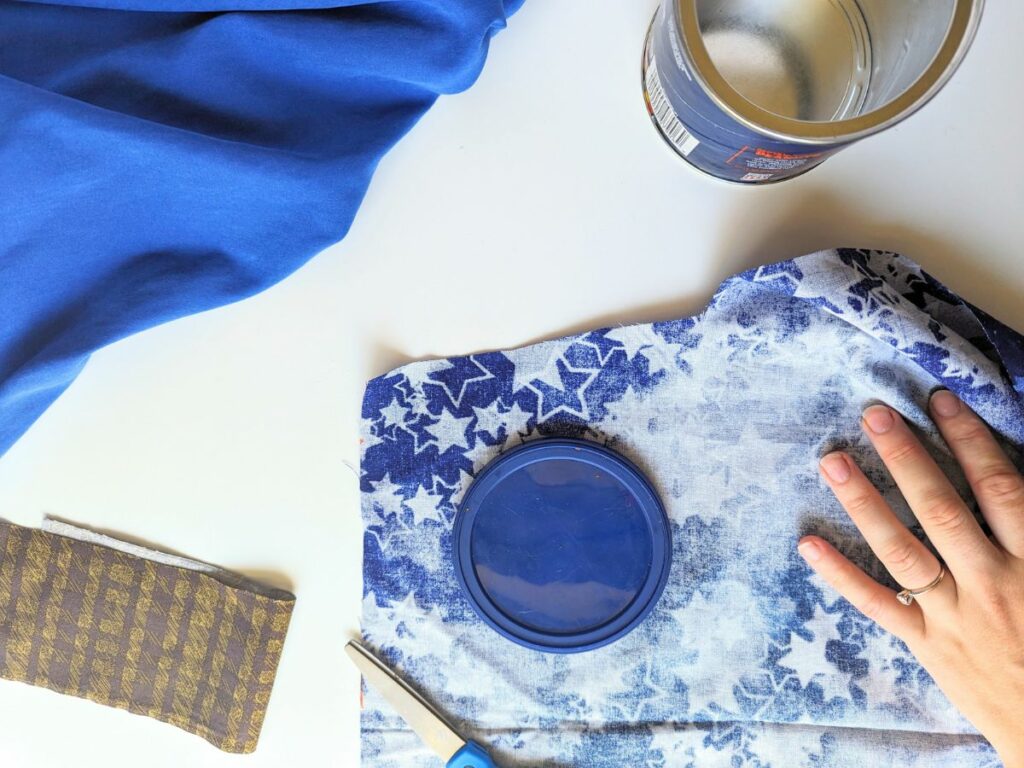
First off, you’ll need to cut your fabric into the size that you need for the craft.
For the fabric that wraps around the center of the can this needs to be very precise. You’ll want it to be just slightly smaller than the height of the can and wide enough to overlap when you glue it down.

For the fabric on the top and bottom, you’ll need the fabric to be about one inch wider than the can lid so there is enough room to glue it down the side of the can. This does not need to be as precise because the edges will be covered up by the central strip of fabric.
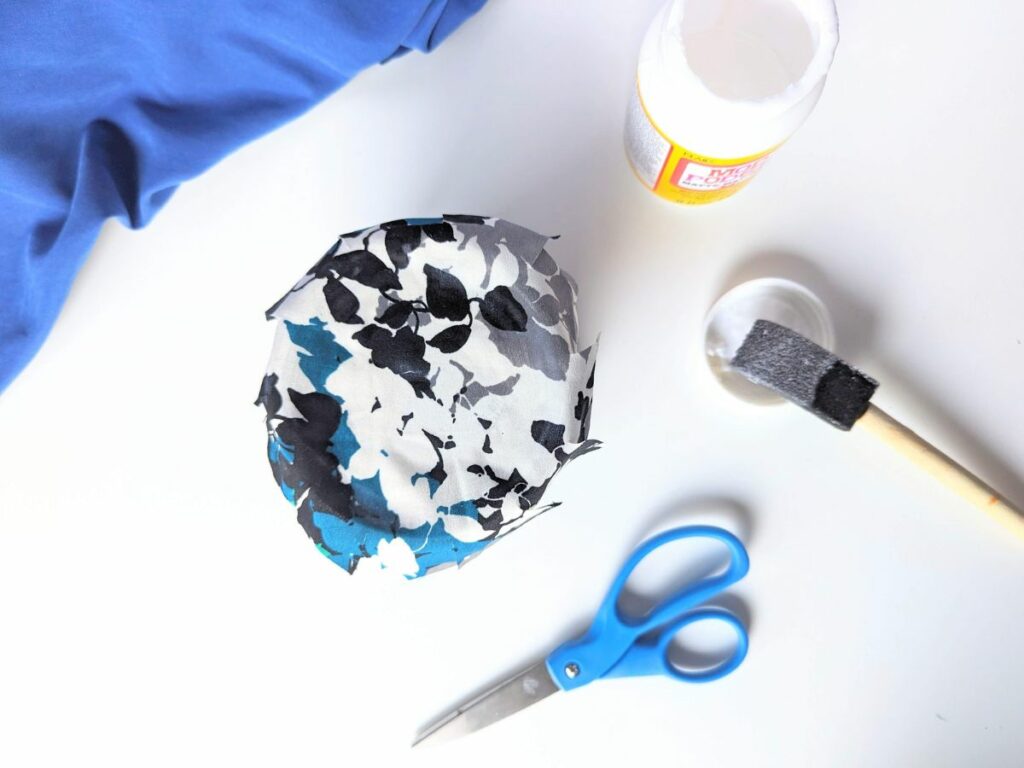
Place the lid on the can and cover it with a layer of Mod Podge. Then place the first circular piece of fabric on the lid to glue it down.
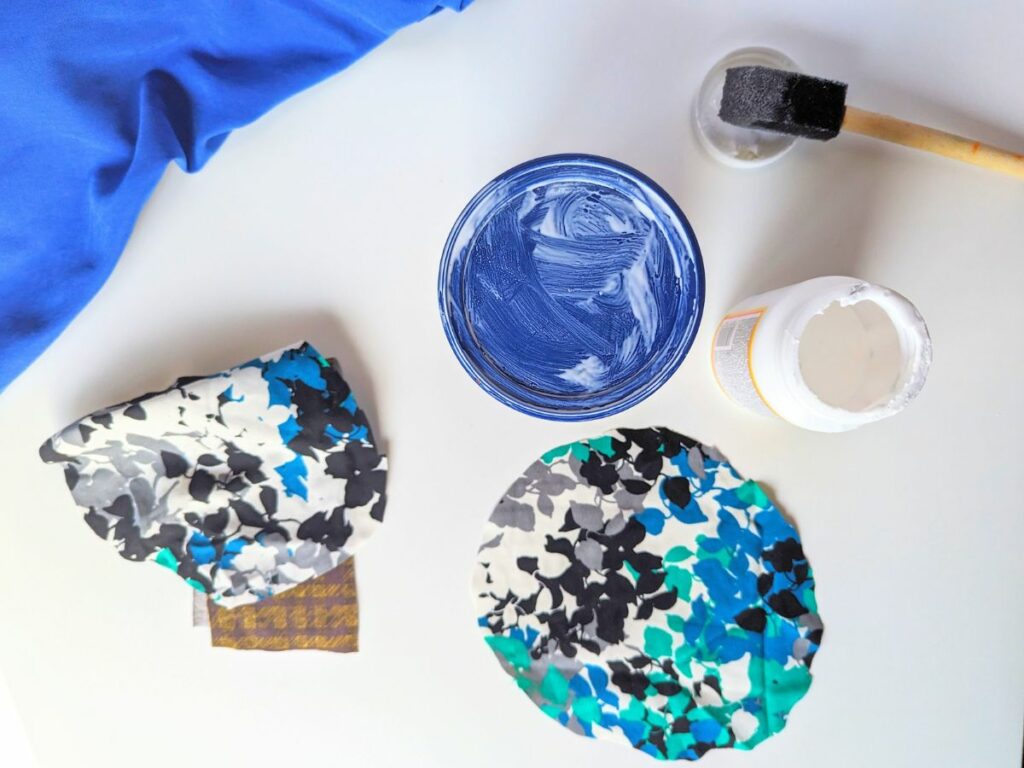
Once the top of the fabric is glued down, make cuts in the fabric (spaced about one inch apart), cutting from the edge of the fabric until you reach the lid of the can. This will allow you to glue the fabric down the sides without it bunching.

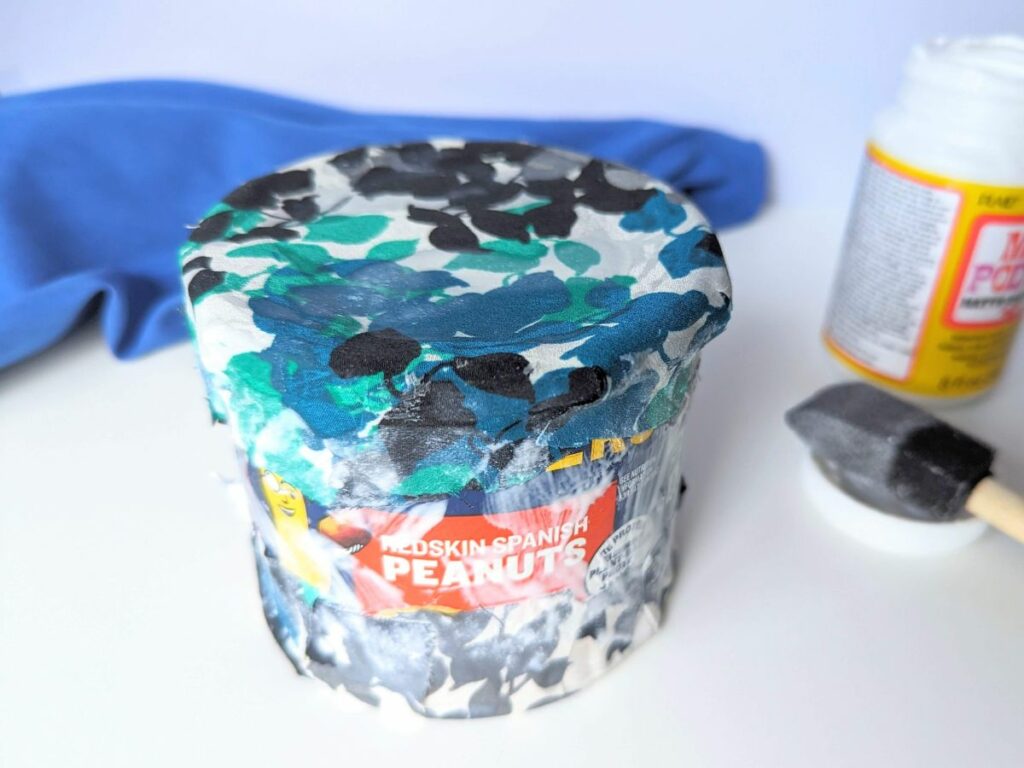
Use Mod Podge to glue the edges of the top fabric down the sides of the can.

Turn the can over and follow the same process for the bottom:
First, cover the bottom of the can with a layer of Mod Podge.
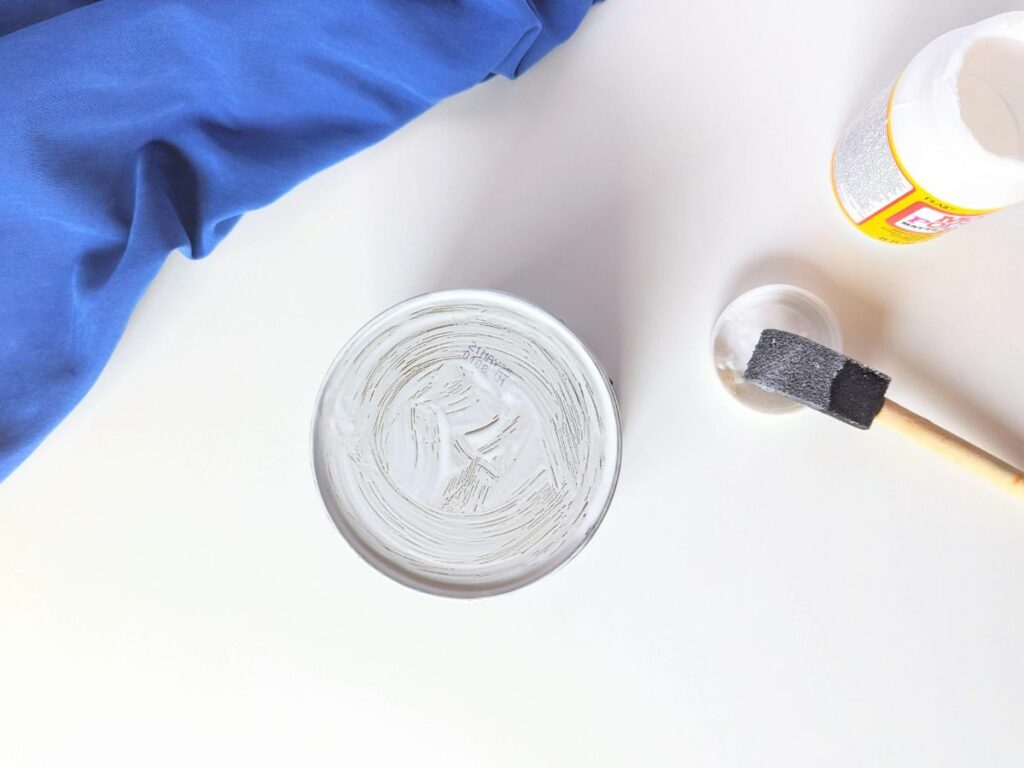
Place the fabric on top and press it into the Mod Podge.
Then cut the fabric into one inch strips up to the edge of the can.
Glue the fabric down the sides with a layer of Mod Podge.
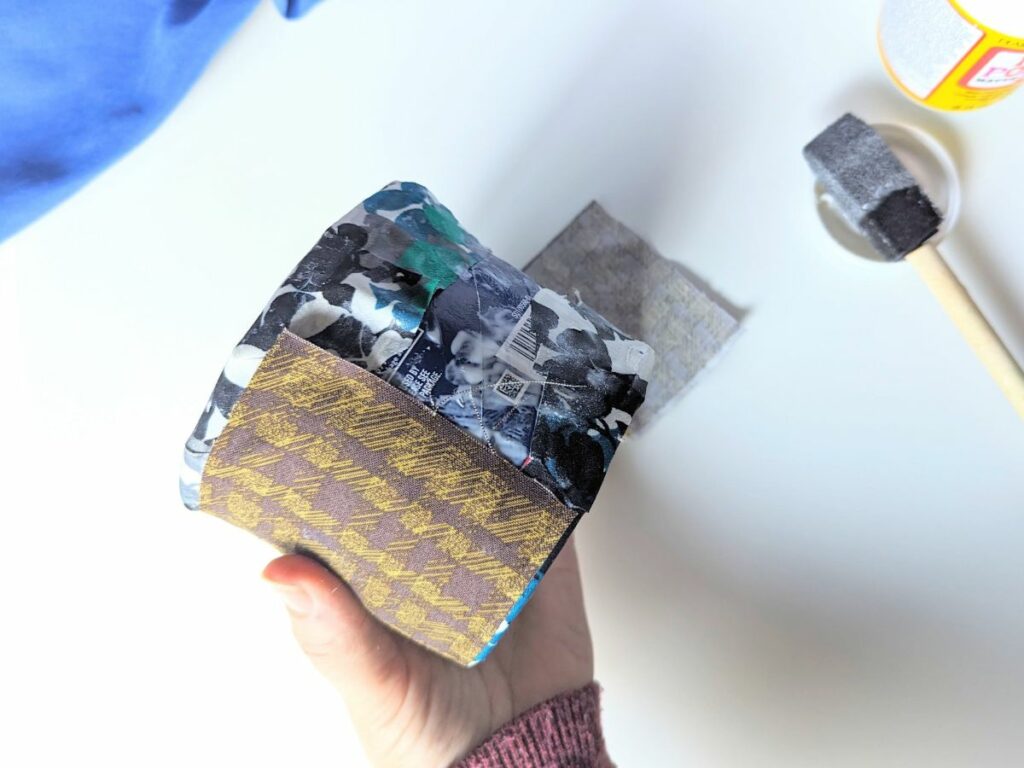
Next, place a layer of Mod Podge around the middle of the can and glue your long strip of fabric around it, overlapping the end.
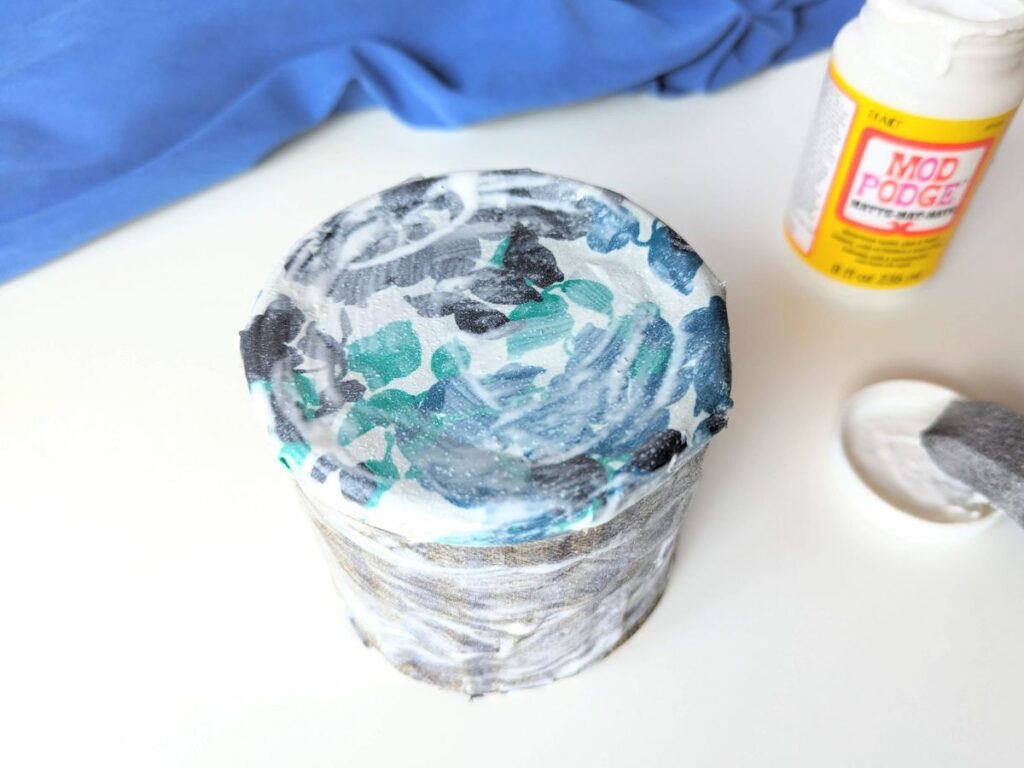
Once you’ve attached the middle strip, cover the whole drum with a generous layer of Mod Podge.
Let it dry and then apply another layer of Mod Podge over the whole drum. Let it dry.
If necessary, do another coat or two of Mod Podge until you get your desired finish.
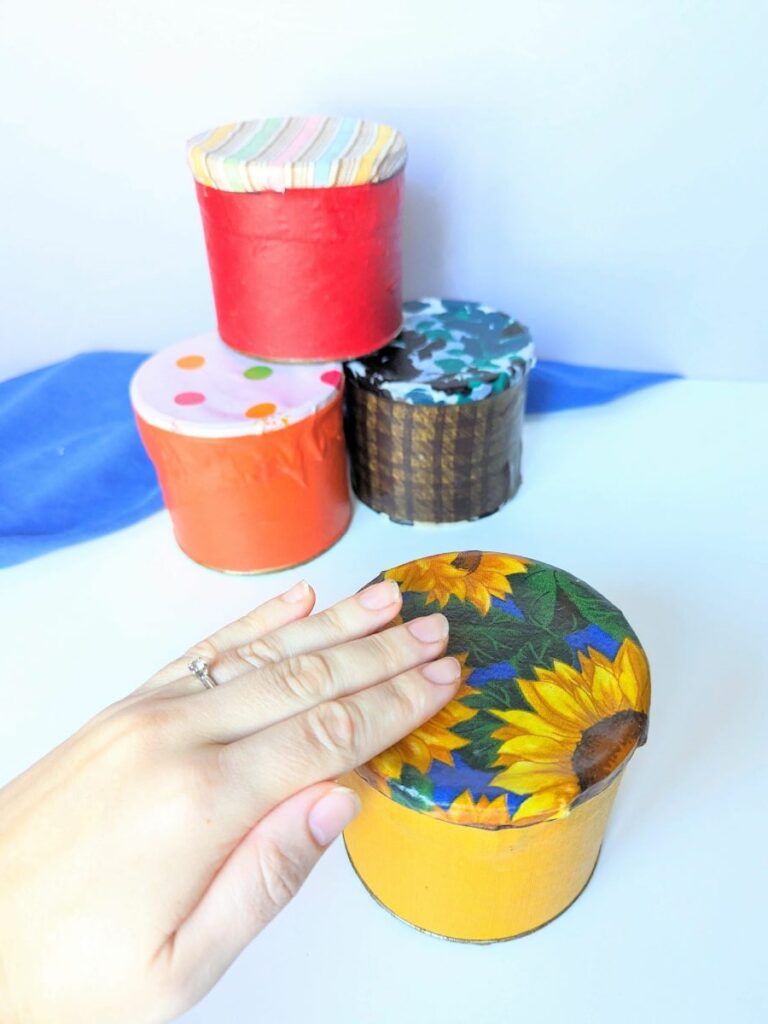
When it’s finished, the drum should feel smooth to the touch and there should be no pieces of the loose fabric anywhere.
Once complete, you’re left with a sturdy drum that your child will love playing with for years to come! This is such a fun drum craft for kids because you can customize the fabric to make your drum look any way you like and it’s a functional instrument that will even stand up to rough play from toddlers and preschoolers.
Our children love these drums and get lots of entertainment from playing them!

Homemade Drum Craft
These homemade drums are a study and lasting instrument that children will love playing with!
Materials
- Fabric
- Mod Podge
- Brush
- Scissors
- Empty can
Instructions
- Cut one long strip of fabric to cover the center of the can. This strip should be just slightly smaller than the height of the can and wide enough to overlap when you glue it down.
- Cut two circles one inch larger than the lid of the can.
- Place the lid on the can and cover it with a layer of Mod Podge. Place one of the fabric circles on the lid and press it down to secure it to lid of the can.
- Make cuts in the fabric spaced about one inch apart from the edge of the fabric until you reach the lid of the can.
- Use Mod Podge to glue the edges of the fabric down the sides of the can.
- Turn the can over and cover the bottom of the can with Mod Podge. Place the other circle of fabric on the bottom and press down to secure it to the can.
- Make cuts in the fabric spaced about one inch apart from the edge of the fabric until you reach the bottom of the can.
- Use Mod Podge to glue the edges of the fabric down the sides of the can.
- Place a layer of Mod Podge around the middle of the can and glue your long strip of fabric around it, overlapping the end.
- Cover the whole drum with a generous layer of Mod Podge. Allow it to dry.
- Cover the whole drum in a second coat of Mod Podge. Allow to dry. Continue adding coats as needed until a smooth finish is achieved.
Other Crafts to Try
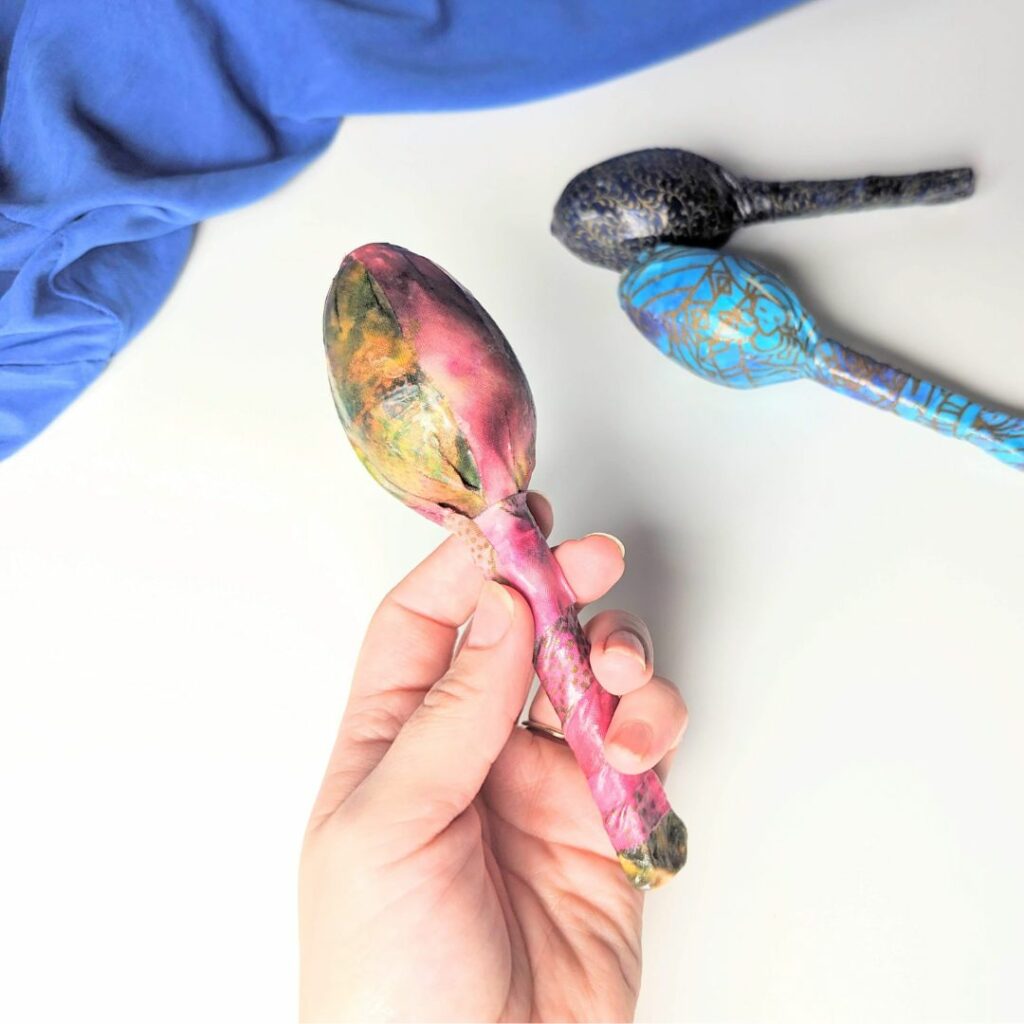
DIY Maracas– These homemade maracas are the perfect addition to music time with a toddler or preschooler!
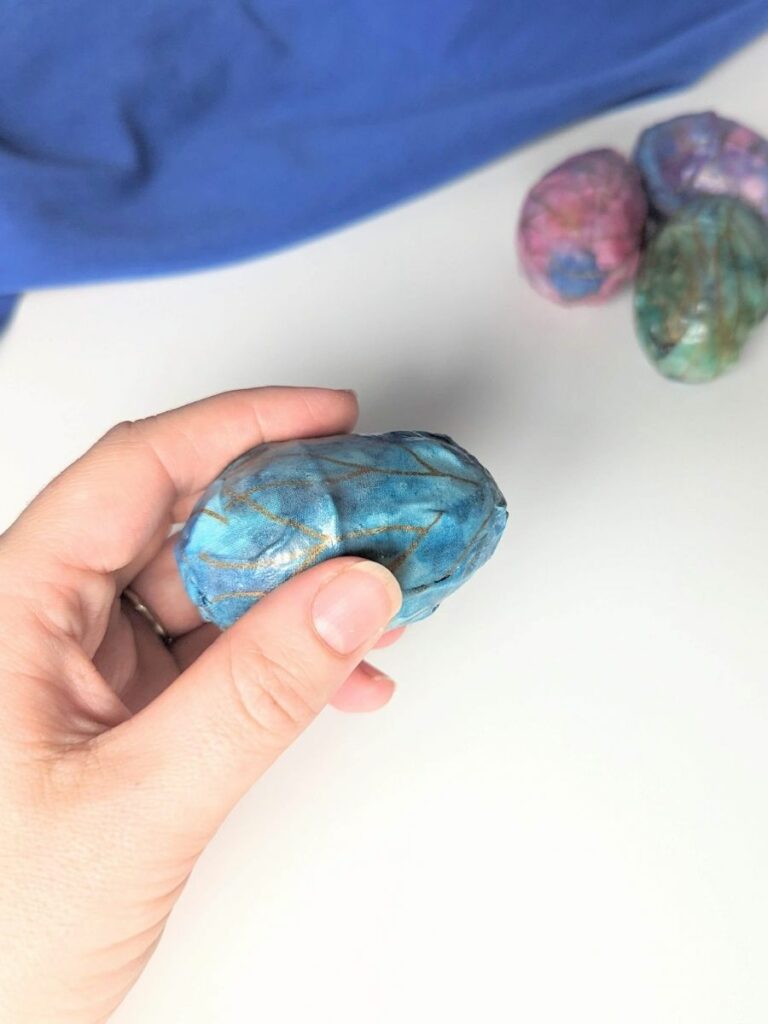
How to Make Shaker Eggs for Kids– Follow our easy instructions to make a cute and sturdy shaker egg that your child will love using to make music!
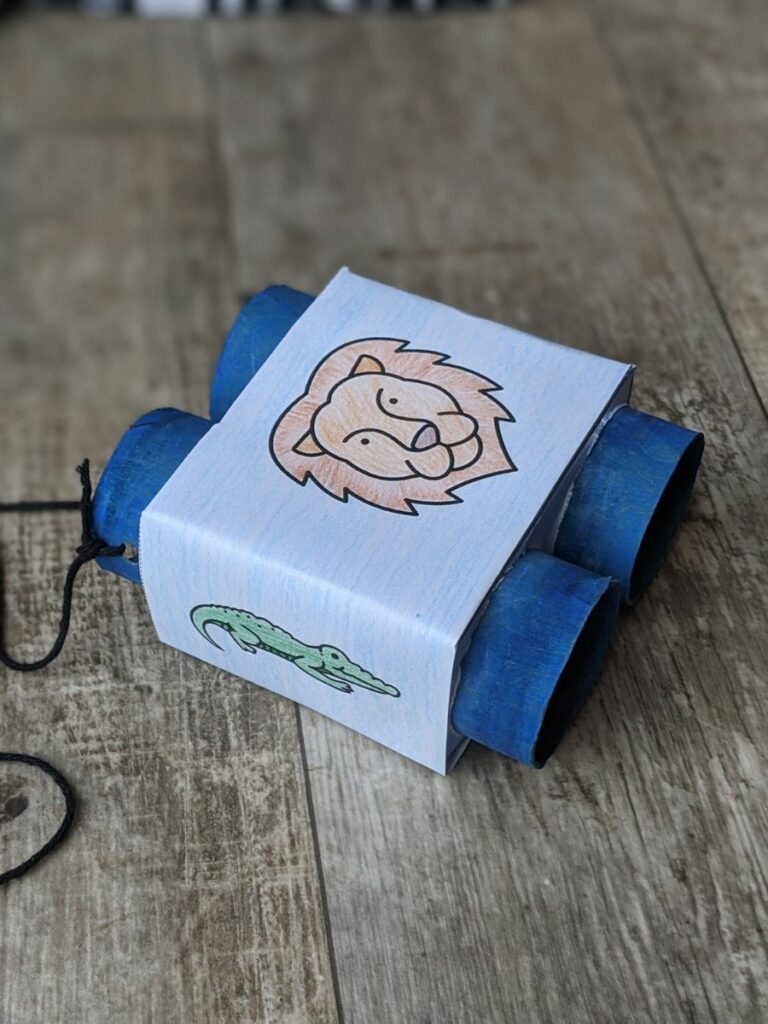
Toilet paper roll binocular craft– Make your own binoculars with this binocular craft printable for kids!