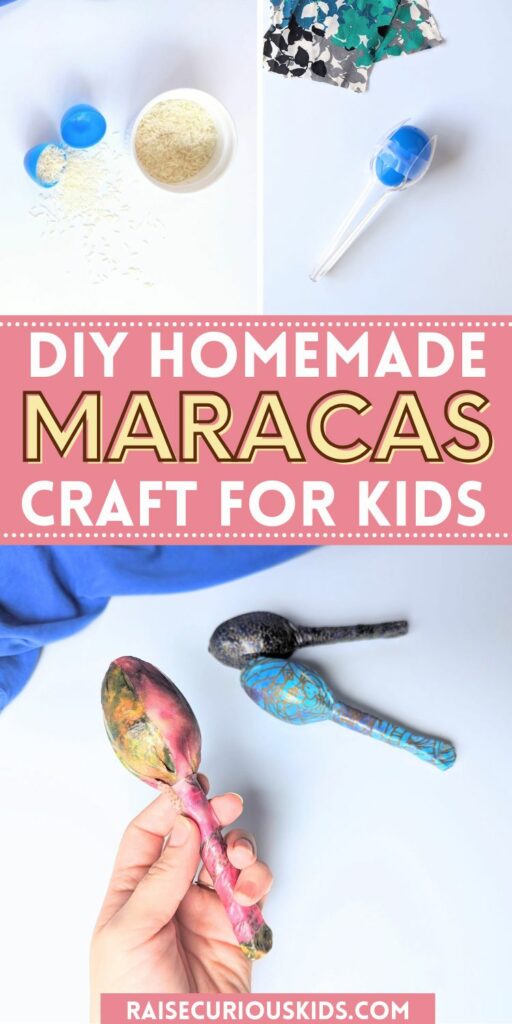
These DIY maracas are a fun and festive craft that you can easily make at home!
They are simple to make and the end result is really stunning. You can use different fabrics to make different patterns, themes, and designs on your DIY maracas.
And when completed, they are completely sealed and can stand up to the roughest of treatment from young kids. There’s no chance of these homemade maracas bursting open while being used and creating a mess or a choking hazard.
These are ideal instruments for music time with babies, toddlers, and preschoolers, although older kids enjoy using them as well.
Read on for instructions for making this fun craft!
If you would like to make something similar without the handles, check our our homemade egg shakers for kids!
DIY Maracas
Materials
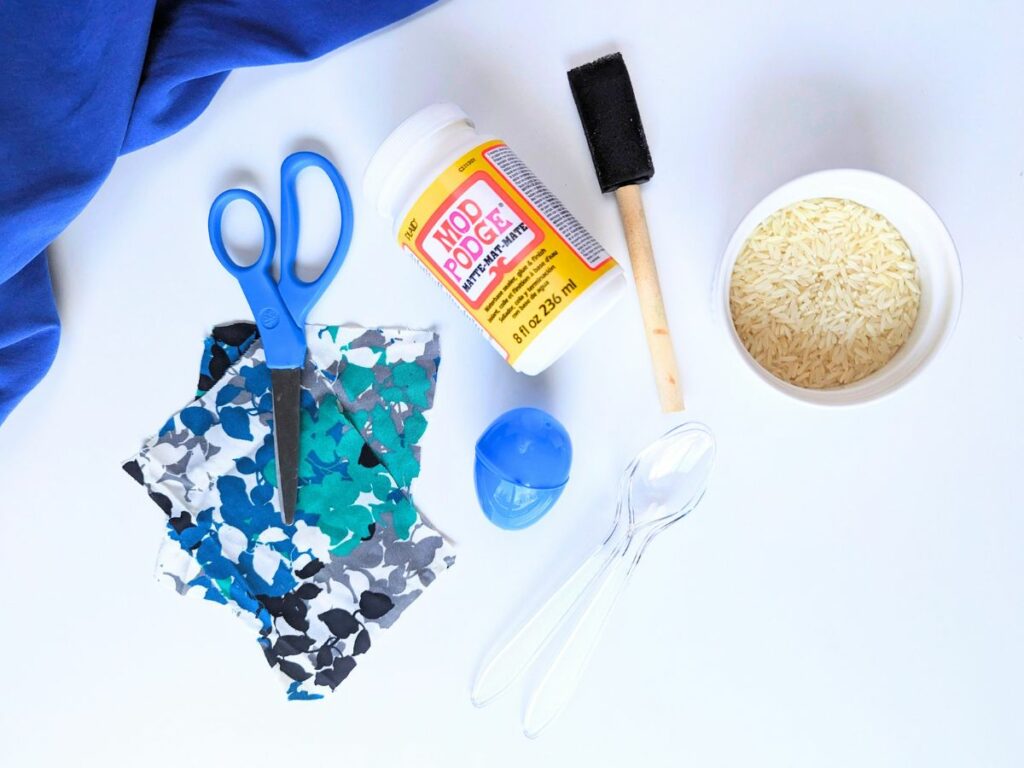
For this craft, you will need plastic Easter eggs and rice to make the base of your maracas. I’ve found that the more oval shaped eggs work better than the rounder Easter eggs because they fit more seamlessly between the spoons. You could still use the rounder eggs and it will be fine functionally, it will just affect the finished look to some extent.
You could also use beans for the filling instead, which provides a louder, more dramatic sound when shaken.
Instructions
First off, fill your plastic egg about half way with rice. Fasten the egg shut.
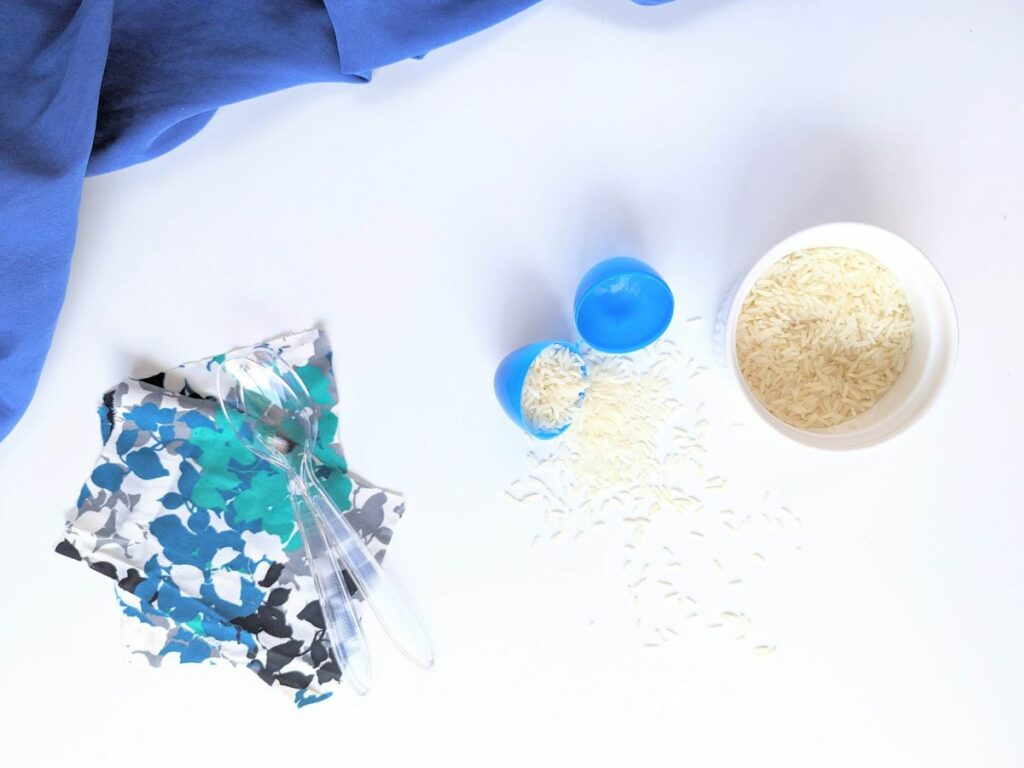
Next, cut out the fabric you will use to cover your maraca. You will need two strips of fabric. The first is a rectangle large enough to wrap around the width of the egg, leaving about a one inch excess at the top and bottom. The second is a rectangle large enough to wrap around the handles of the spoons with about a half in of extra fabric at the bottom.
Take two plastic spoons and place the egg between them, securing it with a piece of tape.
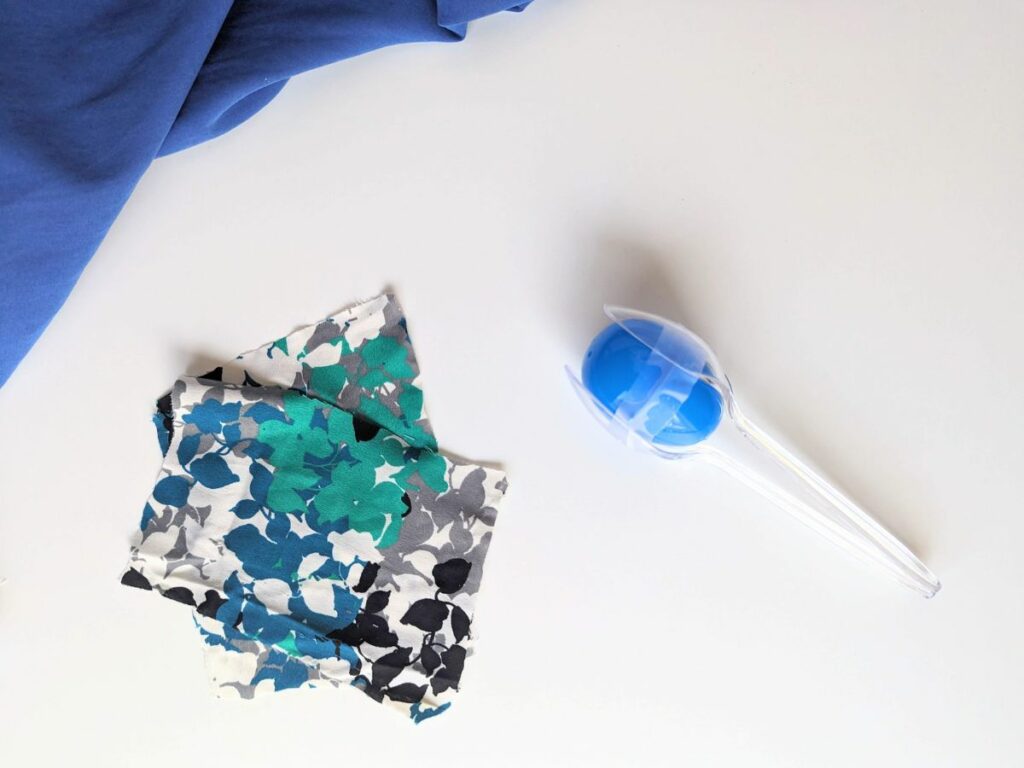
Place a strip of Mod Podge down the center of the first piece of fabric.
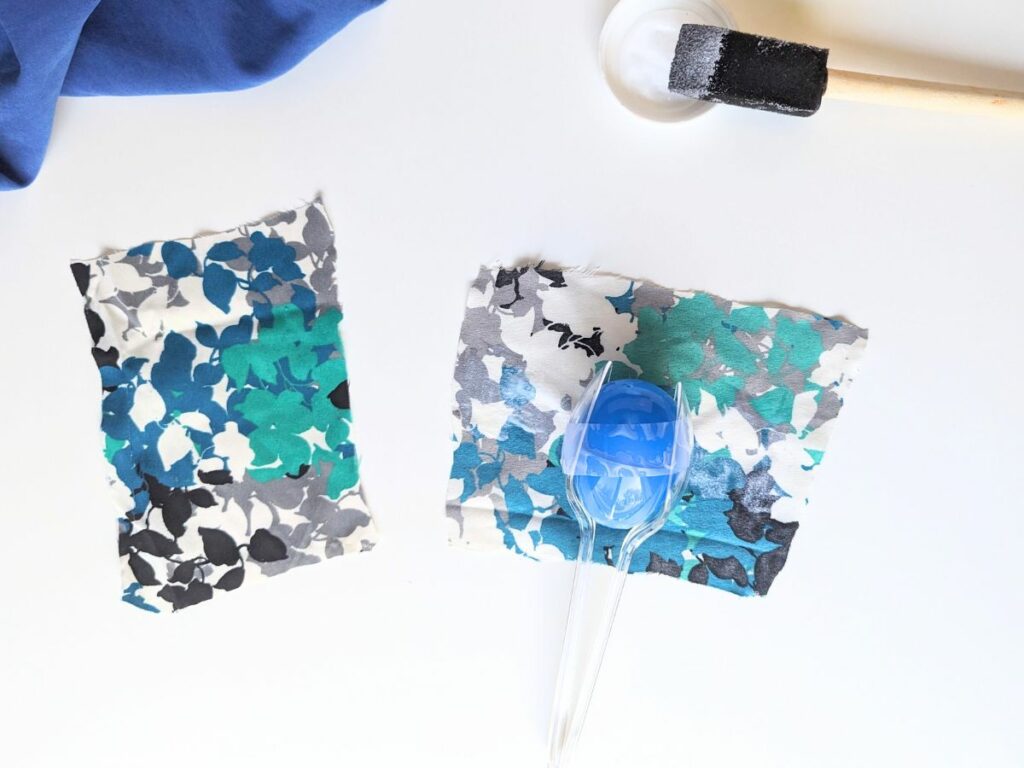
Wrap the fabric around the width of the egg, securing it with more Mod Podge.
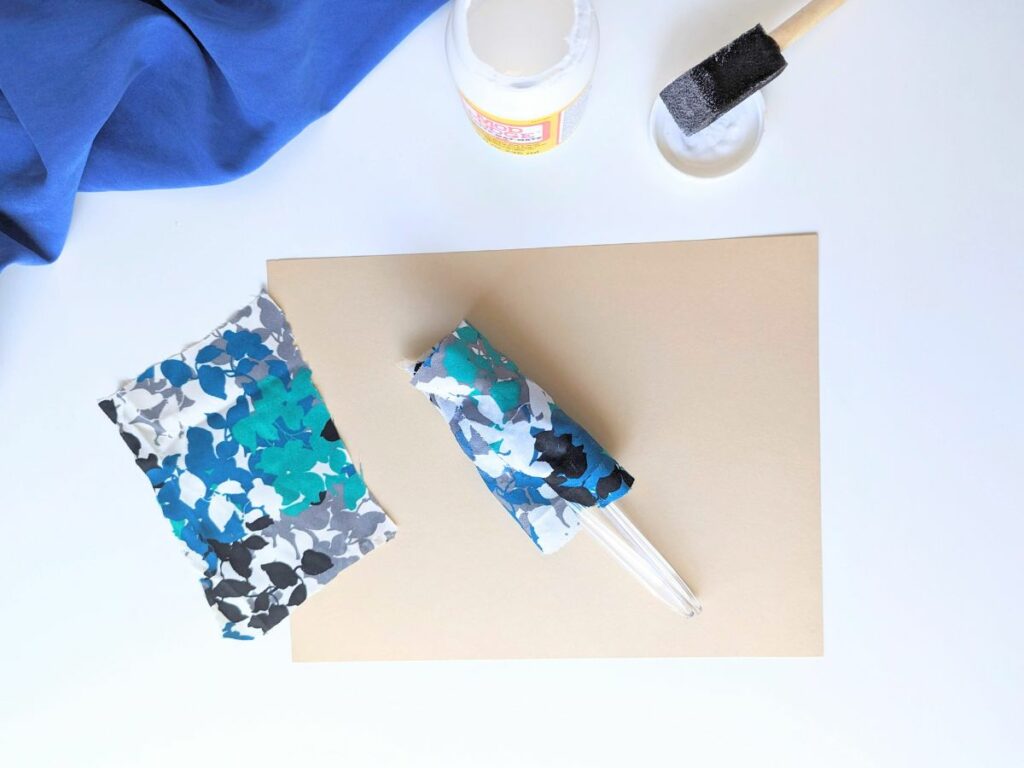
Next, make cuts in the fabric (spaced about one inch apart), cutting from the edge of the fabric until you reach the edge of the egg. This will allow you to secure the fabric without it bunching. You can even cut V shapes to remove additional fabric and leave a cleaner finish, just be sure to leave enough fabric to completely cover the top of the egg.

Cover the top of the egg with Mod Podge and one by one secure the strips of fabric to the top of the egg, adding more Mod Podge as needed.
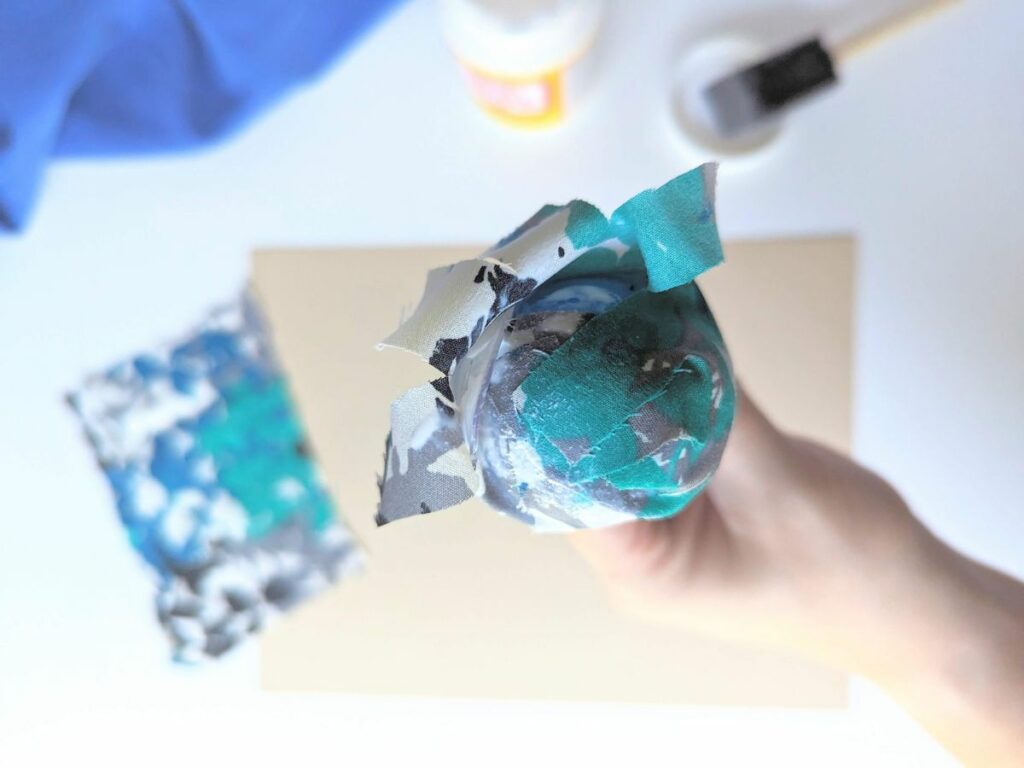
Once the top is secure, twist excess fabric at the bottom of the egg around the spoon handles and secure it with Mod Podge.

Grab the second piece of fabric and paint a strip of Mod Podge down the length of it.

Wrap the fabric halfway around the spoon handles.
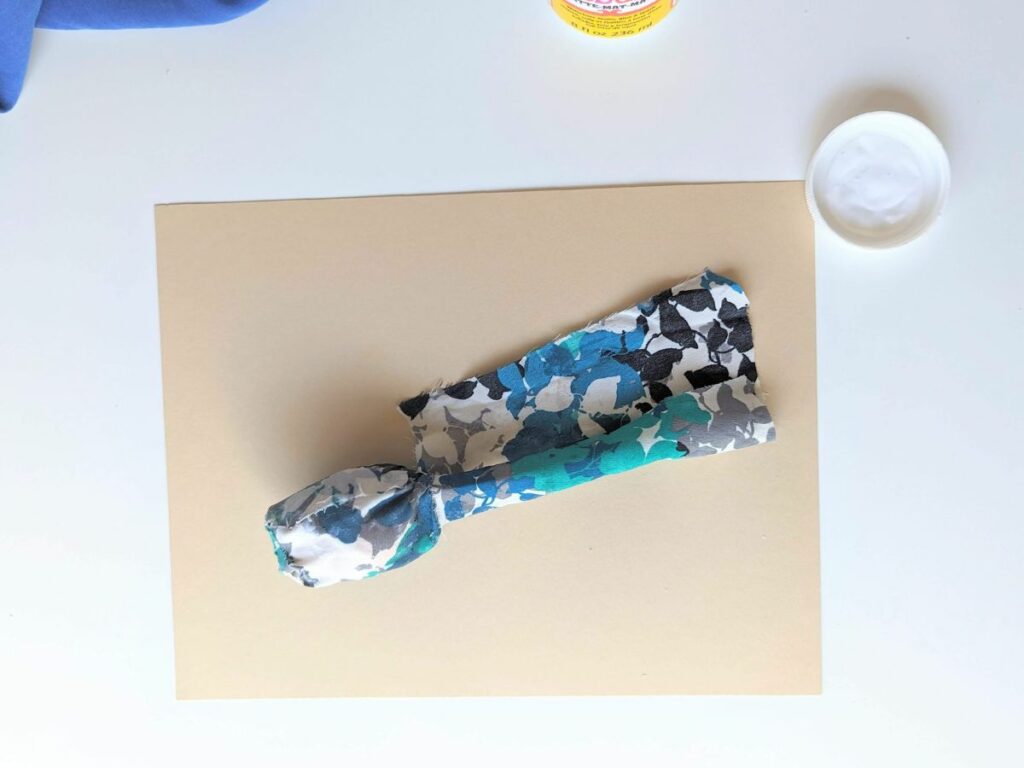
Then fold the excess fabric on the bottom up and finish folding the fabric around the spoon handles. Secure it with Mod Podge.
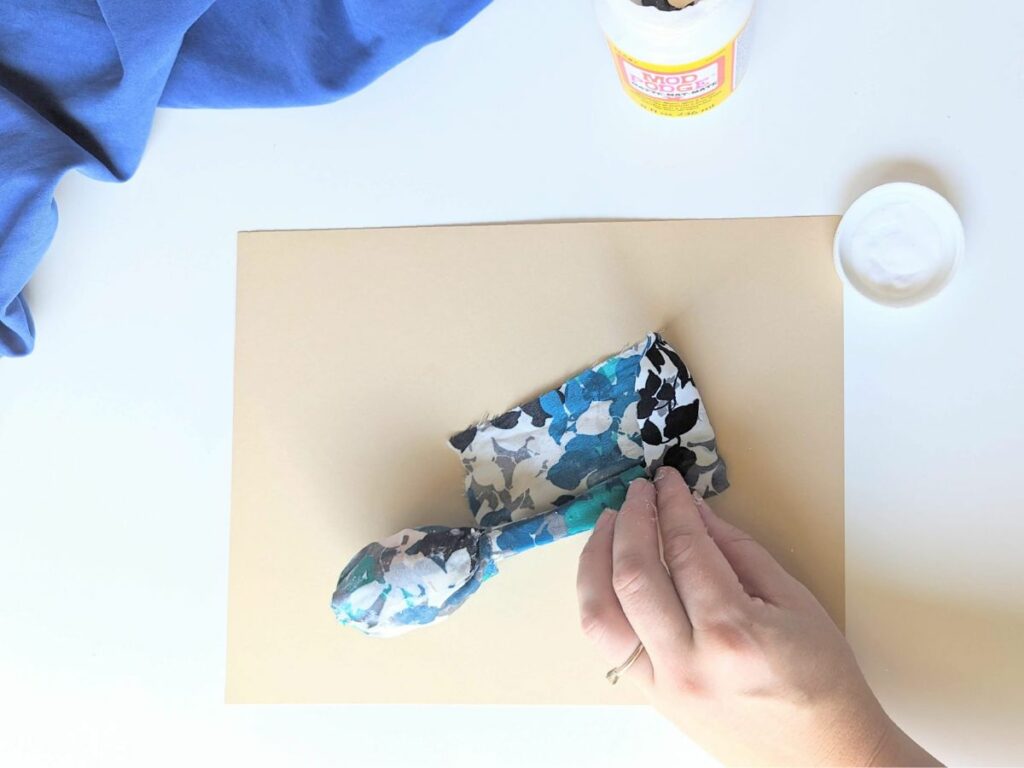
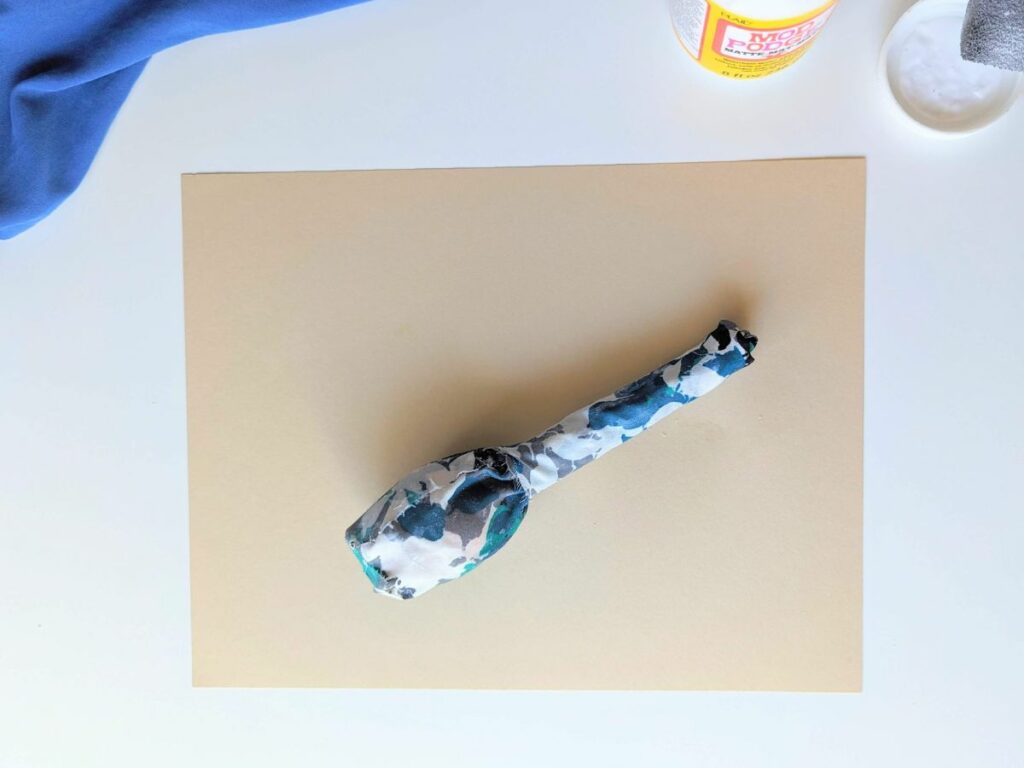
Once all of the fabric is secured, cover the entire maraca in a coat of Mod Podge.
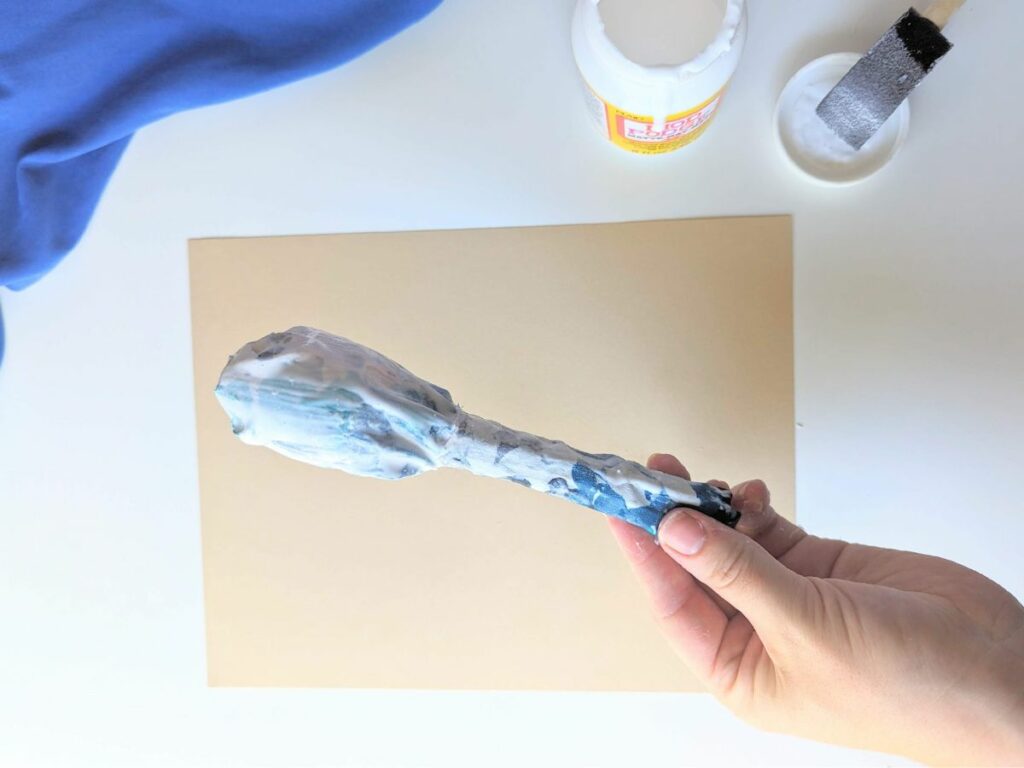
Allow it to dry, then coat it in another layer of Mod Podge. Allow it to dry again. I’ve found that placing the maraca in a plastic cup is a good way to let it dry without it getting stuck to anything or ruining the finish.
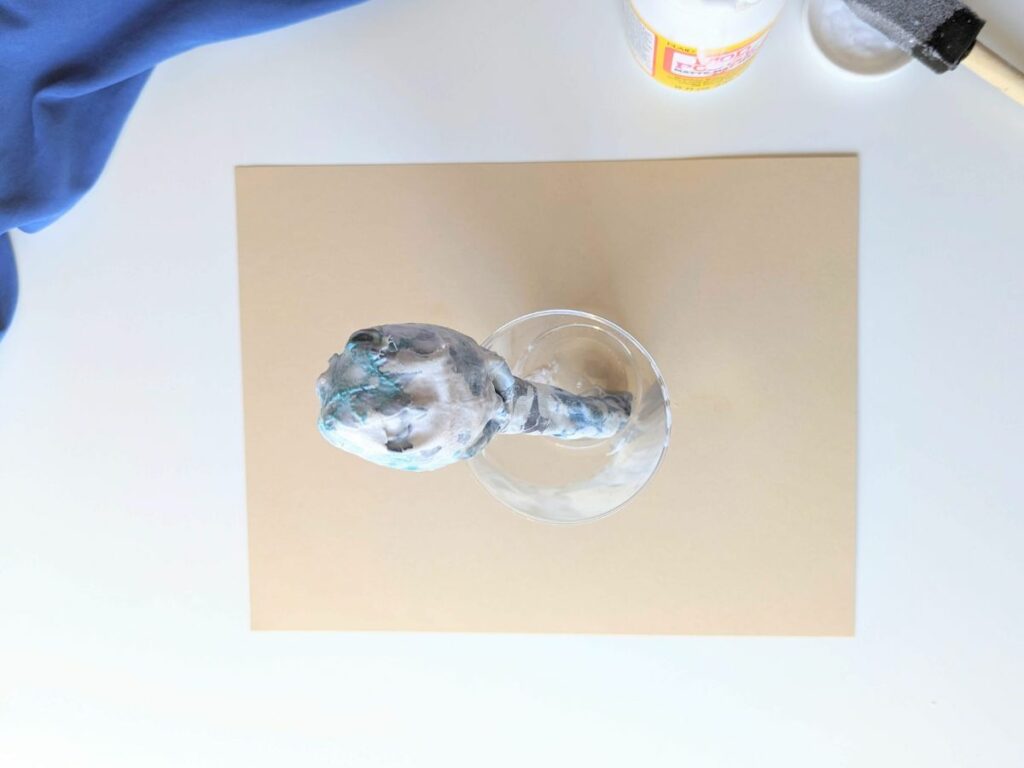
If necessary, add more layers of Mod Podge until you get your desired finish. When completed, the maraca should be smooth to the touch with no loose pieces of fabric.
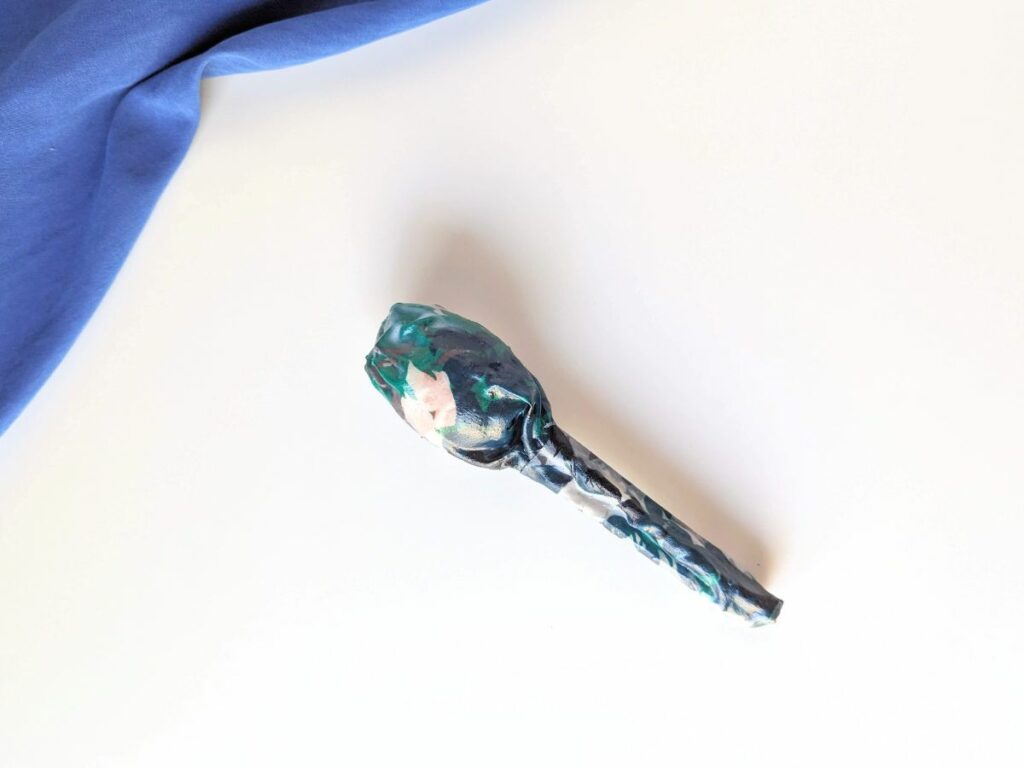
Once it’s dry, your DIY maraca is ready to be used to make beautiful music!


DIY Maracas
Create your own musical instrument with these DIY maracas for kids!
Materials
- Plastic Easter egg(s)
- Rice
- Plastic spoons (2 per maraca)
- Fabric
- Mod Podge
- Brush
- Scissors
- Tape
Instructions
- Fill your plastic egg about half way with rice. Fasten the egg shut.
- Cut a strip of fabric in a rectangle large enough to wrap around the width of the egg, leaving about a one inch excess at the top and bottom.
- Cut a second piece of fabric in a rectangle large enough to wrap around the handles of the spoons with about a half in of extra fabric at the bottom.
- Take two plastic spoons and place the egg between them, securing it with a piece of tape.
- Place a strip of Mod Podge down the center of the first piece of fabric. Wrap the fabric around the width of the egg, securing it with more Mod Podge.
- Make cuts in the fabric (spaced about one inch apart), cutting from the edge of the fabric until you reach the edge of the egg.
- Cover the top of the egg with Mod Podge and one by one secure the strips of fabric to the top of the egg, adding more Mod Podge as needed.
- Twist the excess fabric at the bottom of the egg around the spoon handles and secure it with Mod Podge.
- Take the second piece of fabric and paint a strip of Mod Podge down the length of it.
- Wrap the fabric halfway around the spoon handles.
- Fold the excess fabric on the bottom up and finish folding the fabric around the spoon handles. Secure it with Mod Podge.
- Cover the entire maraca in a coat of Mod Podge. Allow to dry.
- Coat the entire maraca with another layer of Mod Podge. Allow to dry.
- Add additional coats of Mod Podge if needed to achieve a smooth finish.
Other crafts to try:
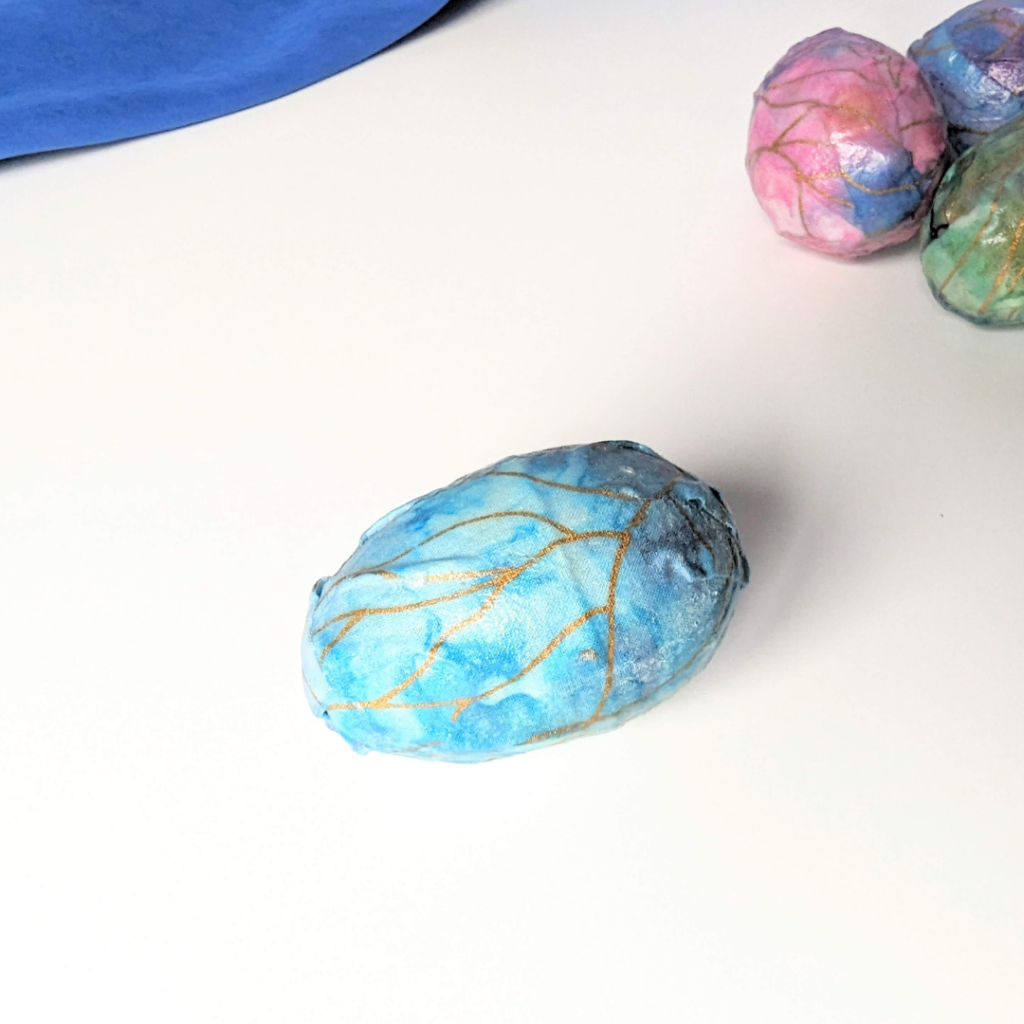
How to Make Shaker Eggs for Kids– Make your own musical shaker eggs using our step by step insructions!
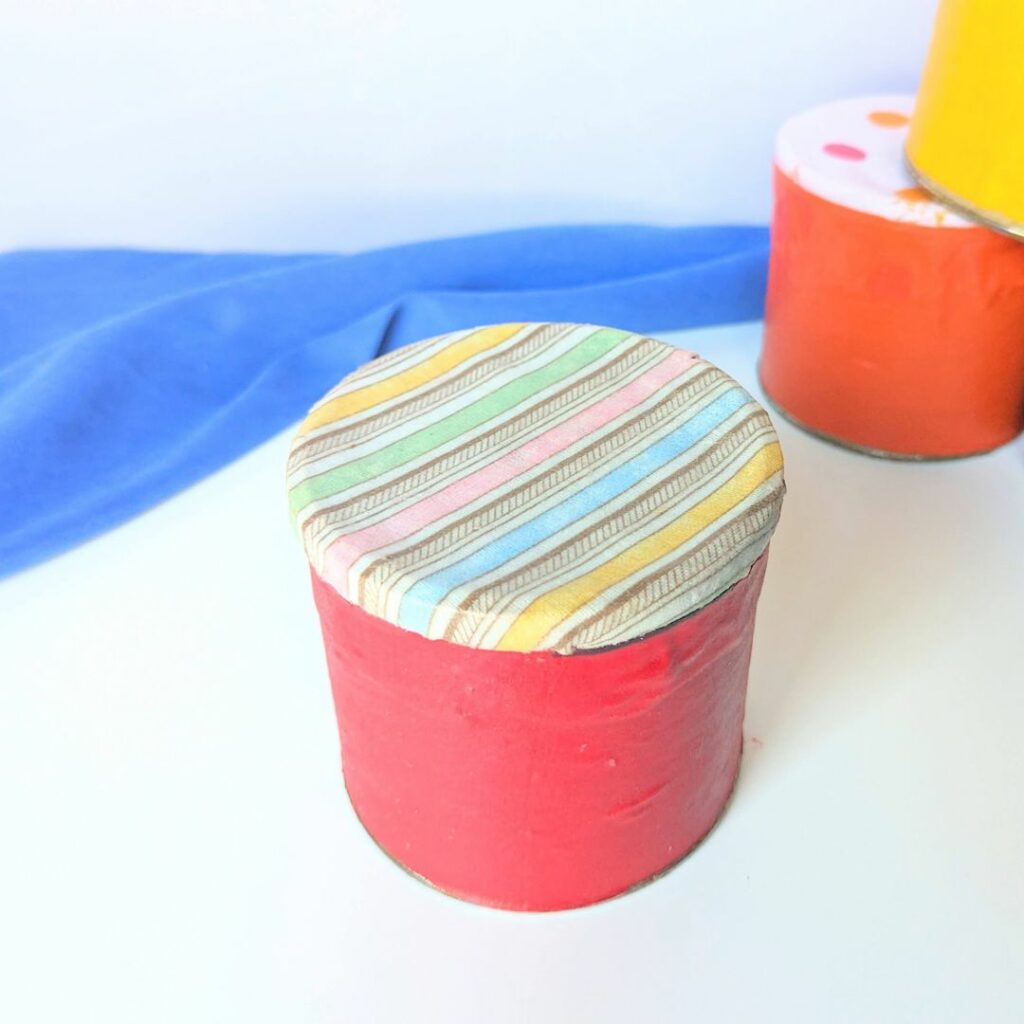
Homemade drum craft for kids-These homemade drums are a cute and sturdy craft that children will love using over and over again!

