Summer is here, and it’s the perfect time to dive into some beach-themed crafts with the kids. Whether you’re looking to bring a bit of the seaside into your home or just want a fun, creative project to keep the little ones entertained, our Paper Plate Crab craft is just the thing!
This adorable and easy-to-make craft uses simple materials you probably already have at home, making it a great activity for a sunny afternoon. Kids will love creating their own cute crab. Plus, it’s a wonderful opportunity to teach them a bit about sea life while engaging their creativity.
So, gather your supplies, roll up your sleeves, and let’s get started on making an adorable paper plate crab that will bring a smile to everyone’s face.
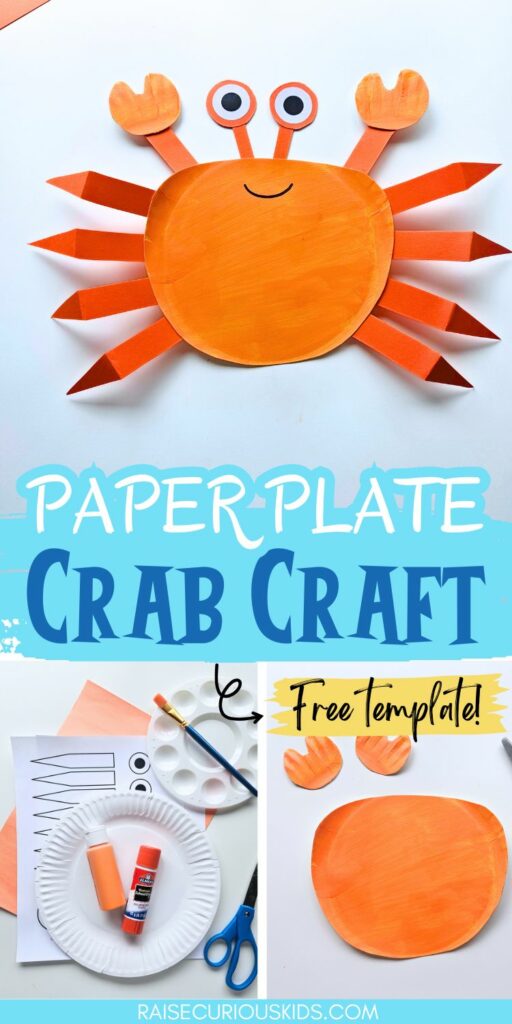
Paper Plate Crab Craft
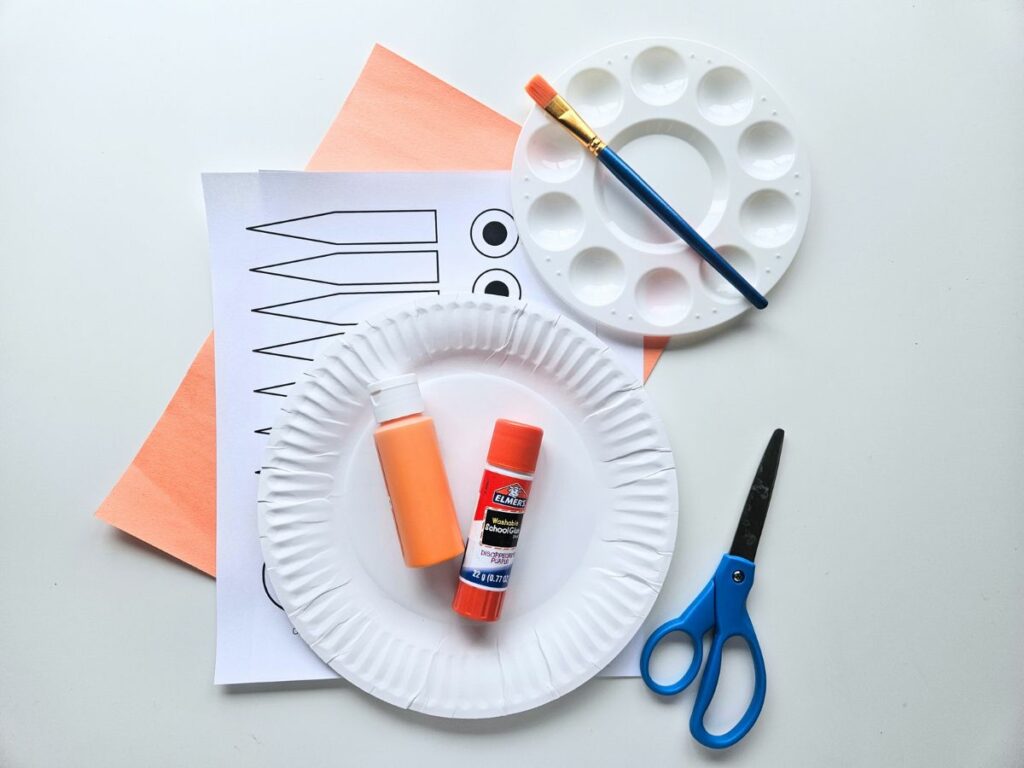
Materials
- Crab craft template (available for download below)
- Orange paint
- Orange paper
- Scissors
- Glue
Instructions
First download and print off the free crab craft template (available for download at the bottom of this page).
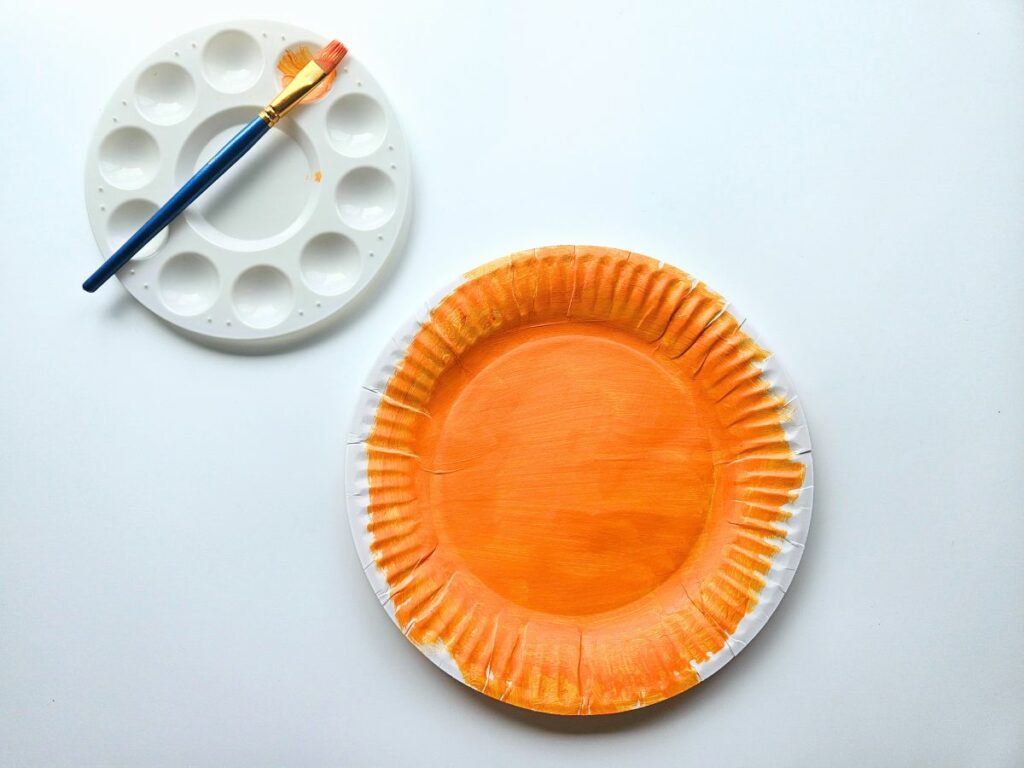
Paint the plate orange and leave it to dry.
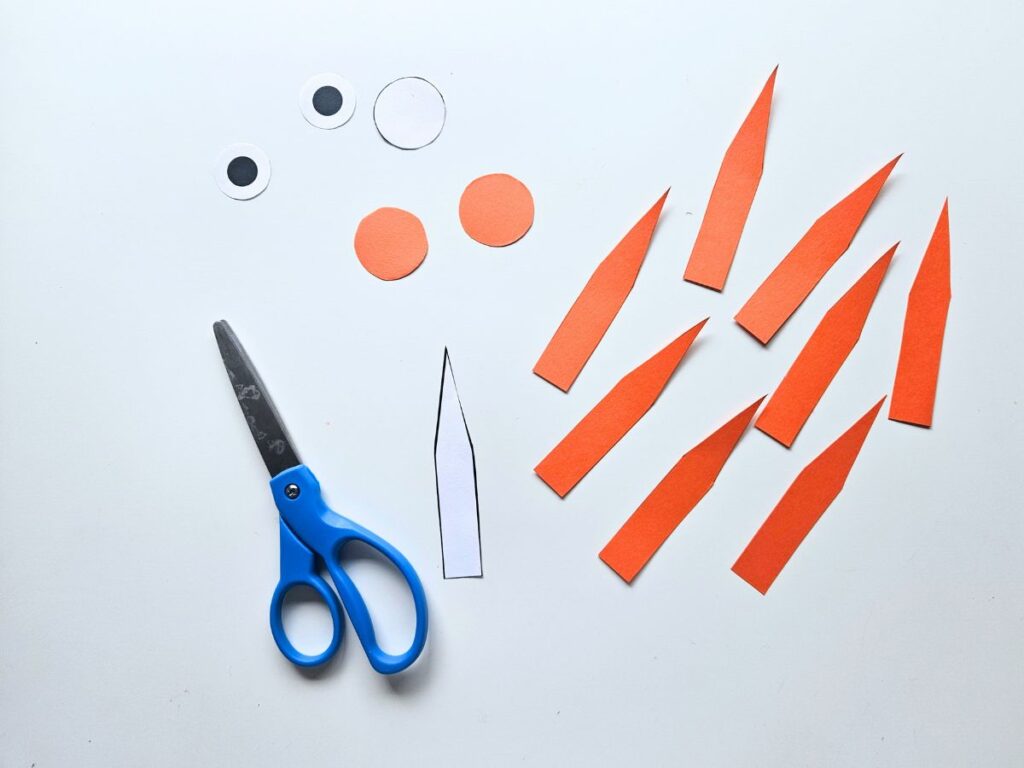
Cut out the pieces on the template.
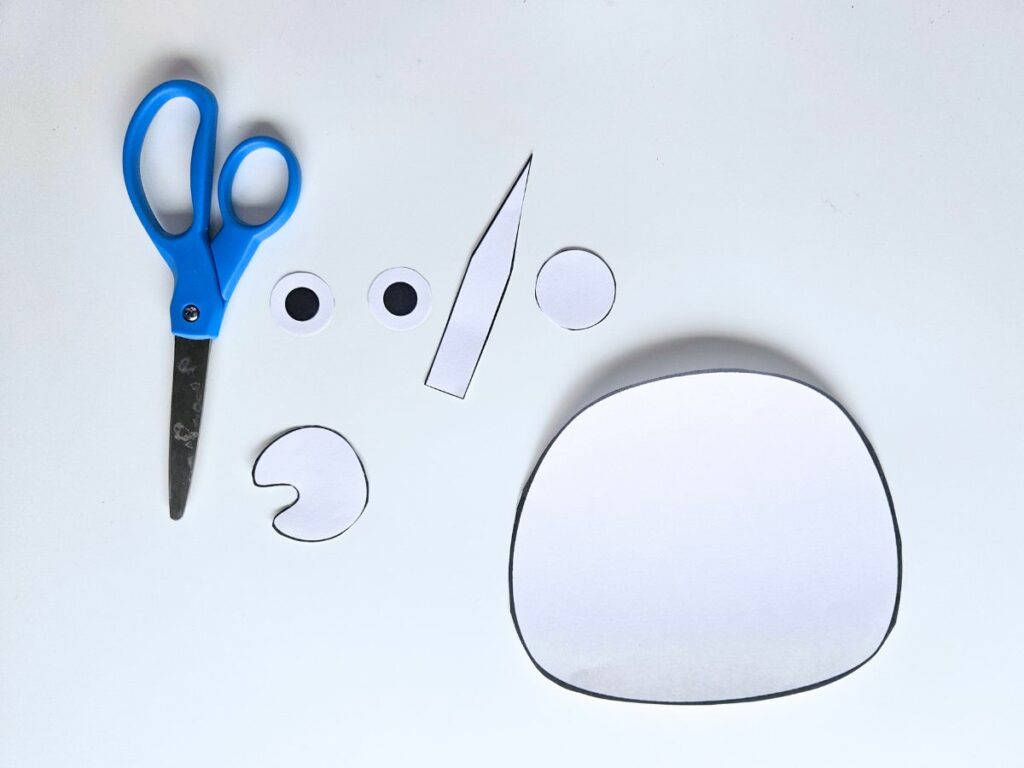
Trace the crab leg on orange paper eight times and trace the eye outline on orange paper twice. Cut them out.
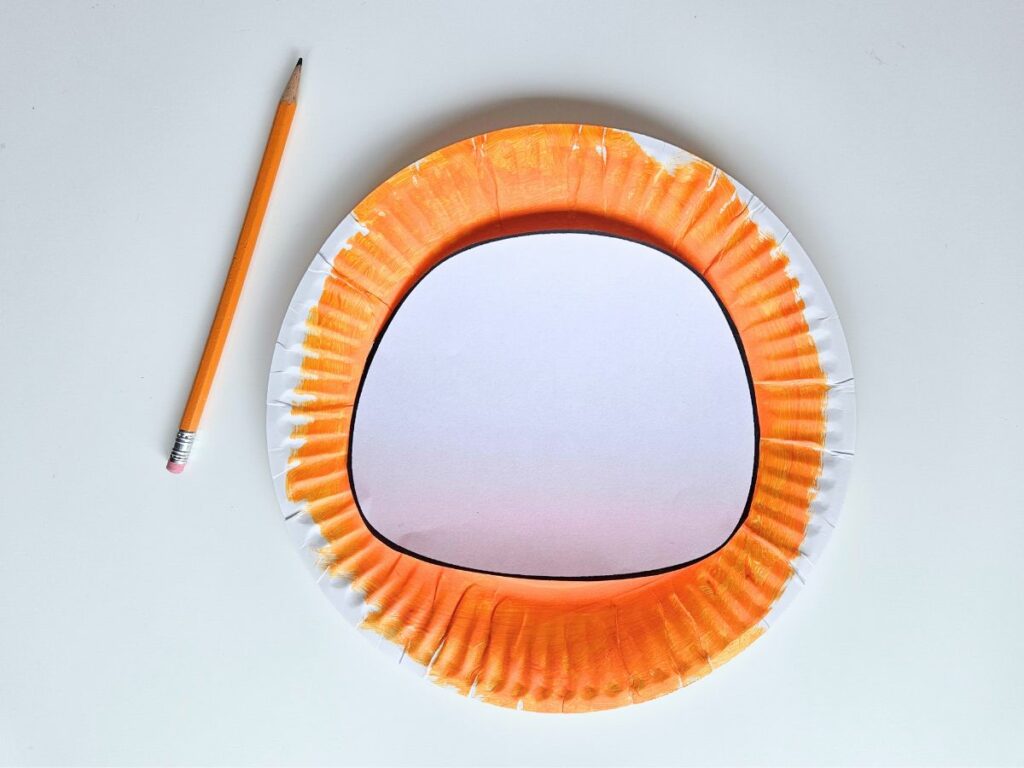
Trace the body of crab in the middle of the paper plate and cut out.
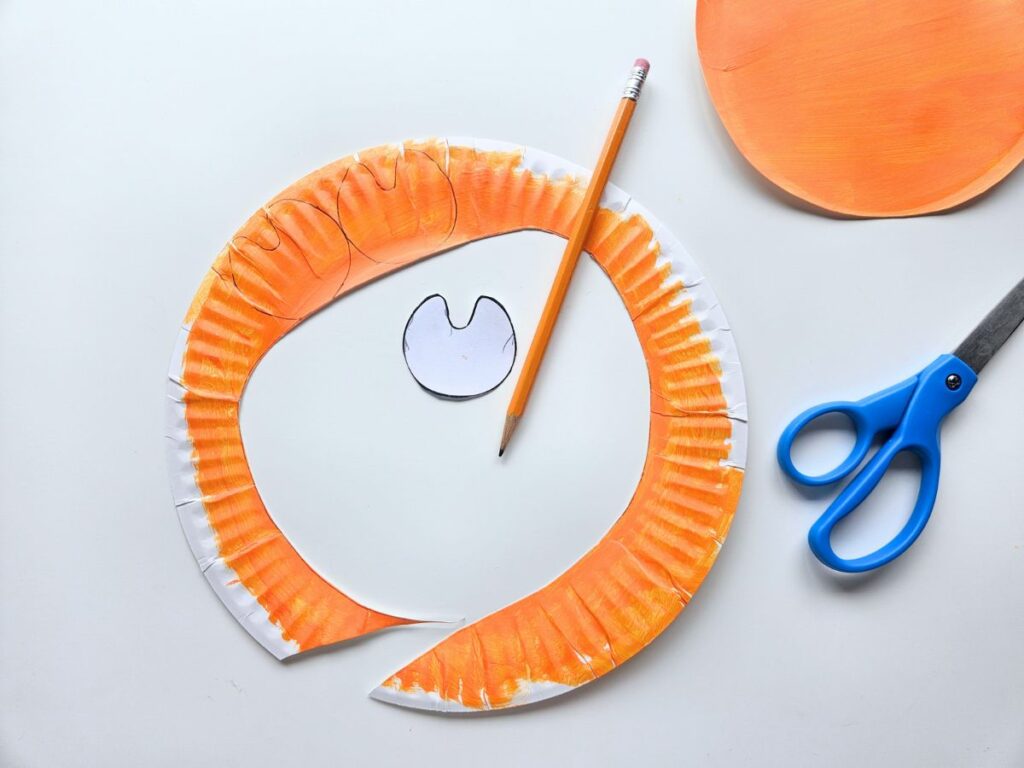
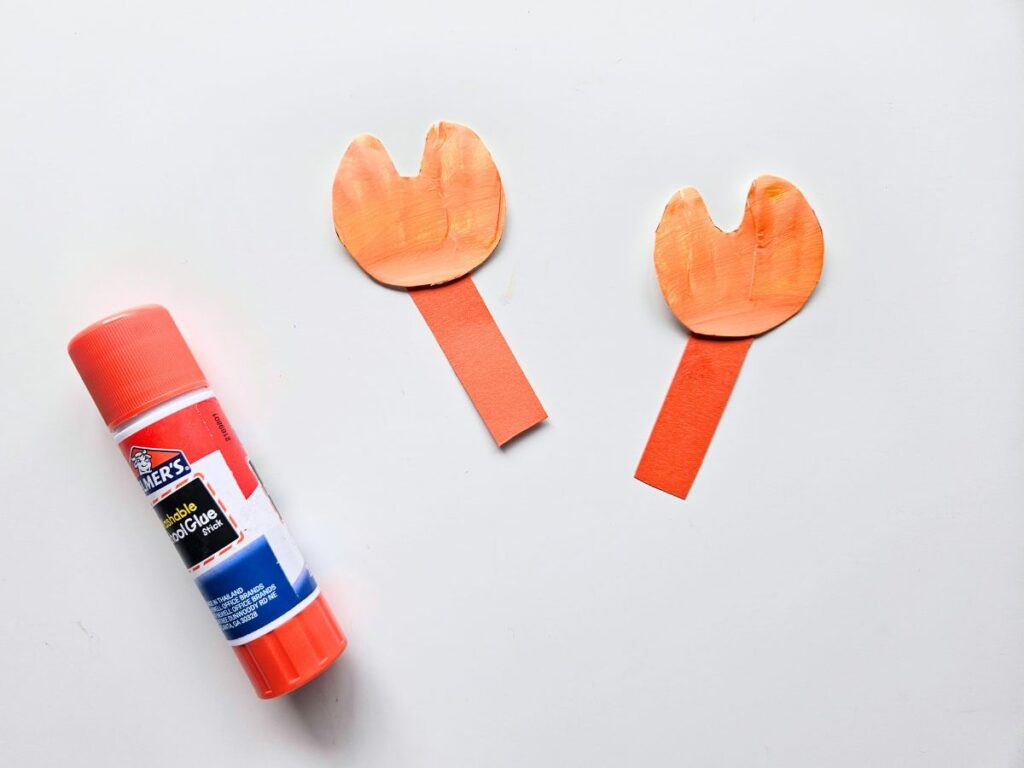
Don’t throw away that plate edge! First trace the crab claws on the leftover edges of the plate and cut them out. This will give the claws an nice textured appearance.
Now, let’s shape those legs. Bend each leg where the point meets the straight part.
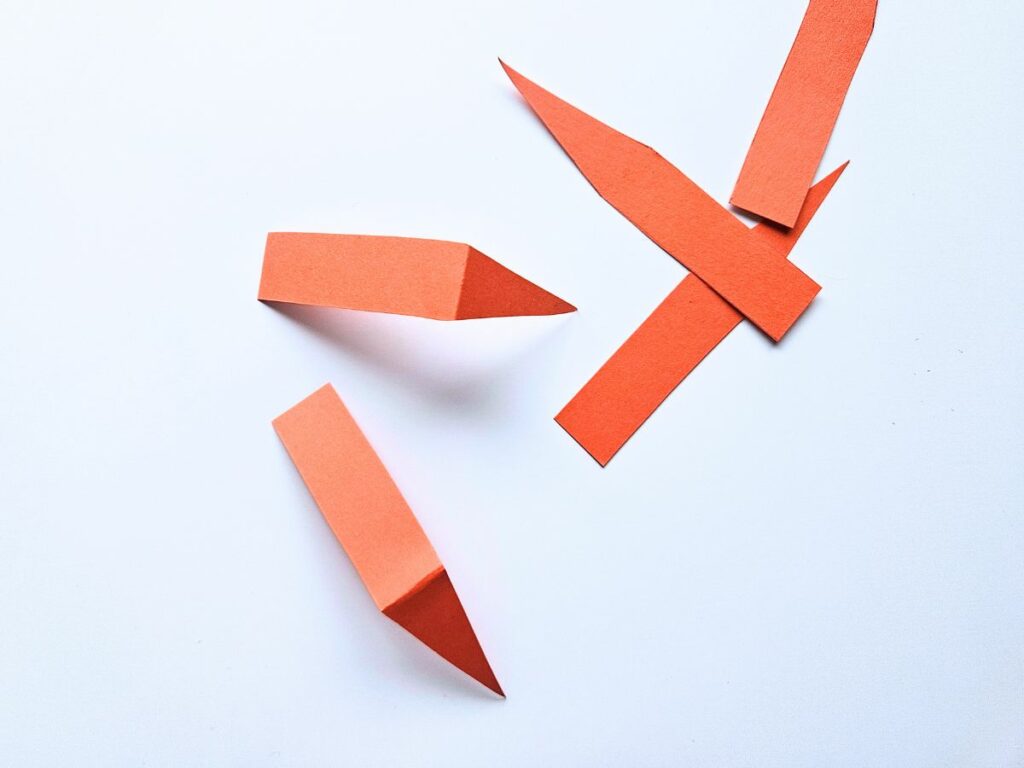
Put a dab of glue on the top of one of the legs and attach it to the back of the crab body, so the leg sticks out. Repeat this process, gluing four legs on each side of the crab.
Glue the eyes to the orange eye outlines.
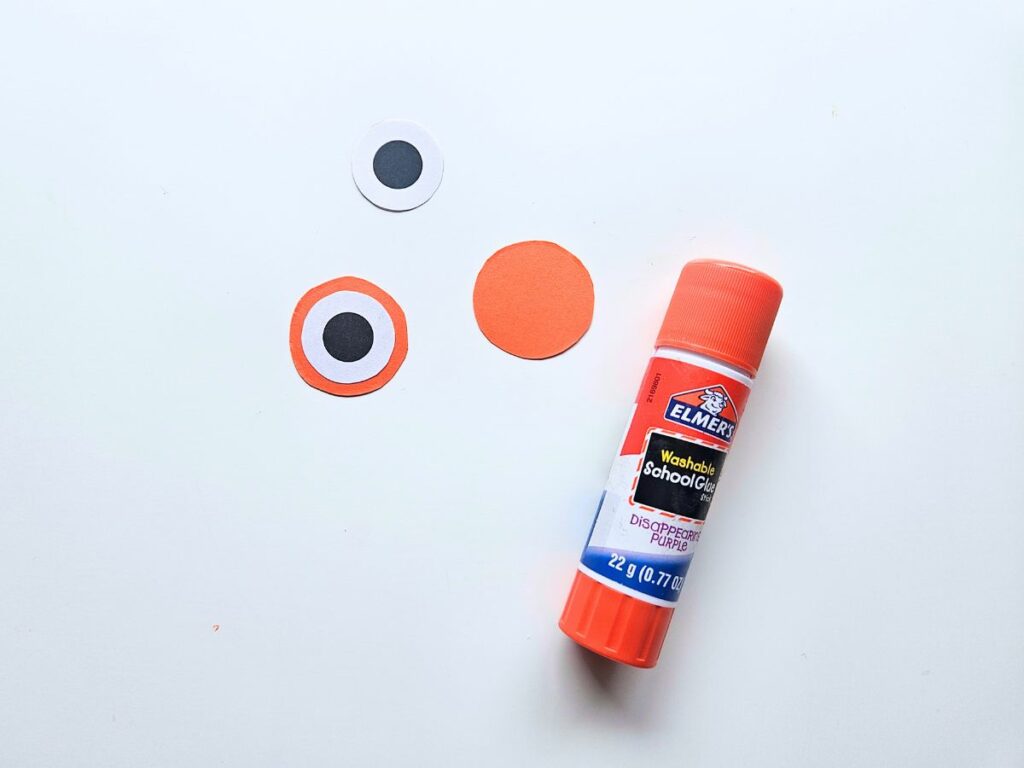
Cut out two small strips of orange paper and glue a eye to the top of each strip.
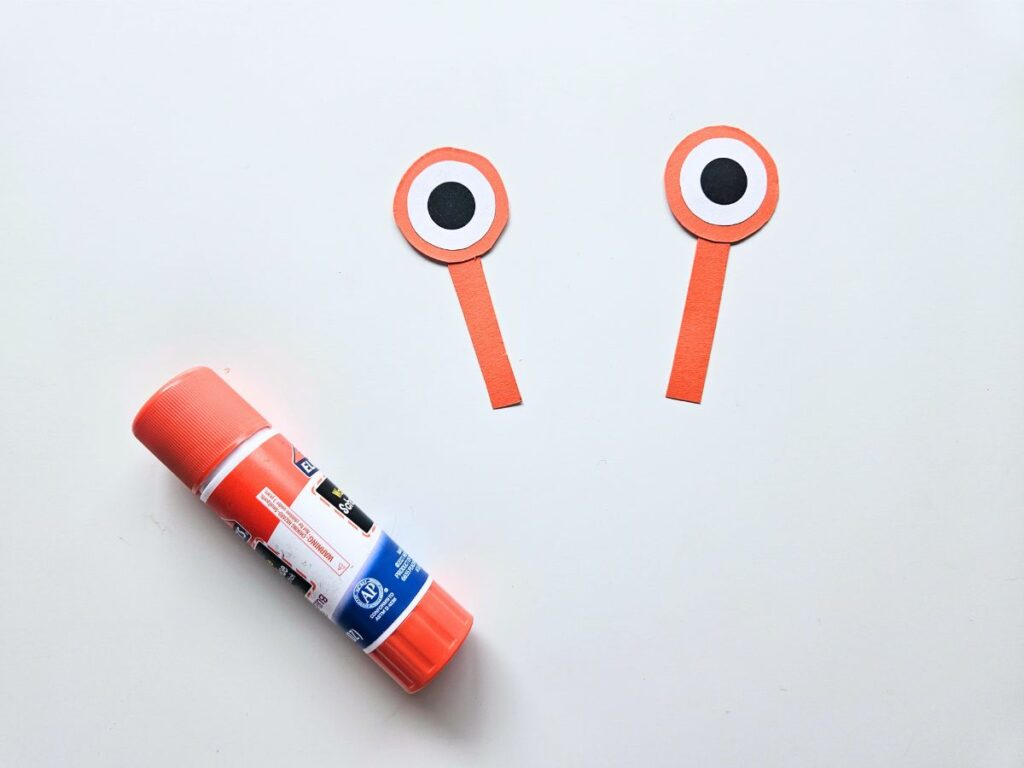
Then, cut out two slightly larger strips of orange paper and glue a crab claw to the top of each strip.
Attach the eye stalks to the back of the crab body so that they poke out from the top.
Finally, glue a crab leg with a claw on either side of the eyes.
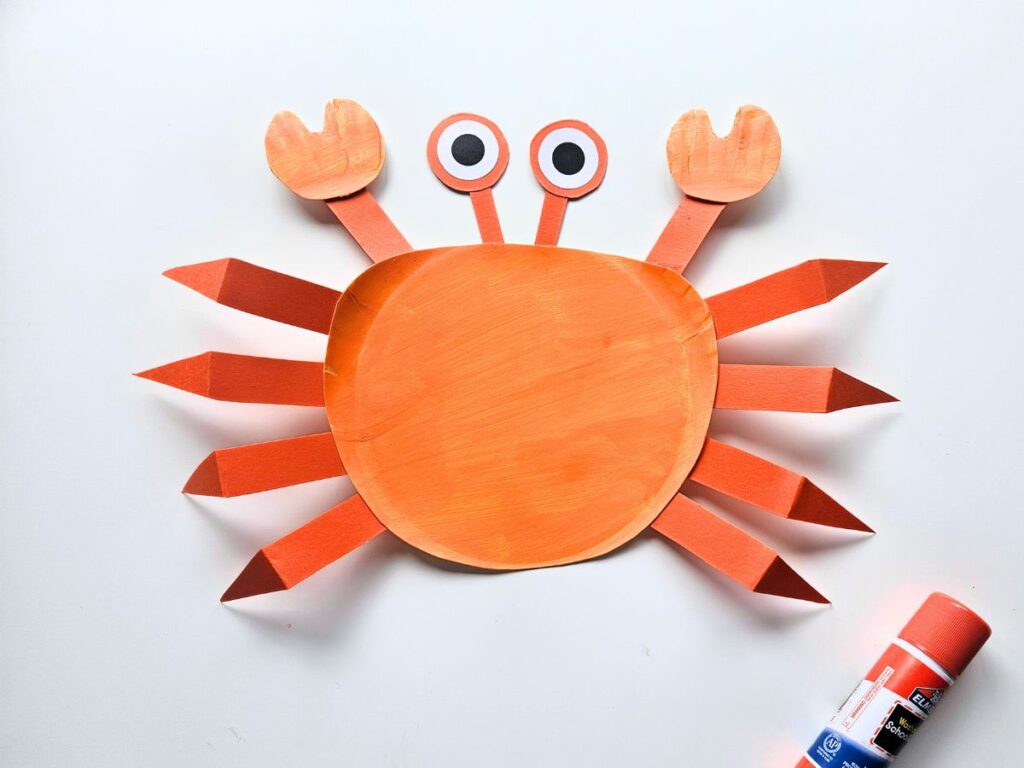
Last of all, use a black pen to draw a mouth on your crab at the top of the body.

And there you have it—your adorable paper plate crab is complete and ready to enjoy!
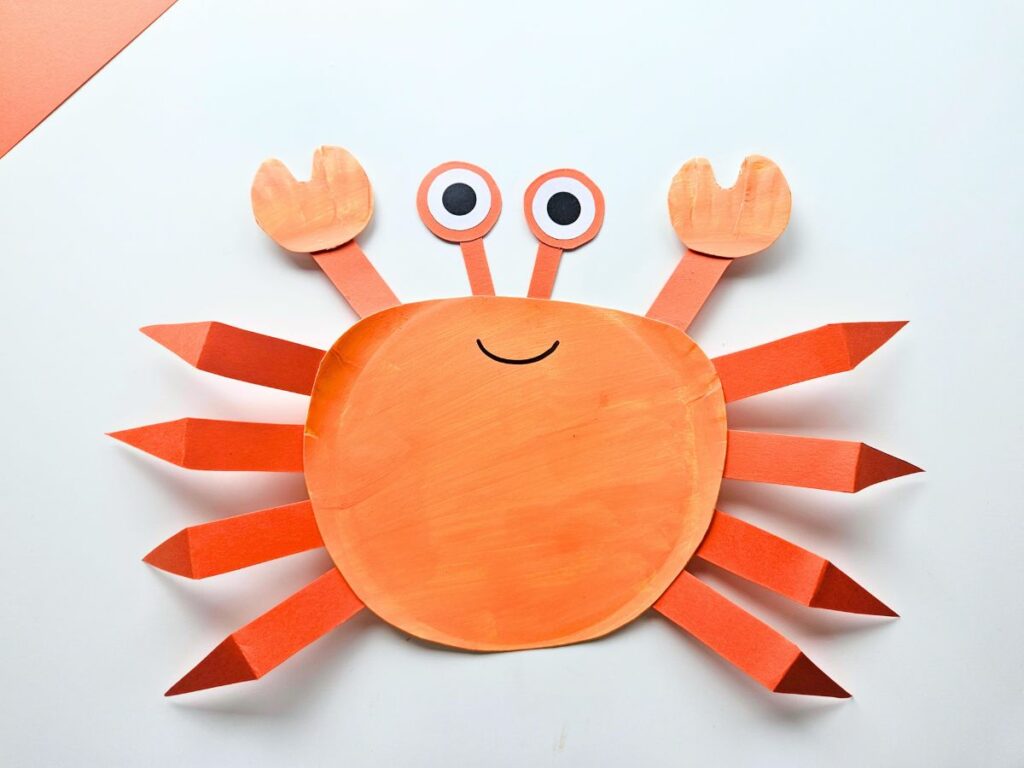
Creating this adorable paper plate crab is a fantastic way to spend quality time with your kids while sparking their creativity and imagination.
Not only is this craft easy and fun, but it also provides an opportunity to learn about sea life and enhance fine motor skills.
I hope you and your little ones enjoy making these cute crabs as much as we did!
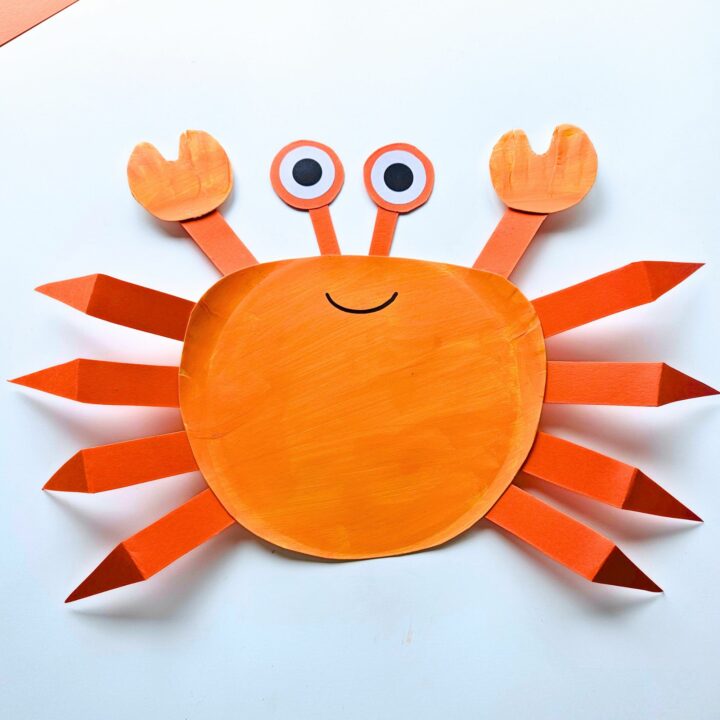
Paper Plate Crab Craft
Create a fun and easy paper plate crab craft with your kids this summer!
Materials
- Crab craft template (available for download below)
- Orange paint
- Orange paper
- Scissors
- Glue
Instructions
- Download and print off the free crab craft template.
- Paint the plate orange and leave it to dry.
- Cut out the pieces on the template.
- Trace the crab leg on orange paper eight times and trace the eye outline on orange paper twice. Cut them out.
- Trace the body of crab in the middle of the paper plate and cut out. Trace the crab claws on the leftover edges of the plate and cut out.
- Bend each leg where the point meets the straight part. Put a dab of glue on the top of one of the legs and attach it to the back of the crab body, so the leg sticks out. Repeat this process, gluing four legs on each side of the crab.
- Glue the eyes to the orange eye outlines. Cut out two small strips of orange paper and glue a eye to the top of each strip.
- Then, cut out two slightly larger strips of orange paper and glue a crab claw to the top of each strip.
- Attach the eye stalks to the back of the crab body so that they poke out from the top. Glue a crab leg with a claw on either side of the eyes.
- Use a black pen to draw the mouth at the top of the body.
Other Crafts to Try
Easy Paper Ice Cream Craft for Kids
10 Fun Ways to Encourage Kids to Read During the Summer

