The Olympics are almost here, and my family and I couldn’t be more excited! My three boys and I love cheering on our favorite athletes and getting inspired by the amazing displays of sportsmanship and skill.
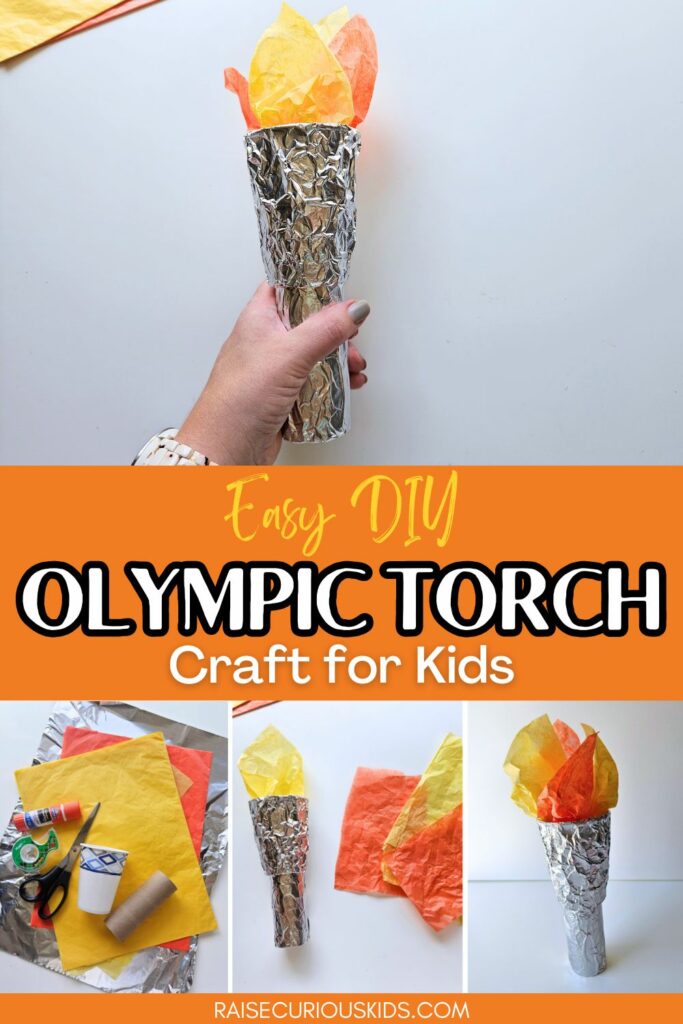
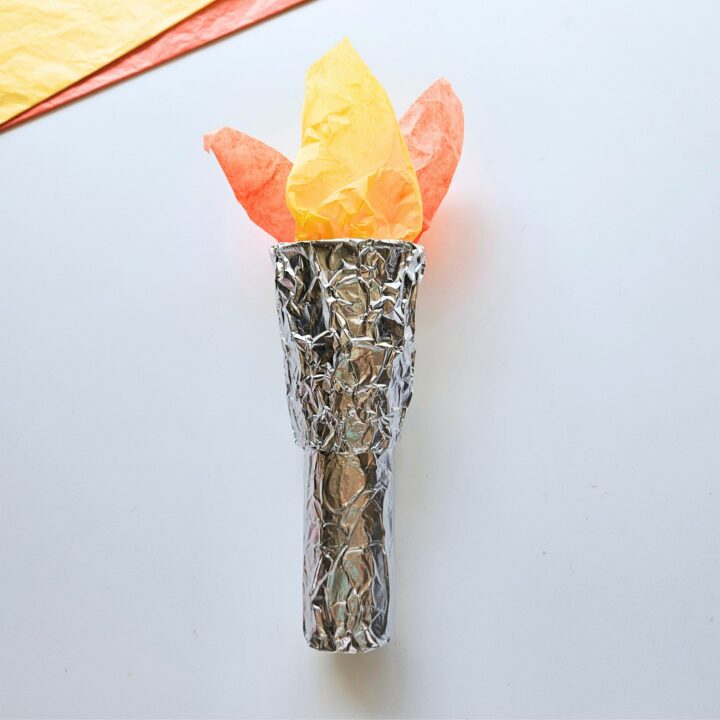
To bring a bit of that Olympic magic into our home, we decided to create our own DIY Olympic torch. This fun and easy craft uses a toilet paper roll, a paper cup covered in aluminum foil, and tissue paper flames.
Not only is it a great way to get into the Olympic spirit, but it’s also the perfect prop for hosting our very own family opening ceremony!
In this article, I’ll show you how to make your own Olympic torch step-by-step. It’s a fantastic project to do with kids, and it will definitely add a special touch to your Olympic celebrations.
At the bottom of the page you will also find some fun facts about the Olympic torch that you can talk about while you make your craft.
Let’s get crafting and let the games begin!
Olympic Torch Craft
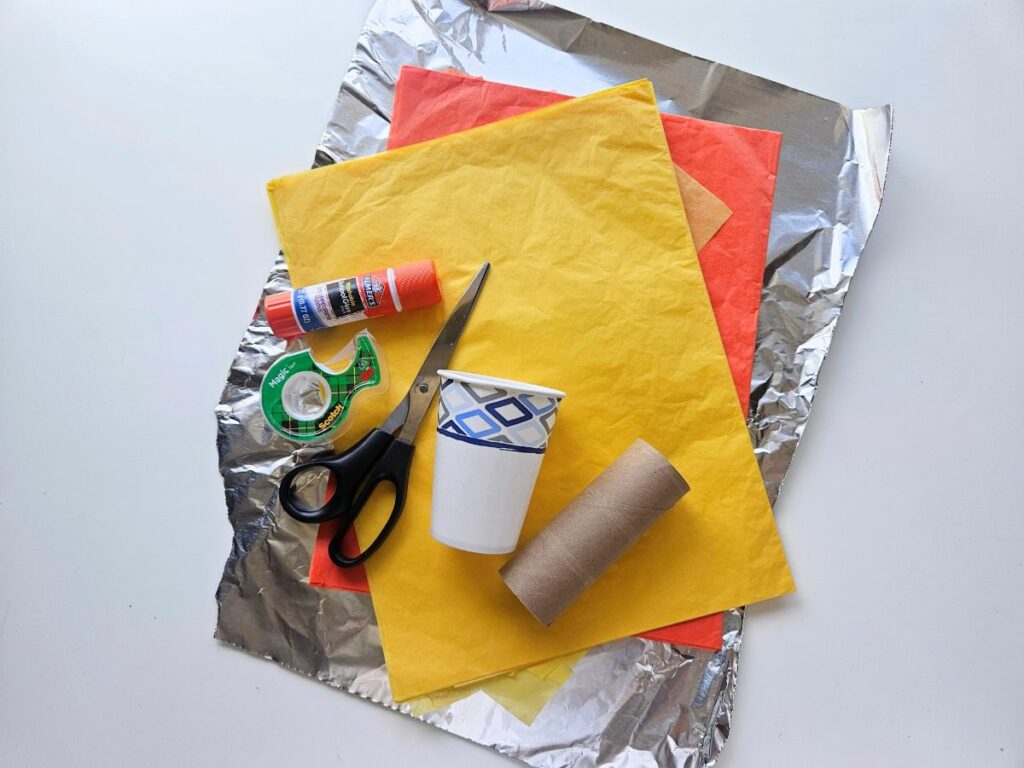
Materials
- Toilet paper roll
- Paper Cup
- Aluminum foil
- Tissue paper (orange and yellow)
- Scissors
- Tape
Instructions
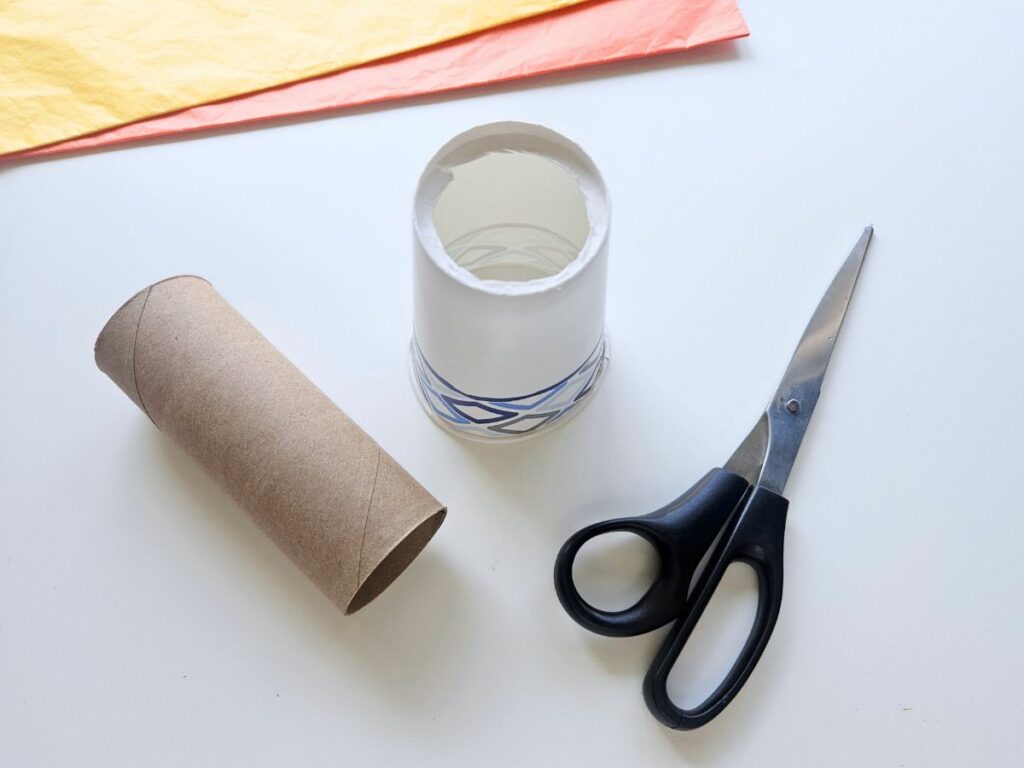
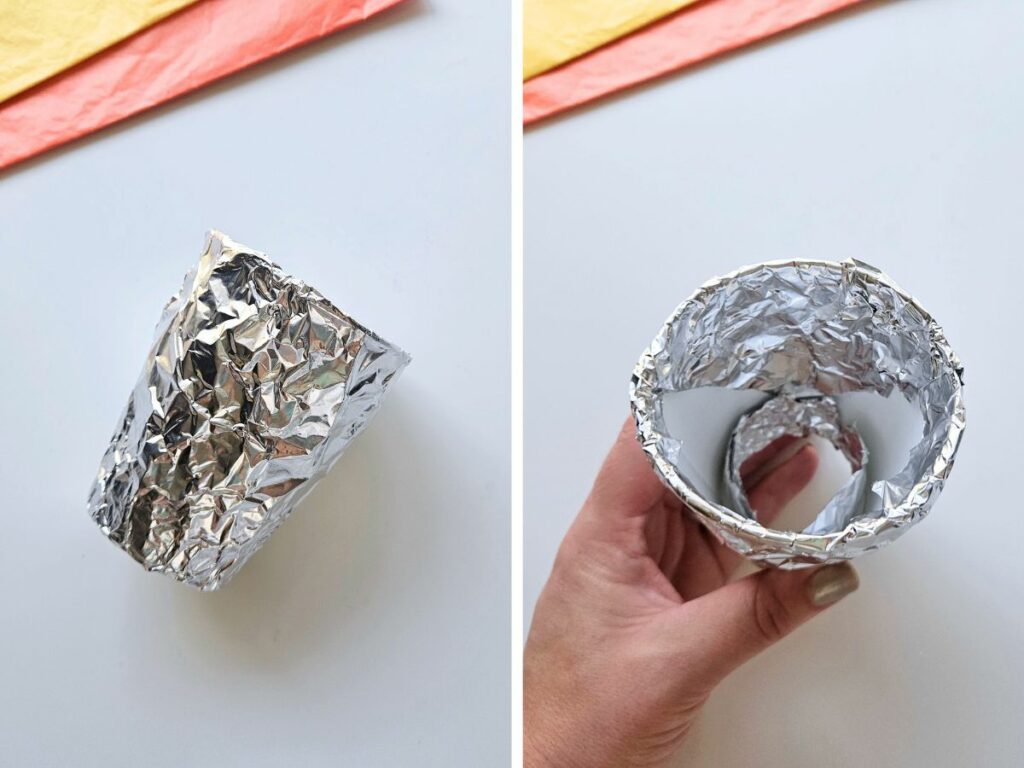
First, cut a hole in the bottom of the cup that is approximately the size of the circular end of the toilet paper roll.
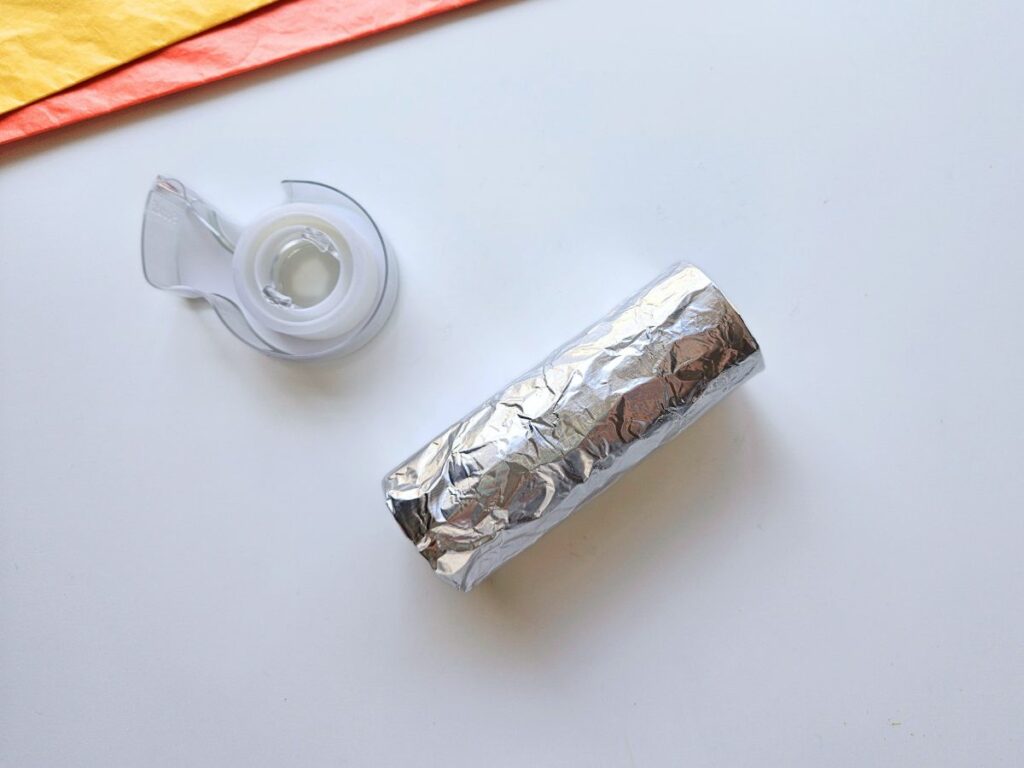
Next, cut a piece of aluminum foil large enough to cover the toilet paper roll. Attach one end of the aluminum foil to the toilet paper roll with tape, then roll the toilet paper roll until it is entirely covered and secure it with another piece of tape.
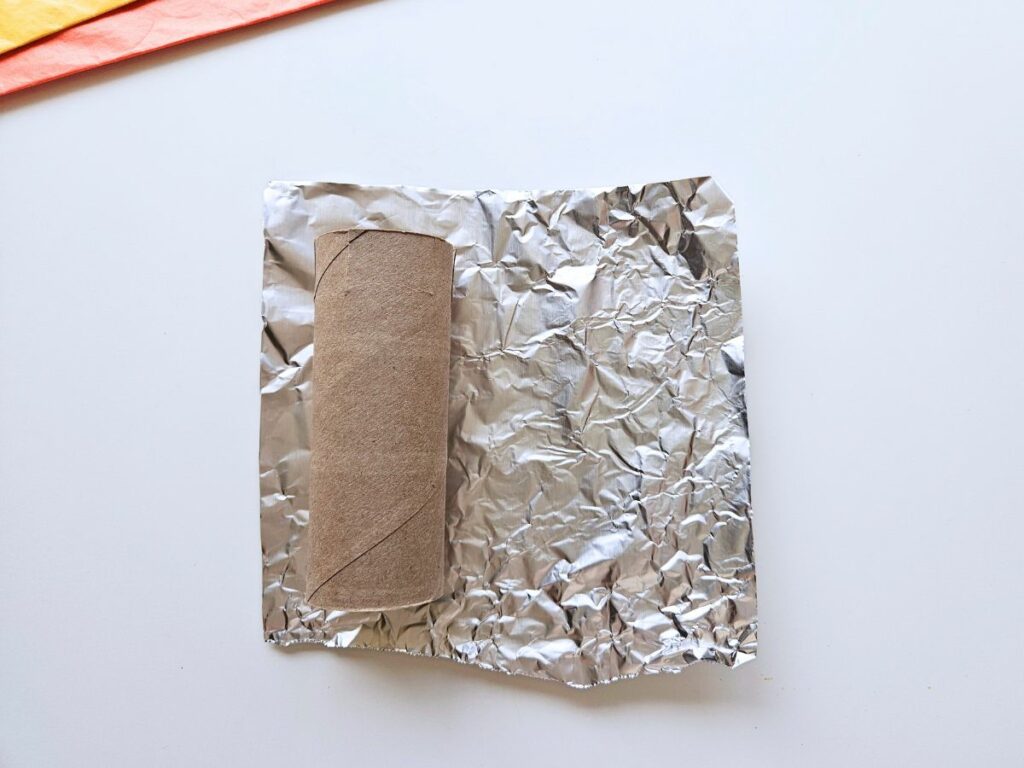
Fold the extra aluminum foil at each end into the inside of the toilet paper roll.
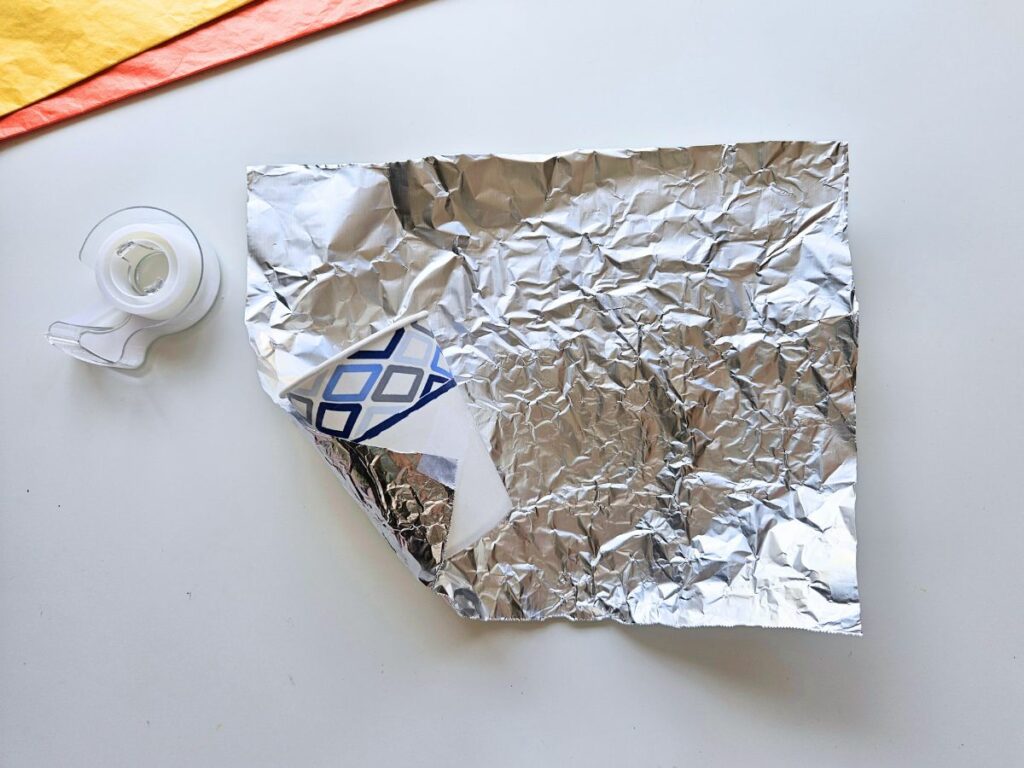
Do the same with your cup: attach a piece of aluminum foil to the cup with tape, roll the cup until it is covered in the aluminum foil and tape the other side down.
Fold the extra aluminum foil down into the cup on both the top and the bottom (if you have a large amount of excess tin foil on either side, cut it off before folding into the cup).
Insert the foil-covered toilet paper roll up through the hole in the bottom of the cup. Secure on the inside with tape if necessary (ours fit snugly and tape was not required).

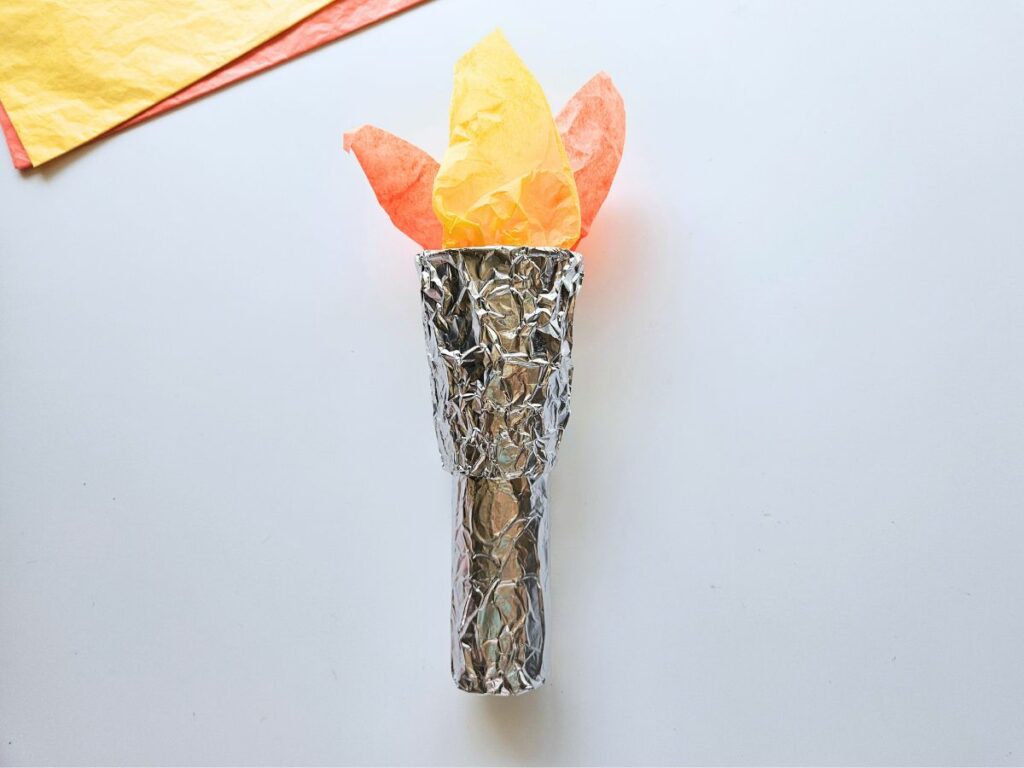
Cut large squares of tissue paper in yellow and orange. One by one, insert the tissue paper into the cup with a corner sticking out of the top of the cup. Secure the tissue paper to the cup with tape.
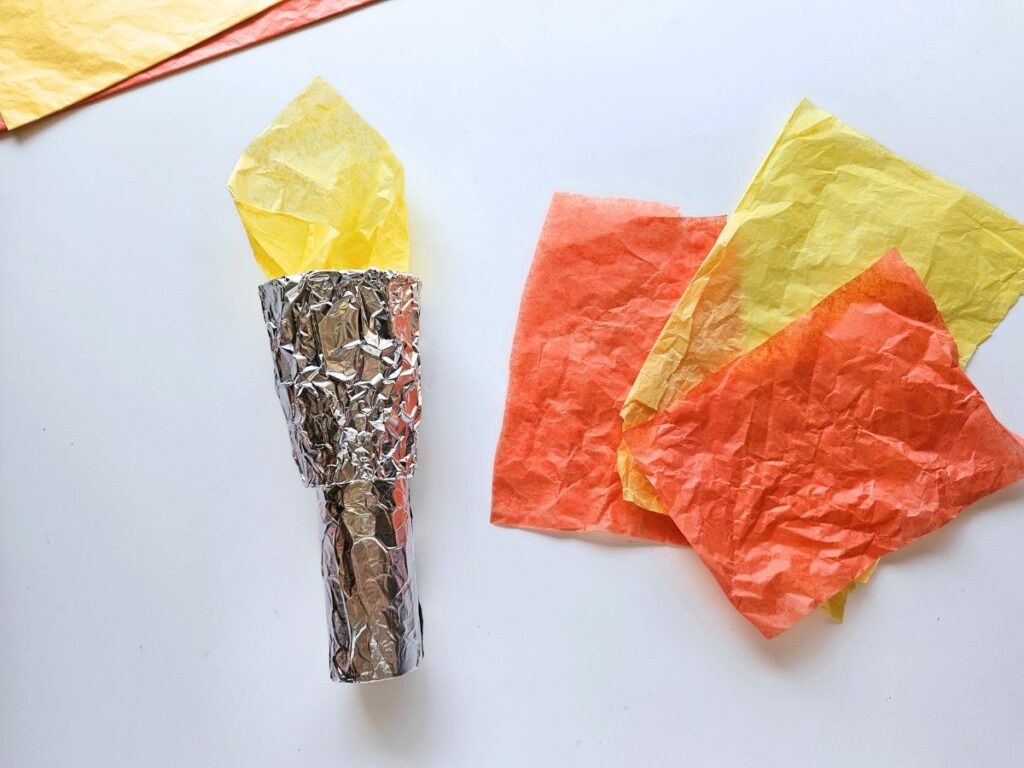
Continue adding pieces of tissue paper until the “flame” looks the way you want it to.
Now your torch is complete! You’re ready to watch the Olympics or have an Olympics opening ceremony of your own.
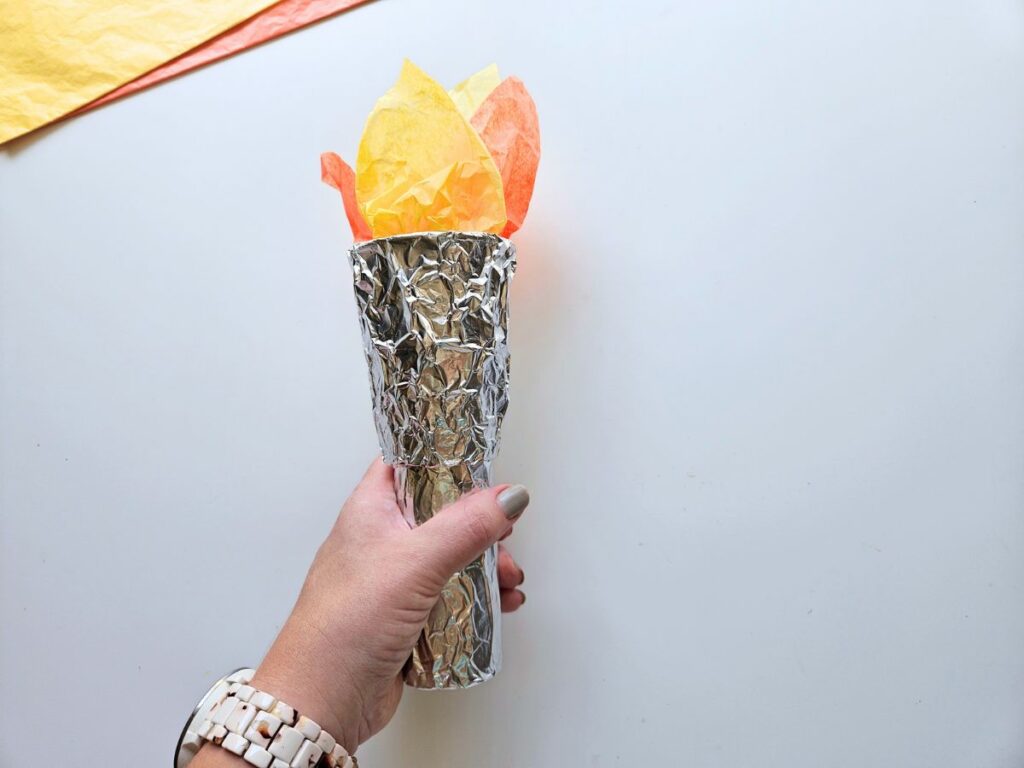
I hope you enjoy making this DIY Olympic torch craft as much as we did!
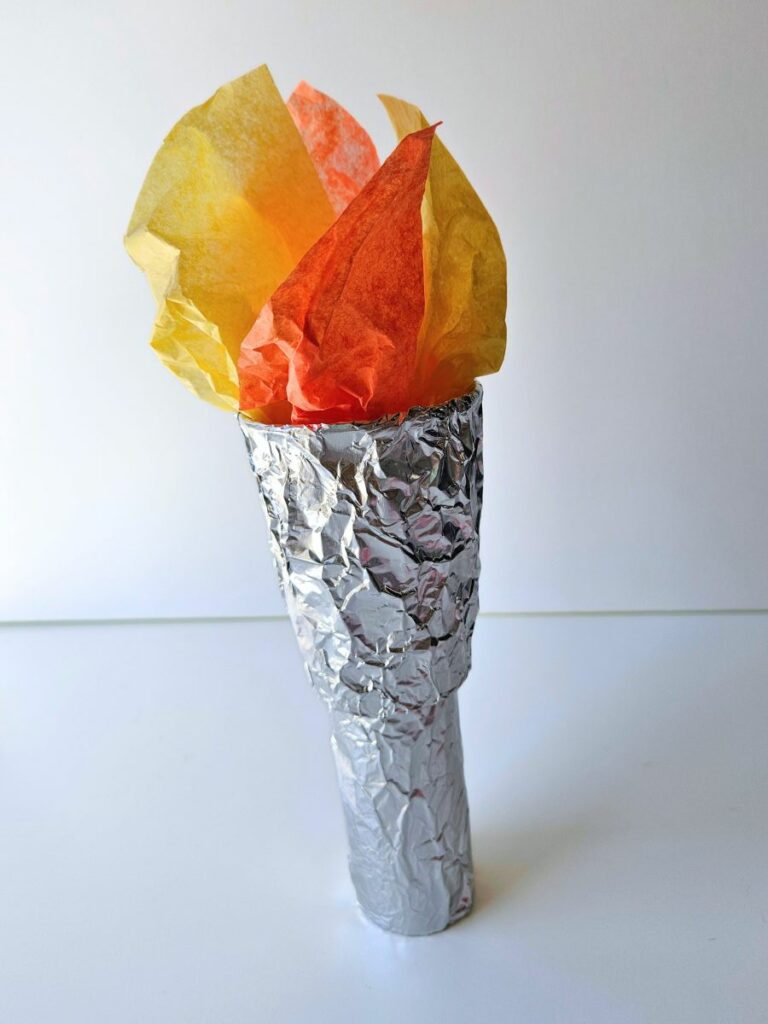
It’s amazing how something as simple as a toilet paper roll, a paper cup, and some tissue paper can turn into a symbol of unity and celebration.
Crafting this torch was a fantastic way for my boys and me to bond and get even more excited for the upcoming Olympics.
I encourage you to create your own torch and perhaps host a family opening ceremony to kick off the games in your household.
Fun facts about the Olympic torch
Here are some fun interesting facts about the Olympic torch to share with your child:
- Ancient Origins: The Olympic torch tradition dates back to the ancient Greek Olympics. A flame was kept burning throughout the games to honor Zeus, the king of the Greek gods.
- Modern Relay: The modern Olympic torch relay started in 1936. The flame is lit in Olympia, Greece, and then carried by relay runners all the way to the host city of the Olympic Games.
- Traveling Flame: The Olympic flame has traveled to many exciting places, including space! In 2000, the flame was carried into space aboard the Space Shuttle Atlantis.
- Unique Designs: Each host country designs a unique torch for the games. The design often reflects the culture and heritage of the host nation.
- Global Journey: The torch relay can involve thousands of runners and cover thousands of miles, passing through different countries and communities.
- Lighting the Cauldron: The climax of the torch relay is when the final torchbearer lights the Olympic cauldron at the opening ceremony. This marks the official start of the Olympic Games.
- Symbol of Peace and Unity: The flame represents peace, unity, and friendship. It’s a symbol that reminds us of the Olympic values of bringing people together from around the world.
- Torchbearer Heroes: Torchbearers are often chosen for their inspirational stories and contributions to their communities. It’s a special honor that celebrates their achievements and dedication.
Olympic Torch Craft
Get into the spirit of the games by making your own Olympic torch with this easy kids craft!
Materials
- Toilet paper roll
- Paper cup
- Aluminum foil
- Tissue paper (orange and yellow)
- Scissors
- Tape
Instructions
- Cut a hole in the bottom of the paper cup the size of the end of the toilet paper roll.
- Cut a piece of aluminum foil large enough to circle the toilet paper roll. Attach one end of the aluminum foil to the toilet paper roll with tape, then roll the toilet paper roll until it is entirely covered and secure it with another piece of tape. Fold the extra aluminum foil at each end into the inside of the toilet paper roll.
- Do the same with your cup: attach a piece of aluminum foil to the cup with tape, roll the cup until it is covered in the aluminum foil and tape the other side down.
- Fold the extra aluminum foil down into the cup on both the top and the bottom (if you have a large amount of excess tin foil on either side, cut it off before folding into the cup).
- Insert the foil-covered toilet paper roll up through the hole in the bottom of the cup. Secure on the inside of the cup with tape if necessary.
- Cut large squares of tissue paper in yellow and orange. One by one, insert the tissue paper into the cup with a corner sticking out of the top of the cup. Secure the tissue paper to the cup with tape. Continue adding pieces of tissue paper until the "flame" looks the way you want it to.