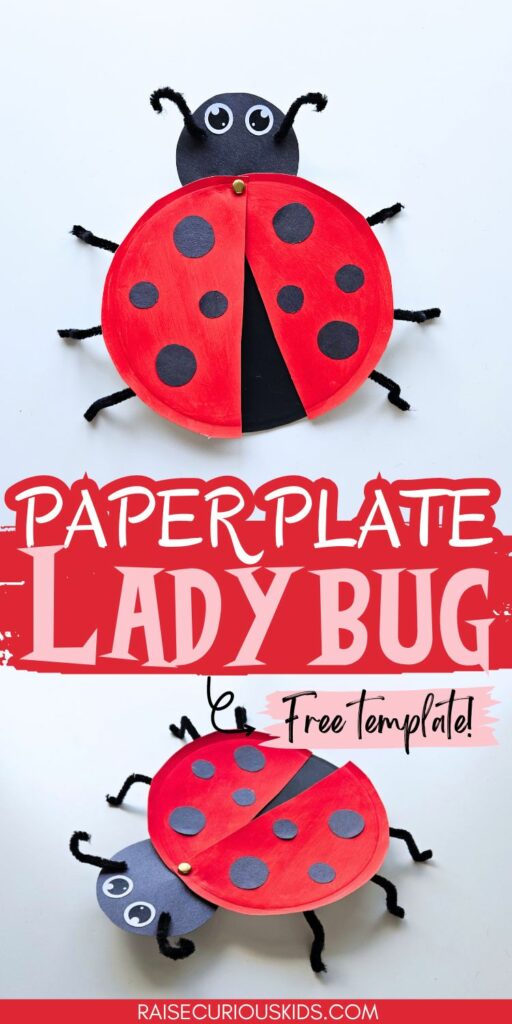
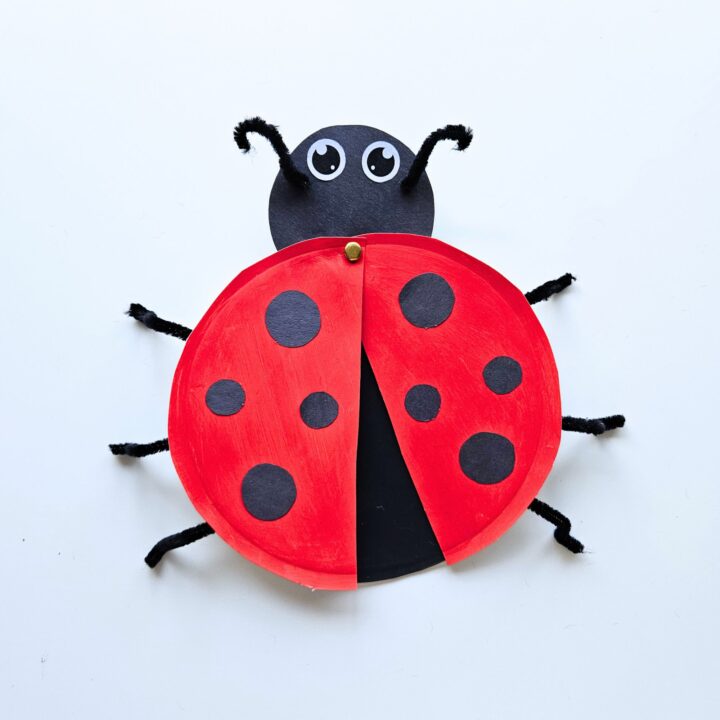
Looking for a fun and educational craft to keep the kids busy? Check out our adorable paper plate ladybug craft!
This easy-to-make project uses a free template, and the best part is that the ladybug’s wings actually open!
It’s perfect for a springtime activity or for teaching kids about bugs and insects.
Whether you’re doing a unit study on nature or just looking for a creative way to celebrate the season, this craft is sure to delight kids of all ages.
Ladybug Paper Plate Craft
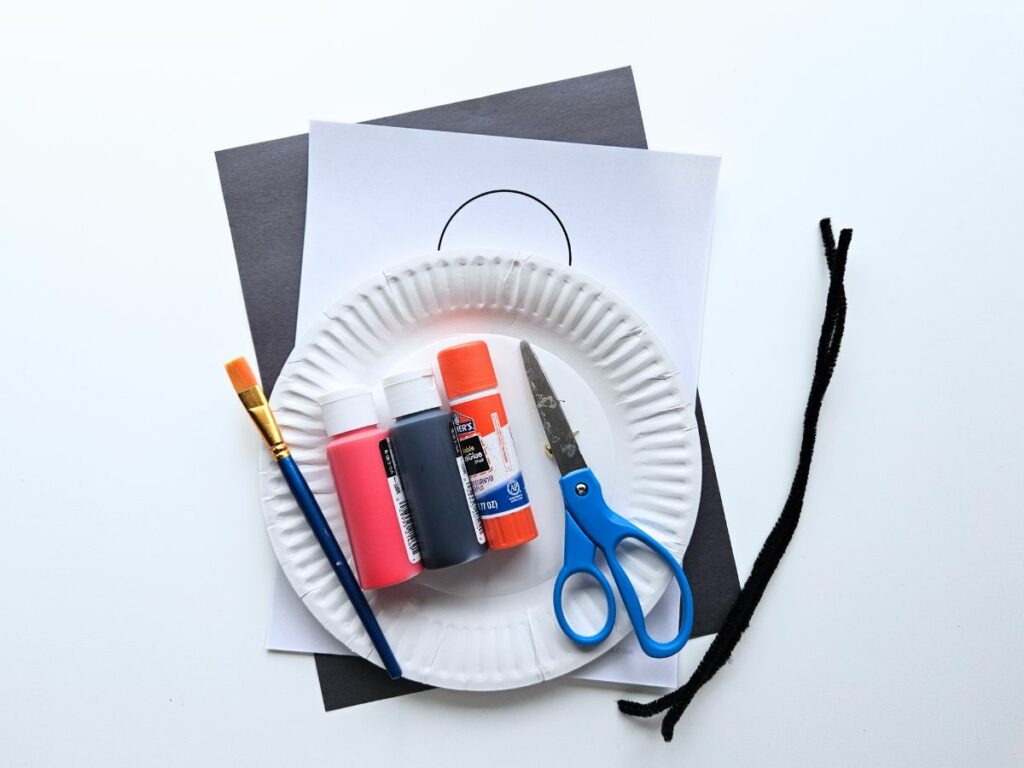
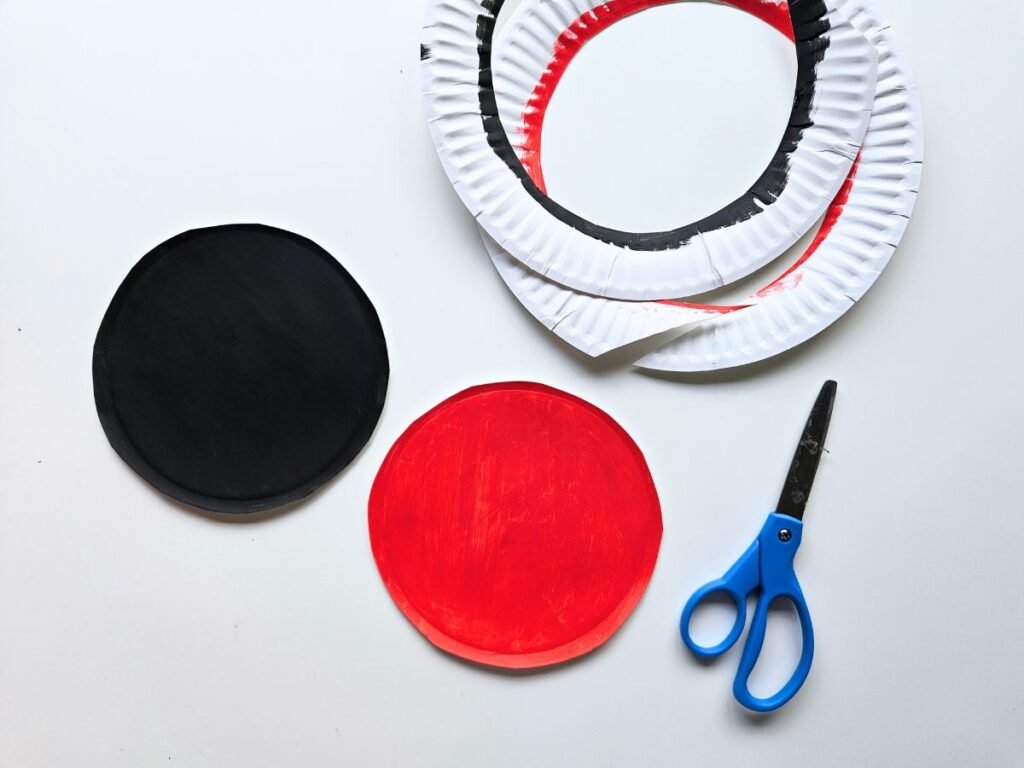
Materials
- Ladybug craft template (available for download below)
- Paper plates (2)
- Black and red paint
- Black pipe cleaners
- Crafting brad
- Scissors
- Glue
Instructions
First, download and print the ladybug template from the bottom of this page.
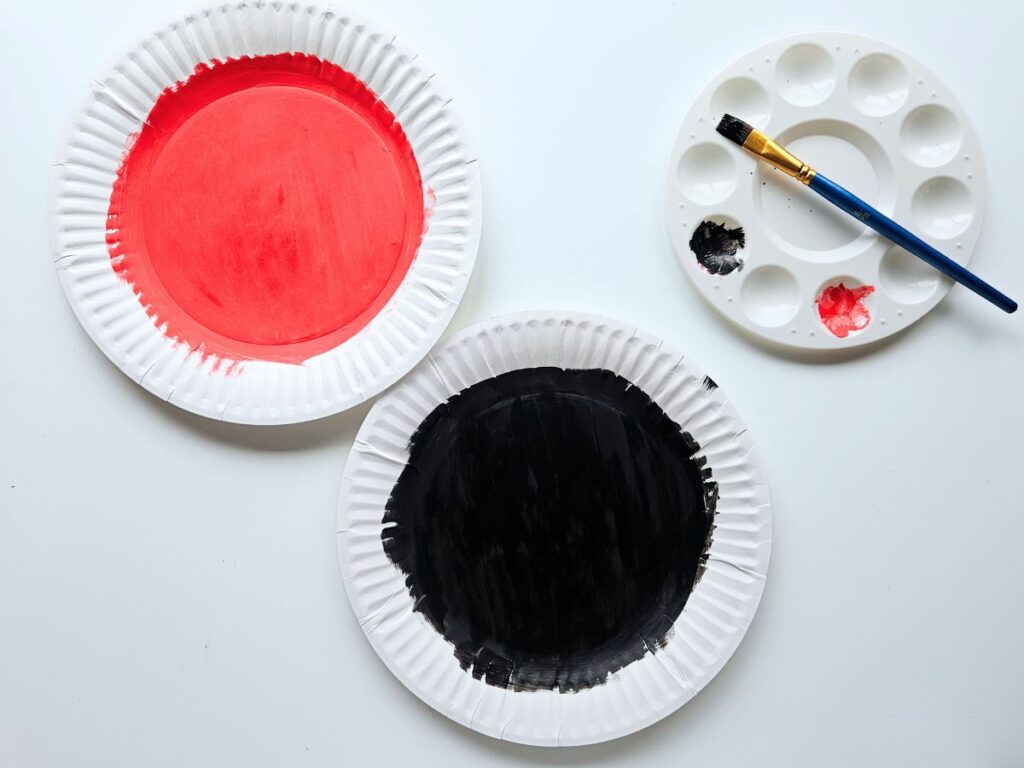
Start by painting one paper plate black and another red. Let them dry completely.
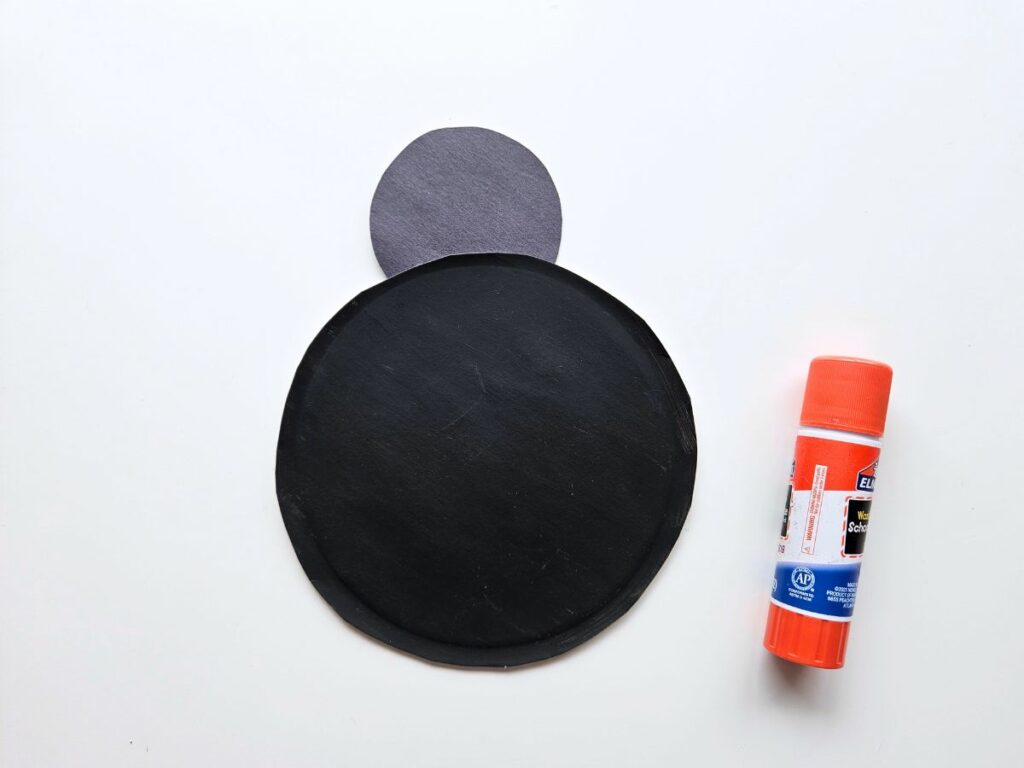
While the plates dry, cut out the pieces from the template. Trace the head and spots onto black paper, then cut them out.
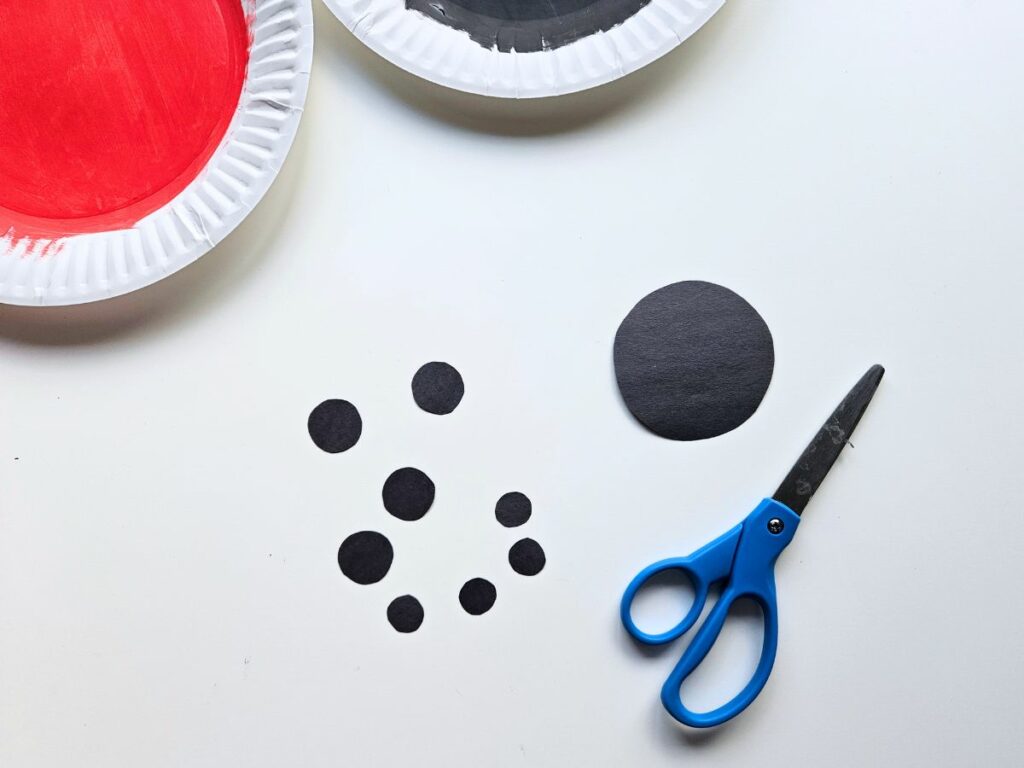
Once your plates are dry, trim off the outer rim so you’re left with just the circle in the middle.
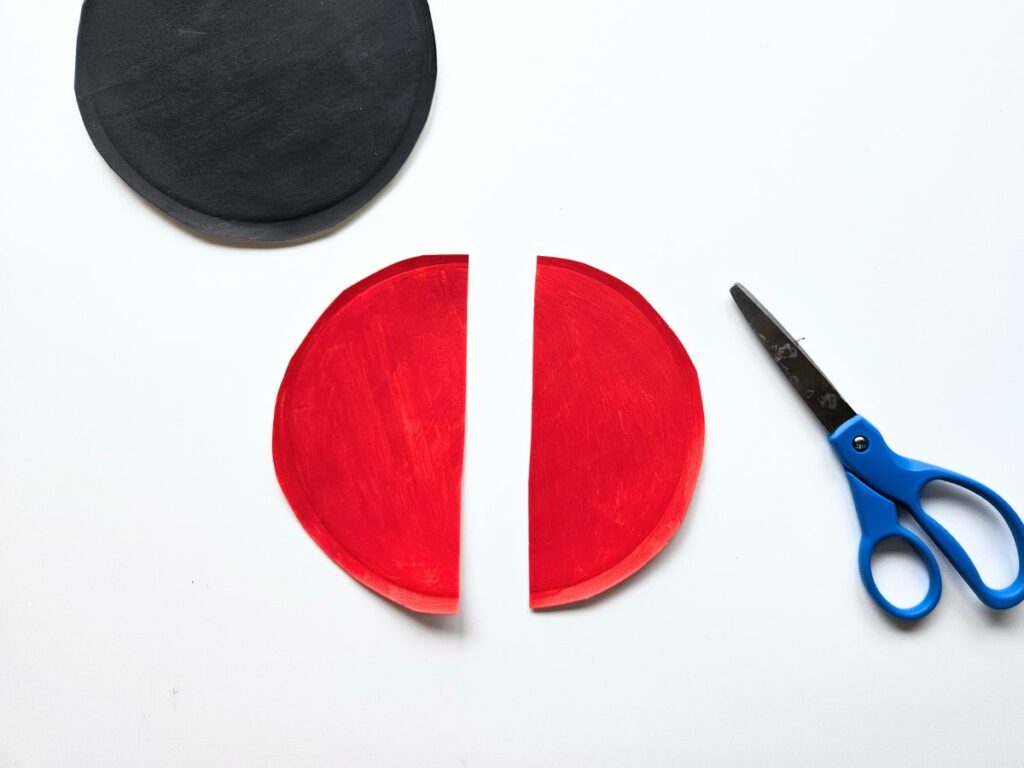
Take the red plate and cut it in half right down the center.
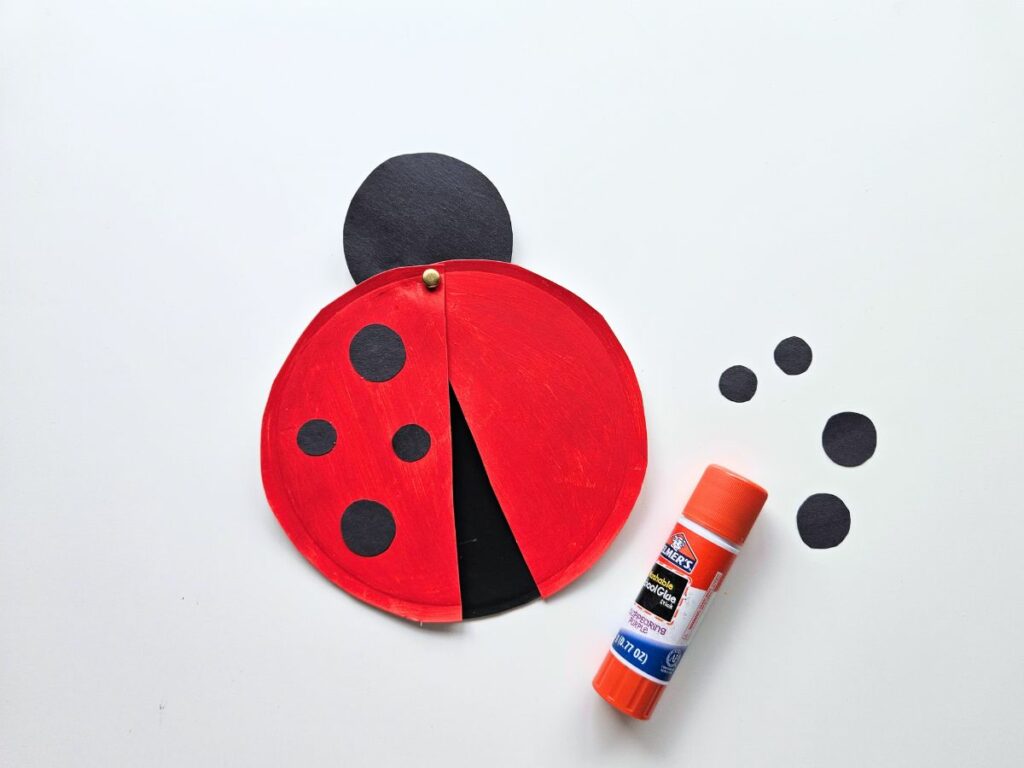
Glue the black head onto the top of the black plate.
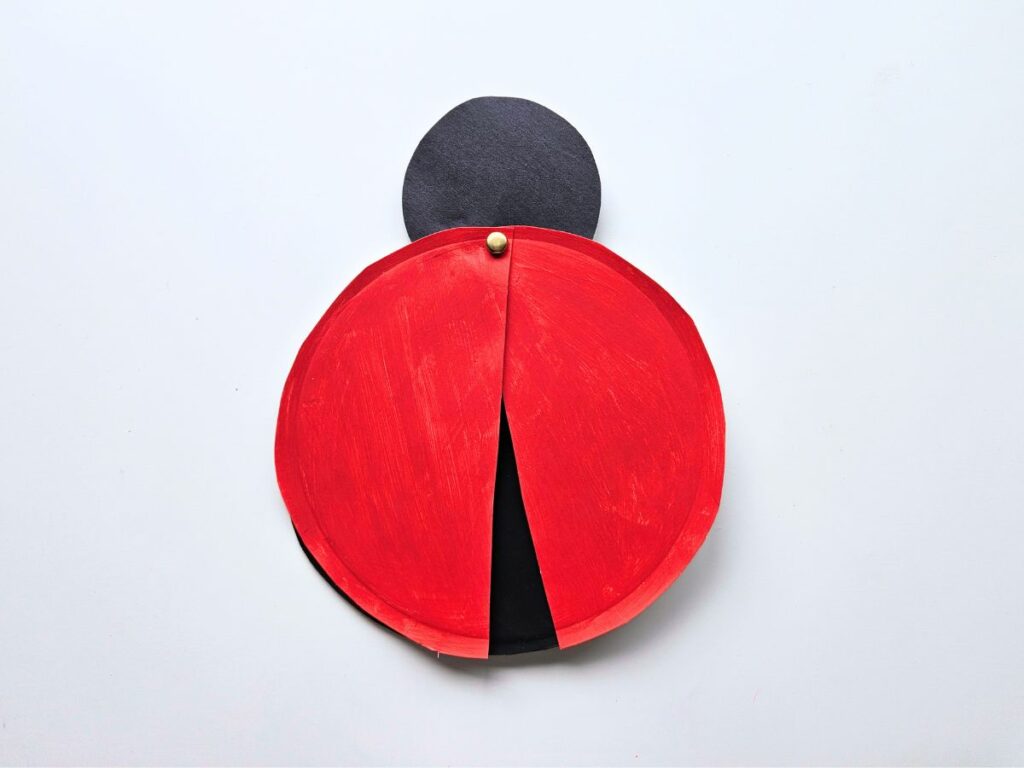
Overlap the two halves of the red plate slightly at the top and use a brad to attach them just below the head on the black plate. This way, your ladybug’s wings can open and close!
Glue the black spots onto the red wings.
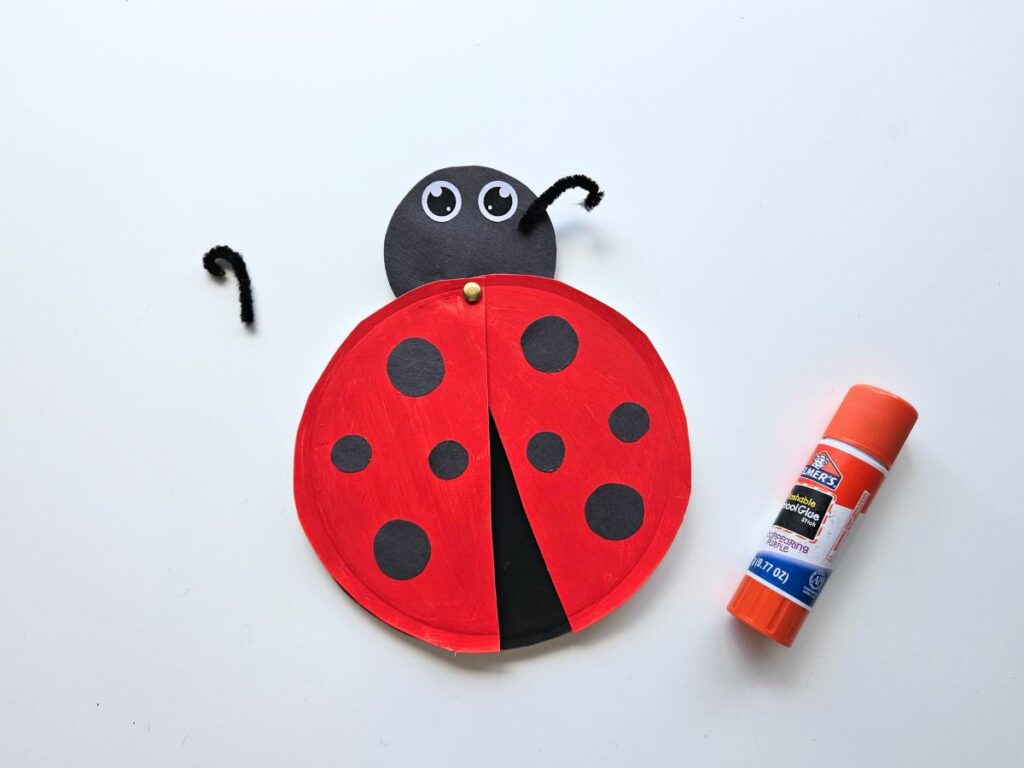
Attach the eyes to the ladybug’s head. Cut two small pieces of black pipe cleaner, bend the tops slightly, and glue them to the head as antennae.
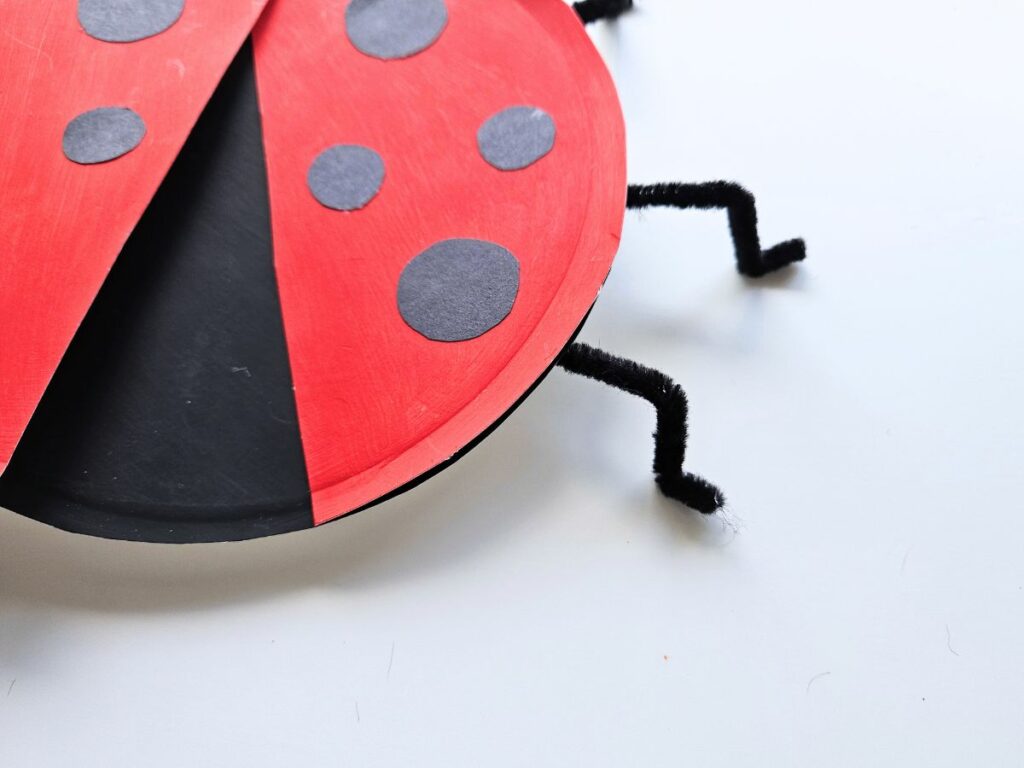
Cut two more black pipe cleaners into thirds. Tape or glue three pieces to each side of the ladybug’s body on the underside to make the legs.

Bend the pipe cleaners down in the middle and then out near the ends to shape the legs and feet.
And there you have it—a cute and interactive paper plate ladybug craft that’s perfect for spring or learning about bugs!
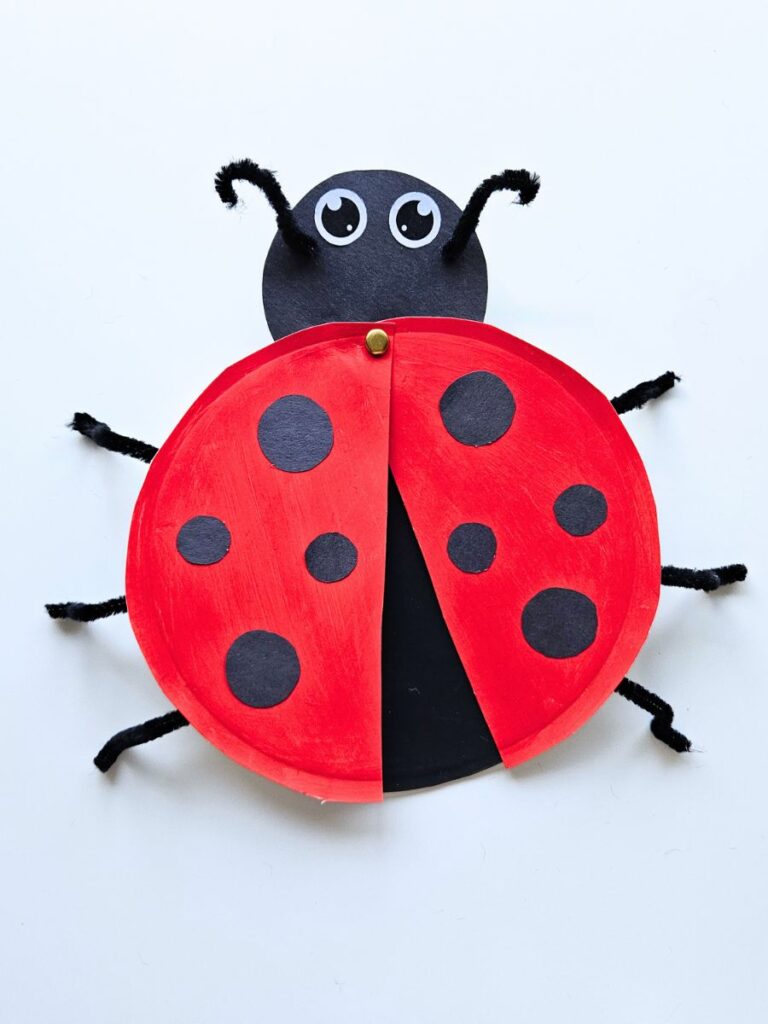
With its opening wings and bright colors, this craft is a fun way for kids to explore their creativity while also learning about the natural world.
I hope you and your little ones had a blast making these adorable ladybugs.
Kids Books About Ladybugs
Here are some fun kids books about ladybugs to enjoy while you make your craft!
It’s a Good Thing There Are Ladybugs by Joanne Mattern– This informative and engaging book explores the important role that ladybugs play in our ecosystem. Through lively text and colorful illustrations, it highlights how these small creatures help control pests and support a healthy garden. Perfect for young readers, it combines fun facts with an appreciation for nature.
Ladybugs by Gail Gibbons– This educational book introduces young readers to the fascinating world of ladybugs. With detailed illustrations and easy-to-understand text, it covers everything from the life cycle and behavior of ladybugs to their important role in nature. It’s a great resource for children who are curious about insects and want to learn more about these colorful creatures.
The Grouchy Ladybug by Eric Carle– This charming picture book tells the story of a cranky ladybug who learns an important lesson about kindness and friendship. As the grumpy insect encounters various animals throughout the day, each interaction highlights the importance of treating others with respect and consideration.
Ladybug Paper Plate Craft
Make this adorable ladybug craft out of a paper plate!
Materials
- Ladybug craft template
- Paper plate
- Black and red paint
- Pipe cleaners
- Crafting brad
- Scissors
- Glue
Instructions
- Download and print the ladybug template.
- Paint one plate black and one plate red. Let them dry.
- Cut out the template pieces.
- Trace and cut the head and spots from black paper.
- Trim the edges of the painted plates, leaving just the center circles.
- Cut the red plate in half.
- Glue the head onto the black plate.
- Overlap and attach the red plate halves with a brad to the top of the black plate, just below the head.
- Glue the black spots onto the red wings.
- Glue the eyes onto the head. Cut two black pipe cleaners into small pieces, bend slightly, and glue as antennae.
- Cut two black pipe cleaners into thirds, attach to the underside for legs, and bend into shape.