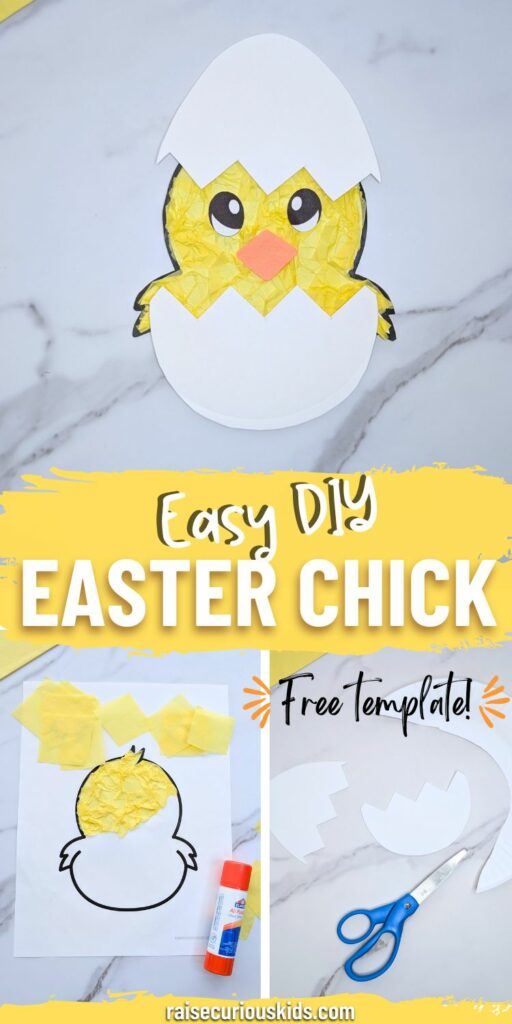
Spring is in the air, and what better way to celebrate than with an adorable Easter chick craft!
This easy and fun project lets kids create their own fuzzy little chick using tissue paper “feathers” and a paper plate “shell” to make it look like it’s just hatched.
With simple materials and lots of hands-on fun, this craft is perfect for young kids and a great way to welcome the season.
Grab some tissue paper and glue, and let’s get crafting!
And don’t miss out on our other Easter crafts and activities for kids.
Easter Chick Craft
Materials
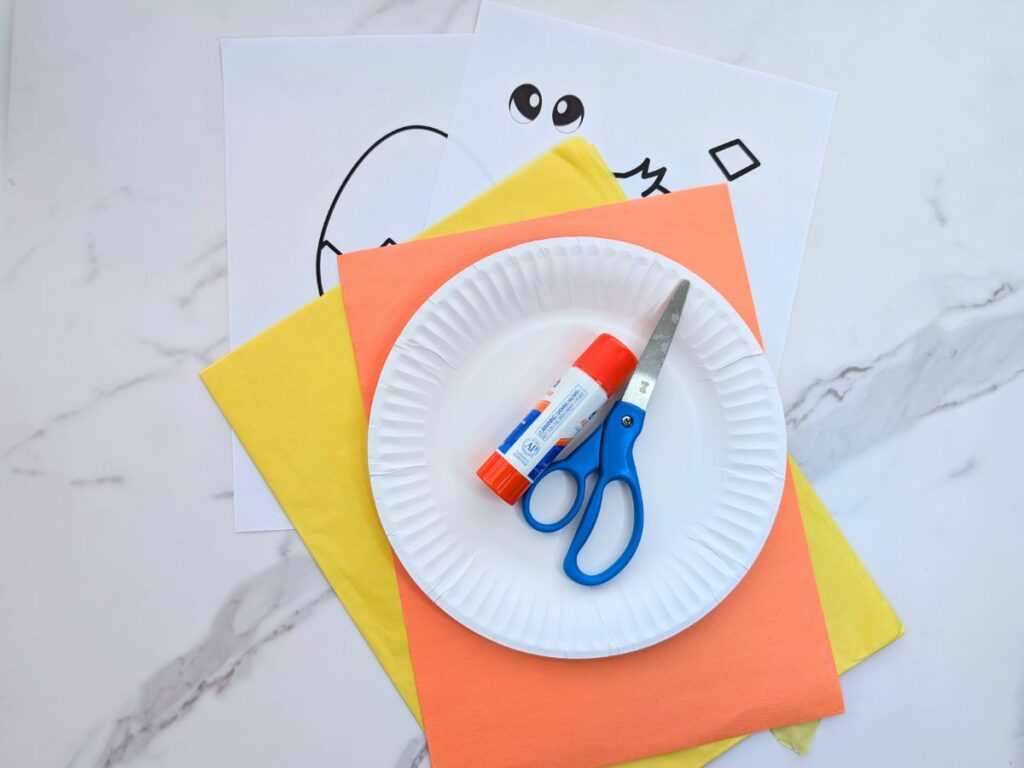
- Chick craft template
- Paper plate
- Yellow tissue paper
- Orange paper
- Scissors
- Glue
Instructions
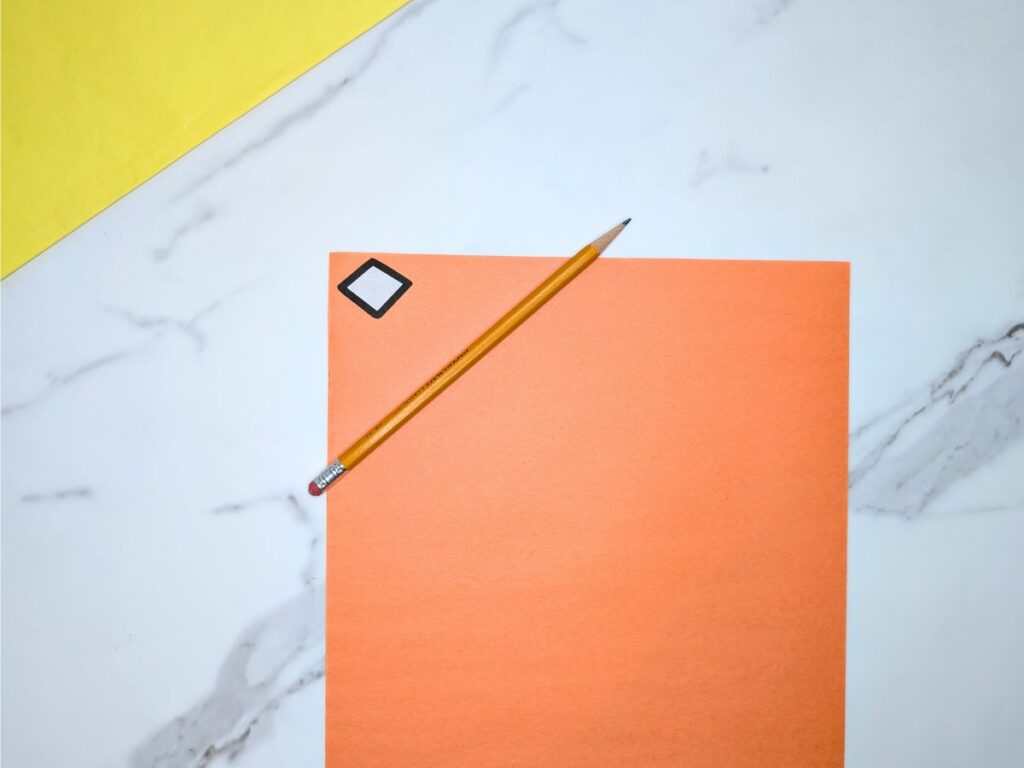
First, download and print out the chick craft template, which you can find at the bottom of this page.
Next, cut out small pieces of yellow tissue paper (approximately 1″x1″ squares).
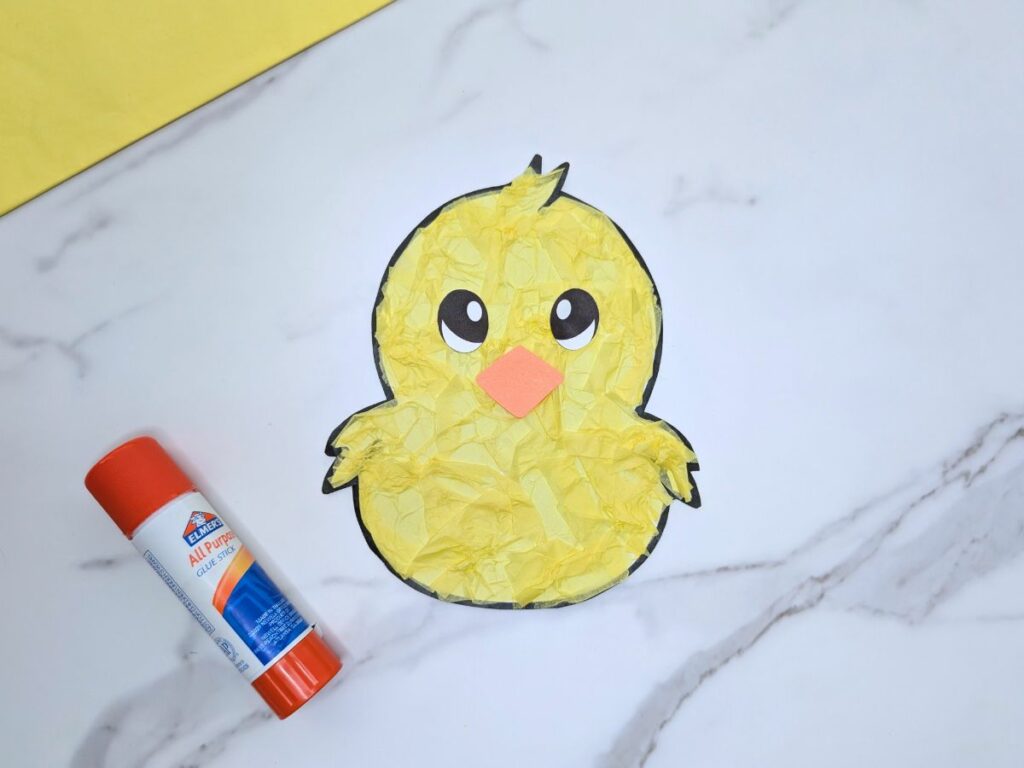
Working in sections, cover a part of the chick with glue, crinkle a piece of yellow tissue paper and stick the tissue paper to the glue.
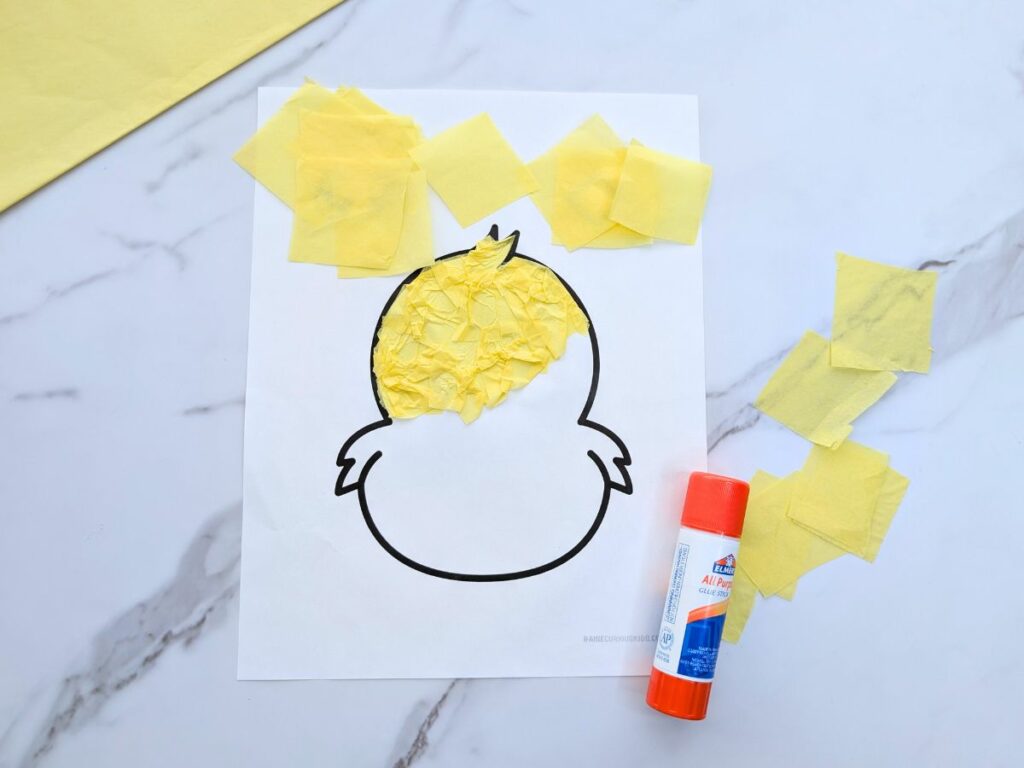
Continue until the entire chick is covered in yellow tissue paper.
Cut out around the outside of the chick and cut out the chick’s eyes and beak.
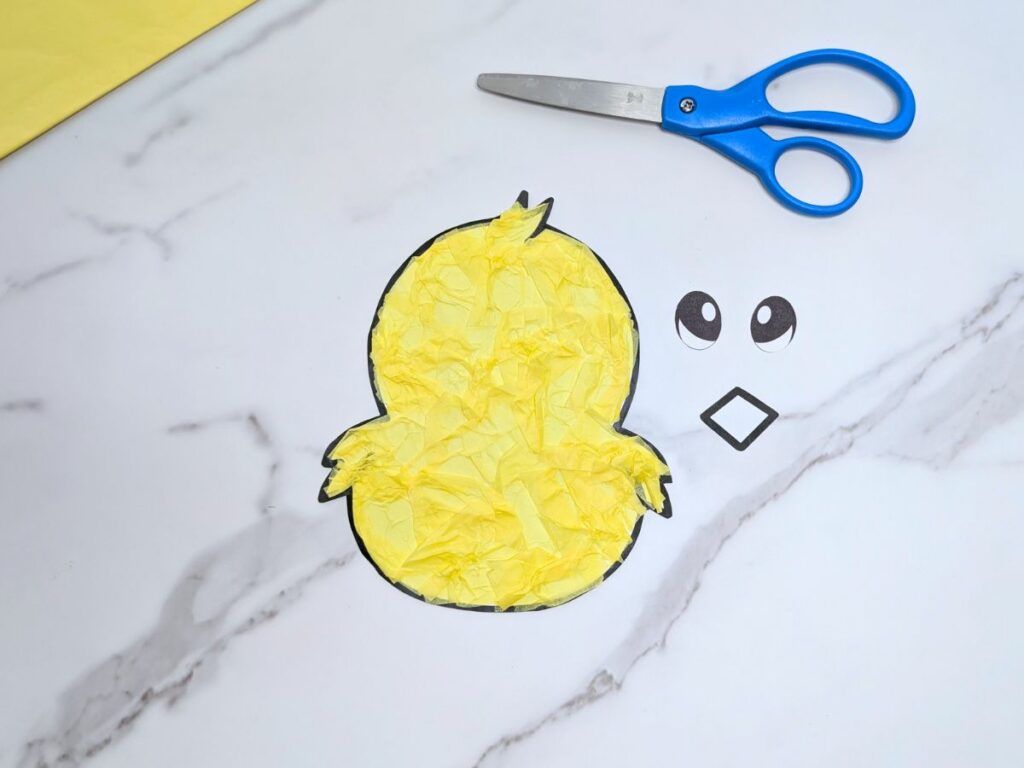
Trace the beak onto orange paper (or you can just color it orange using orange pen or colored pencil) and cut it out.
Glue the eyes and beak onto the chick’s face.
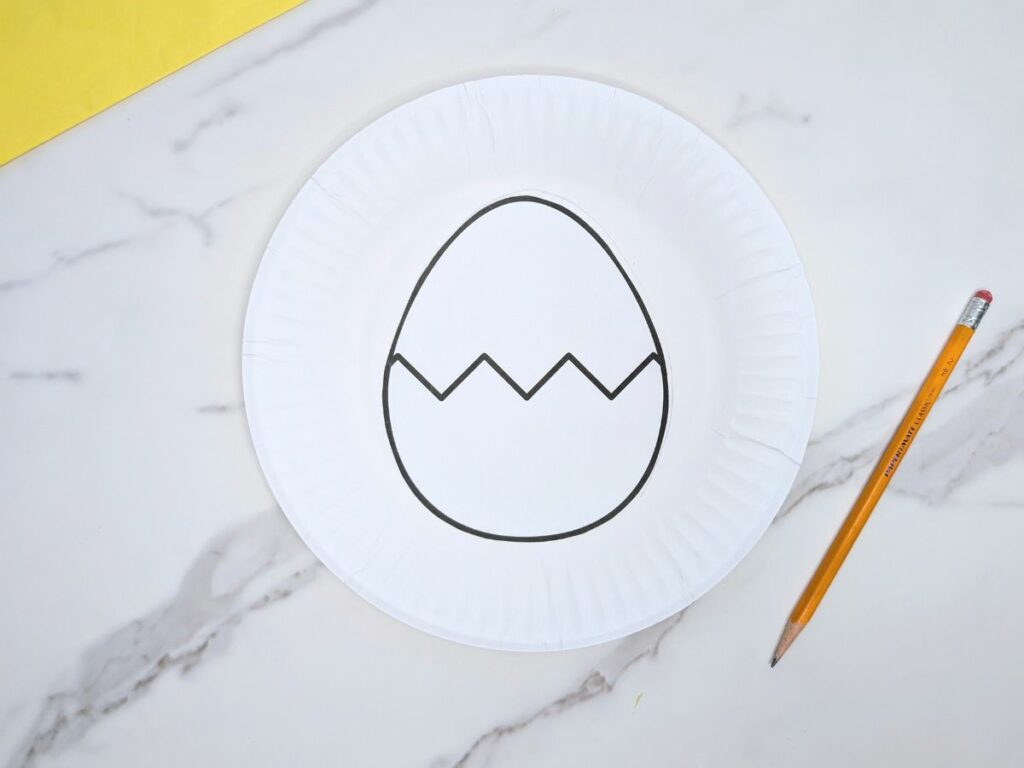
Now it’s time to make the eggshell! Trace the outside of the egg onto a white paper plate. Then cut the egg template in the middle and trace the middle line onto the paper plate.
Cut out the egg pieces from the paper plate.
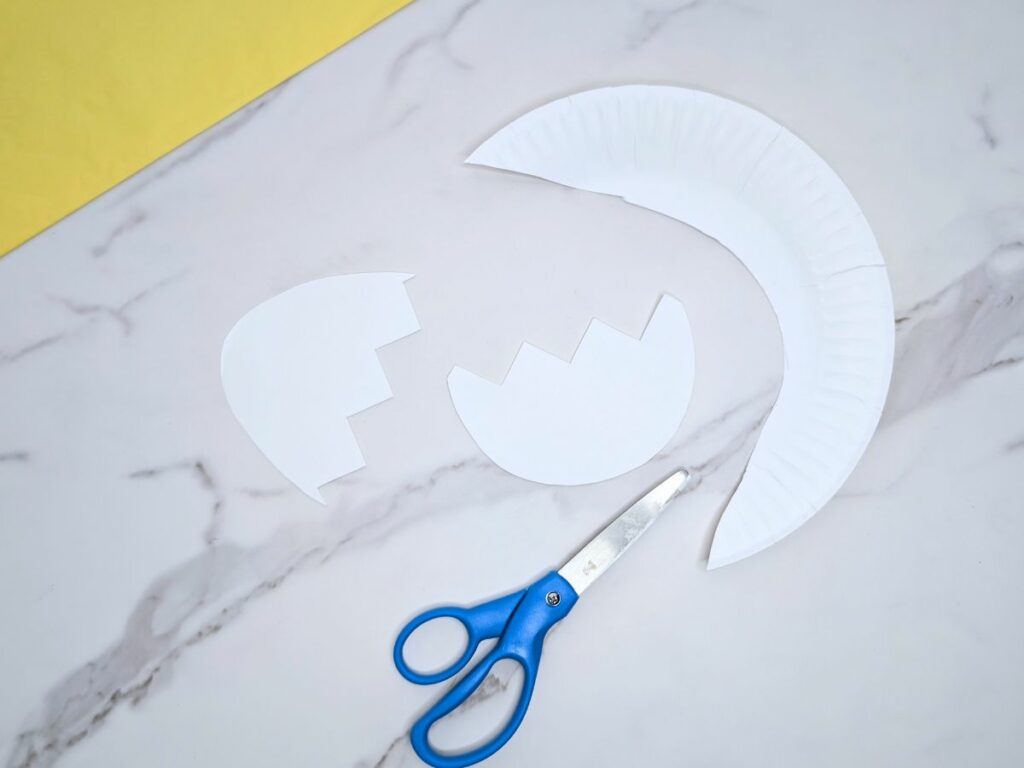
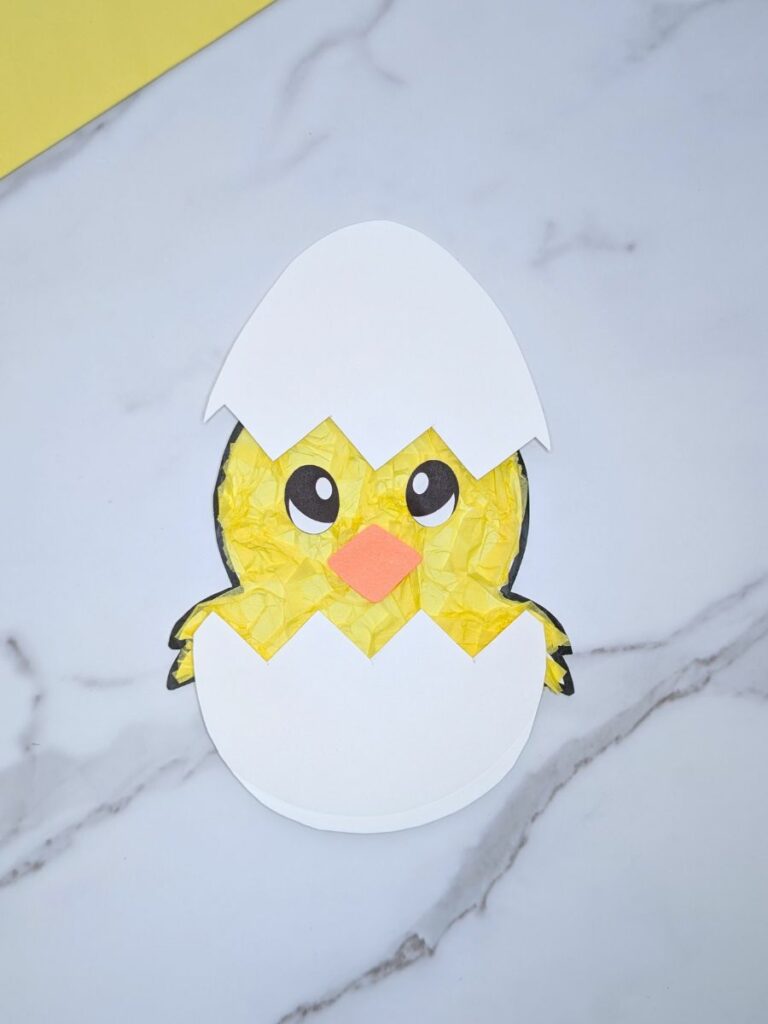
Glue the bottom of the eggshell to the bottom of the chick and the top of the egg to the top of the chick’s head.

And just like that your adorable Easter chick craft is complete!
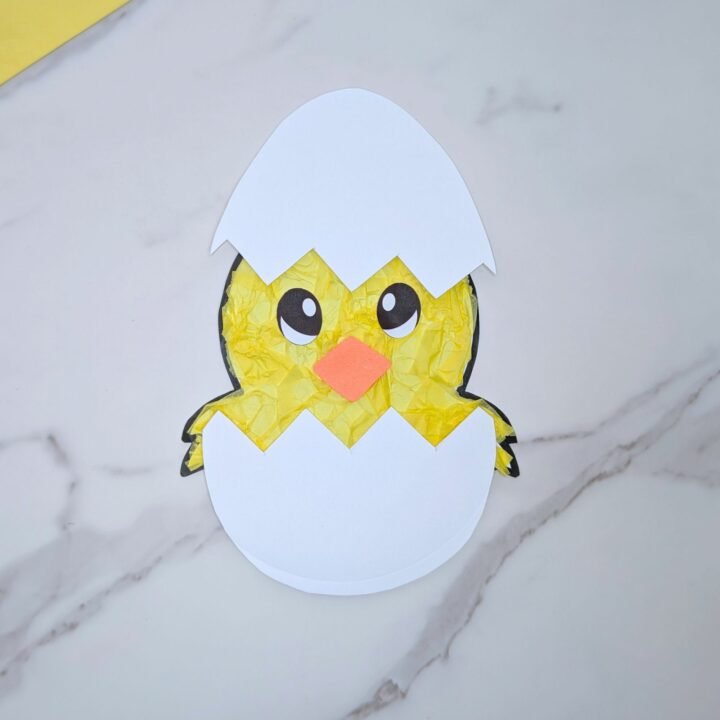
Easy Chick Craft
Make your own adorable baby chick this spring with this cute and easy craft for kids!
Materials
- Chick craft template
- Paper plate
- Yellow tissue paper
- Orange paper
- Scissors
- Glue
Instructions
- Download and print out the chick template.
- Cut out pieces of yellow tissue paper (in approximately 1x1 squares).
- Cover sections of the chick in glue, crinkle pieces of tissue paper and stick them to the glue. Continue until the entire chick is covered in tissue paper.
- Cut out the chick, eyes, and beak template.
- Trace the beak onto orange paper and cut out.
- Glue the eyes and beak onto the chick's face.
- Cut out the egg template and trace it onto the paper plate. Cut out the pieces.
- Glue the egg pieces to the top and bottom of the chick.