Make your own adorable snowy owl with this easy paper plate craft for kids!
This craft is so simple to make and is perfect for elementary aged children.
It works perfectly as a winter or animal craft to make at home or in the classroom.
At the bottom of this page you can also find some fun facts about snowy owls to talk about while you work on your craft!
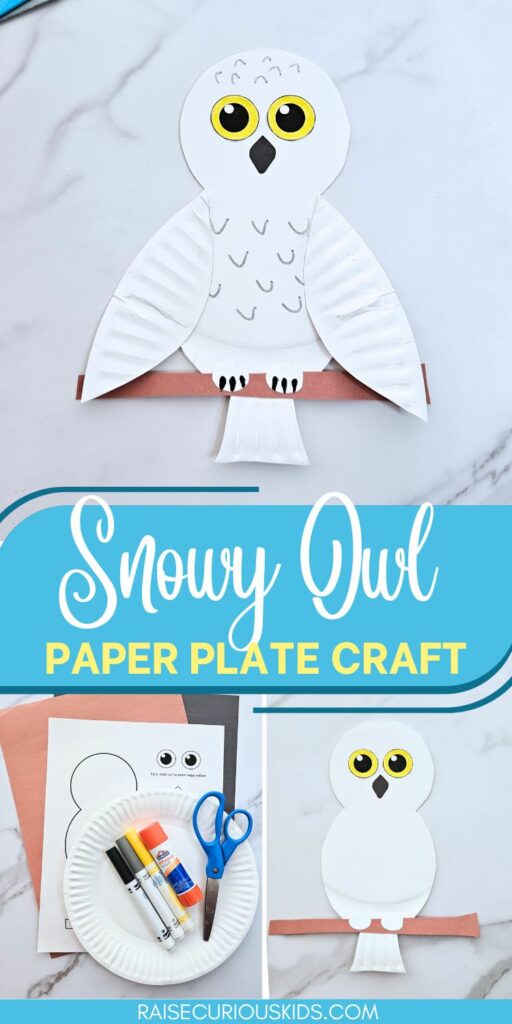
Snowy Owl Paper Plate Craft
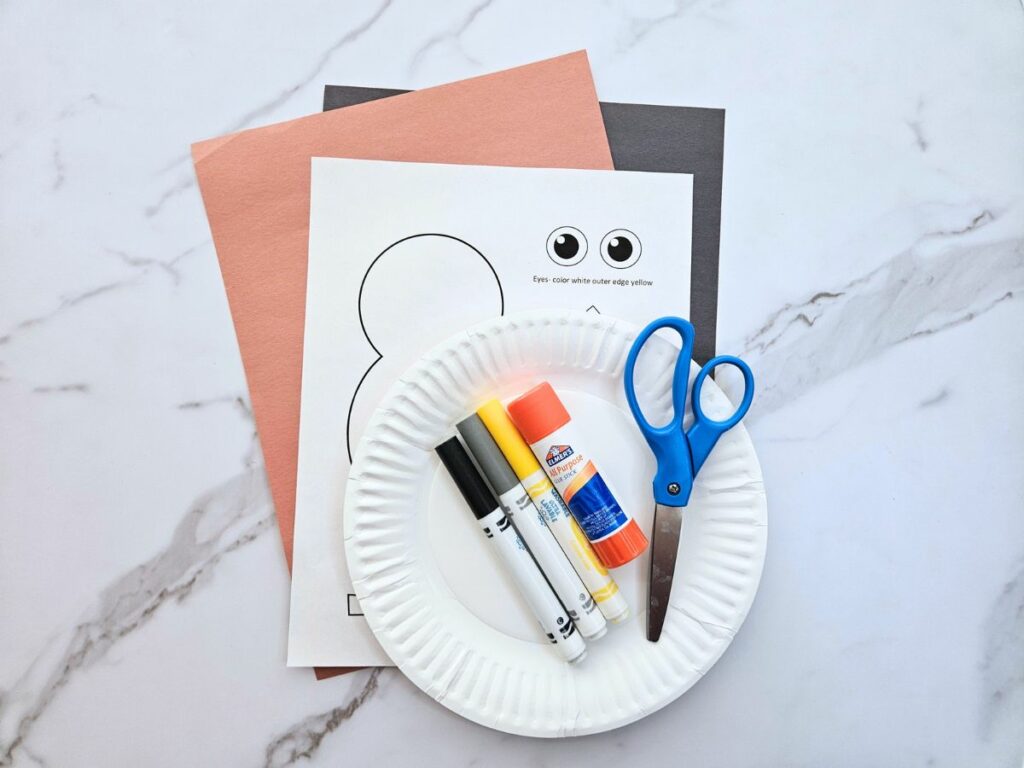
Materials
- Snowy owl printable template
- Paper plate
- Black and grey markers
- Brown and black paper
- Glue
- Scissors
Instructions
First, download and print out the snowy owl template, which you can find at the bottom of this page.
Next, cut out the pieces of the template.
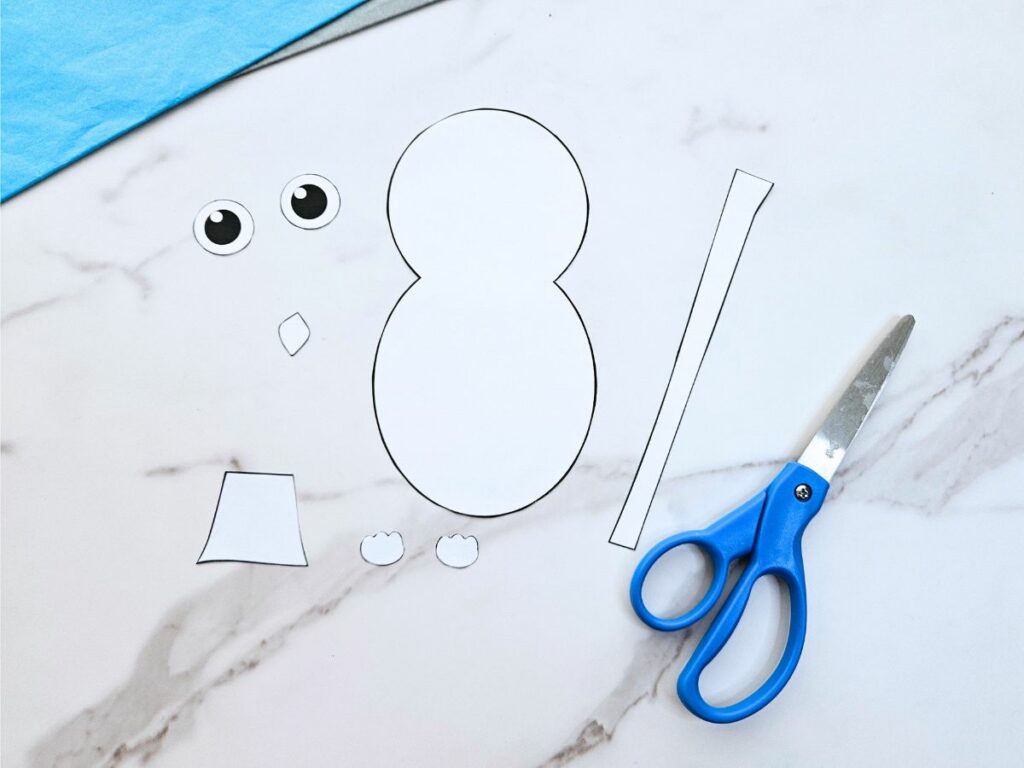
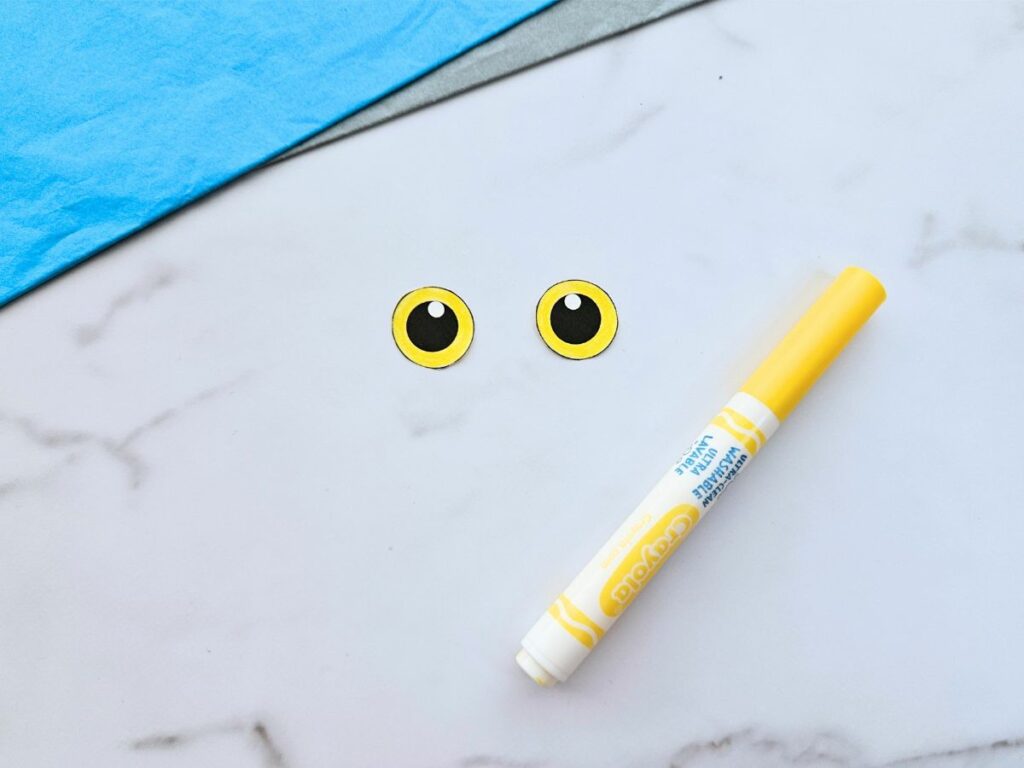
Color the outside circle in the owl’s eyes yellow.
Next, trace the owl’s body, feet, and tail onto the paper plate. Center it so that the owl’s head is below the crease at the top of the plate. Trace the tail onto the edge of the plate so that you can use the texture of the rim to look like feathers.
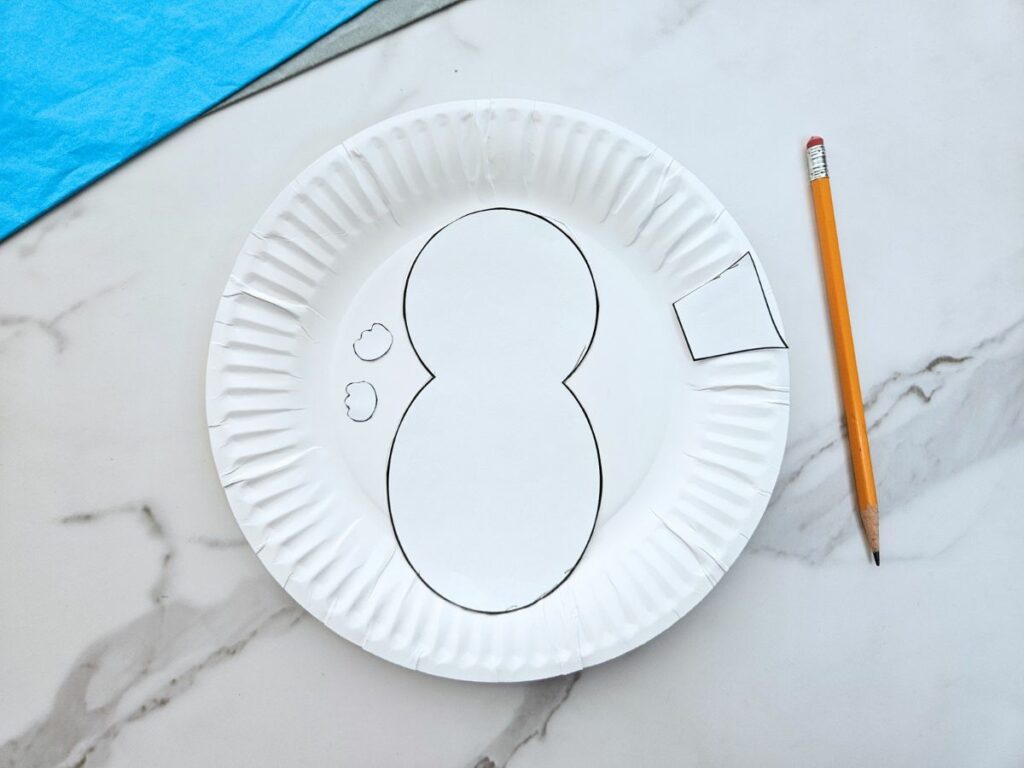
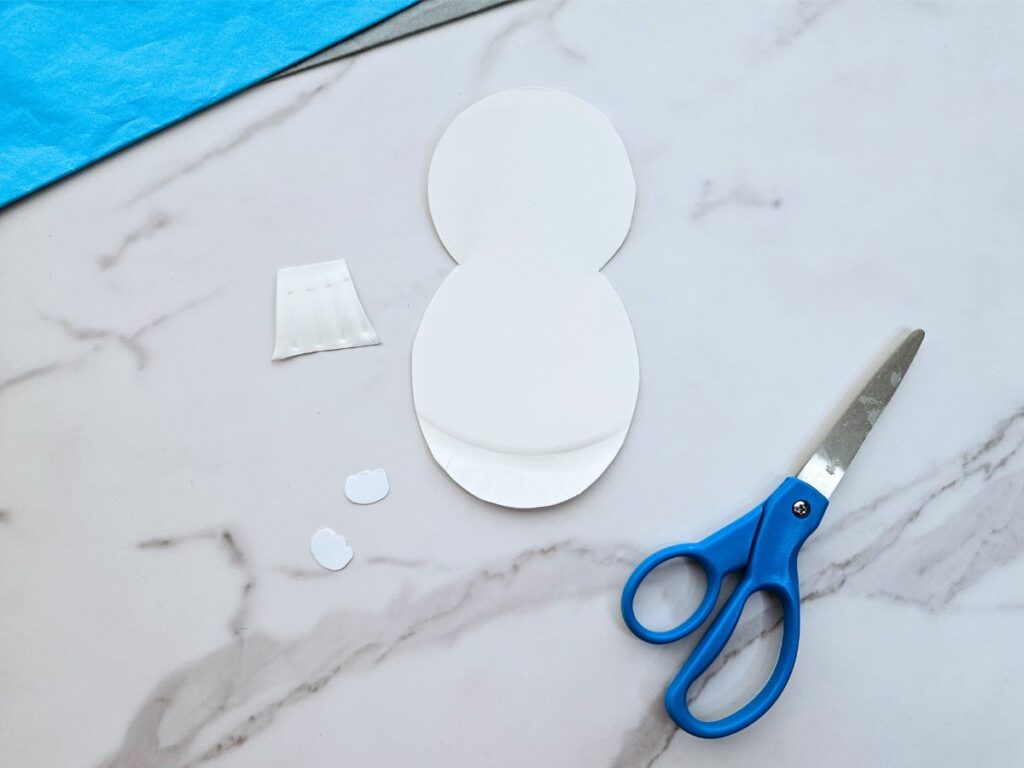
Cut out the pieces. Be sure to save the outside edge of the plate, you’ll need that for the wings!
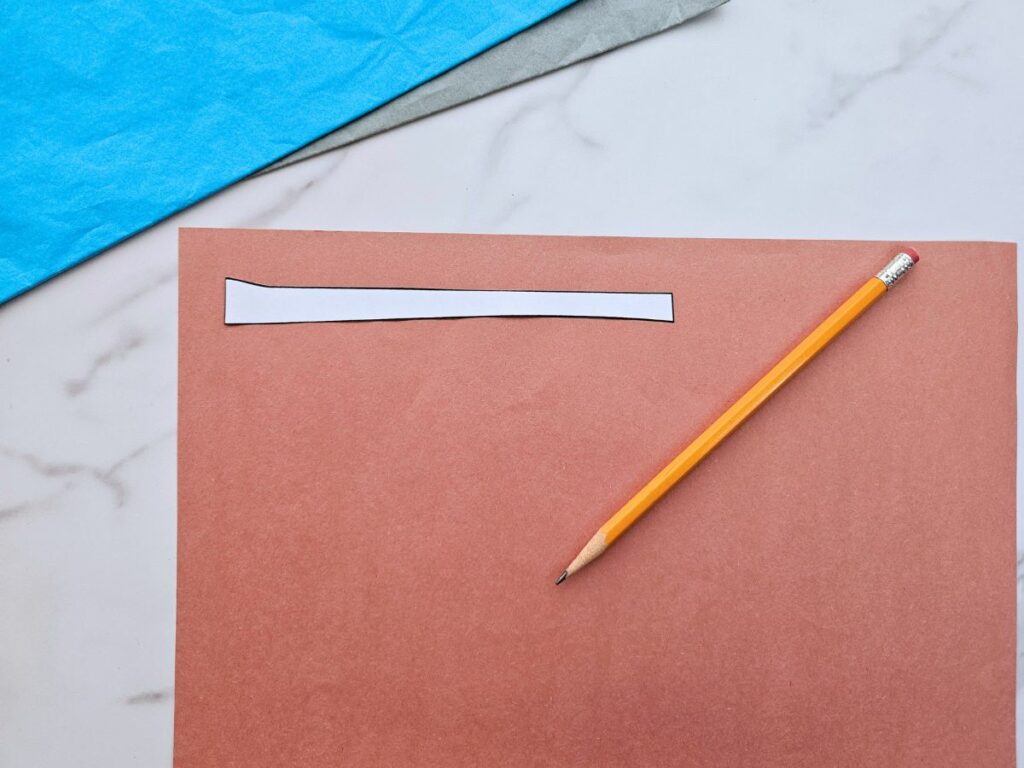
Trace the branch template onto brown paper and the beak template onto black paper (or you can just color it in with black marker). Cut out the pieces.
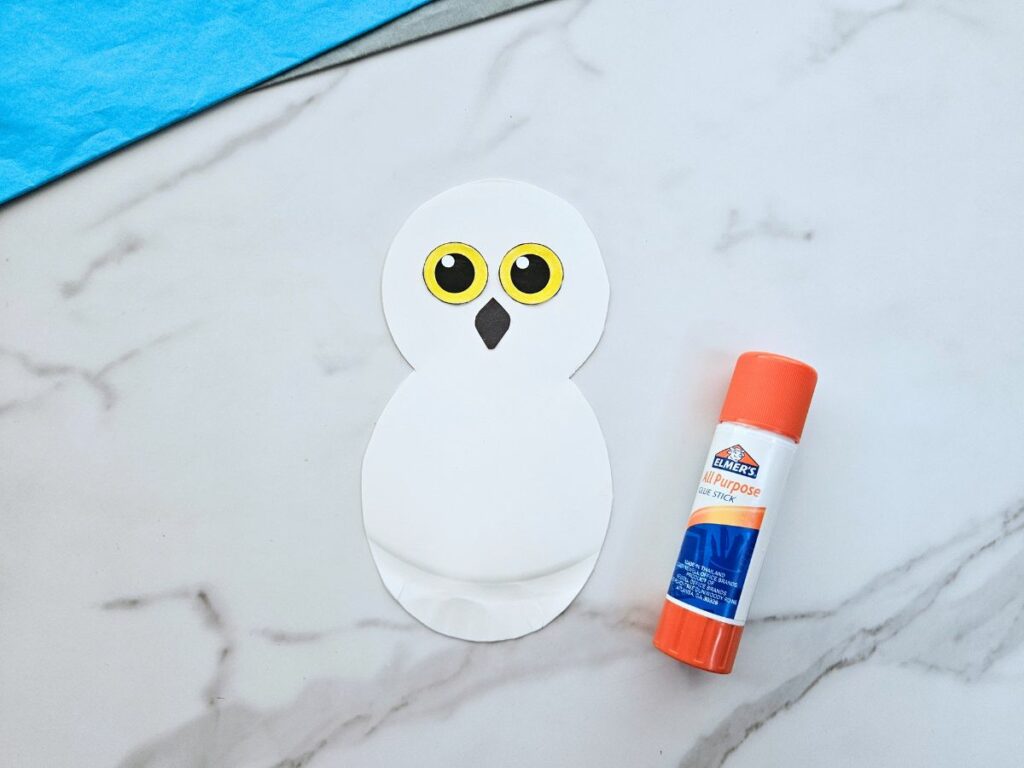
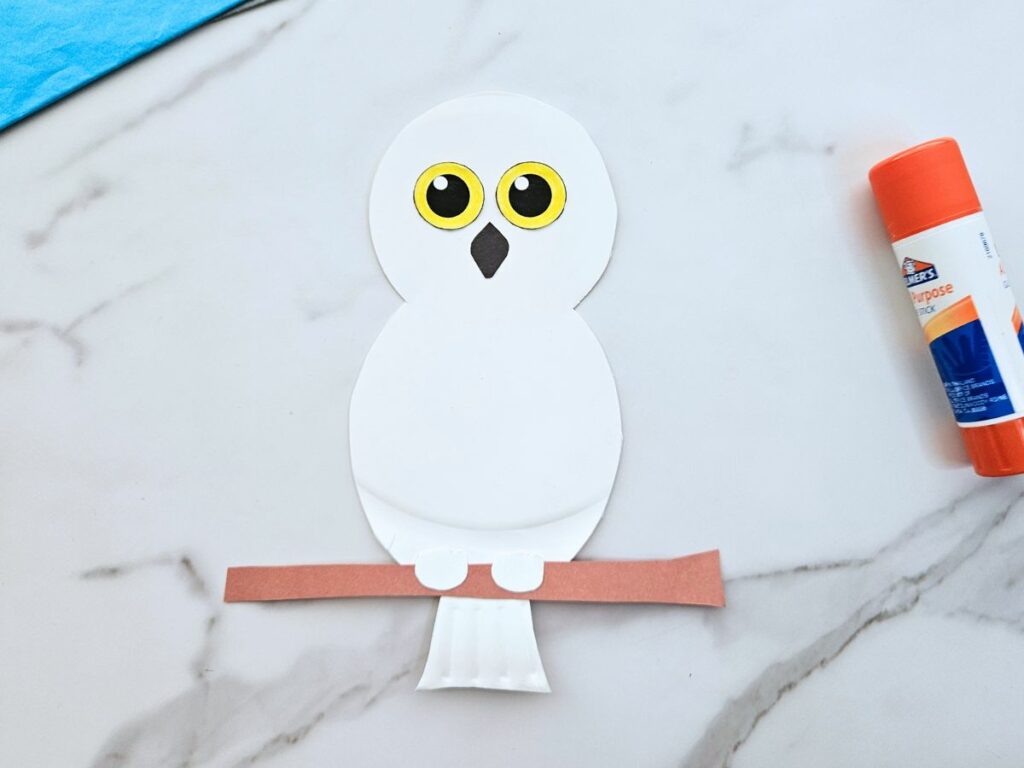
Glue the eyes and beak onto the owl’s face.
Glue the branch onto the bottom of the owl, glue the feet on top of the branch, and glue the tail onto the back of the branch so that it sticks out below the owl.
Use a grey marker to add some feathers onto the body and the head of the owl. Use a black marker to draw talons onto the owl’s feet.

Use the leftover outside of the plate to cut out curved pieces for the wings.
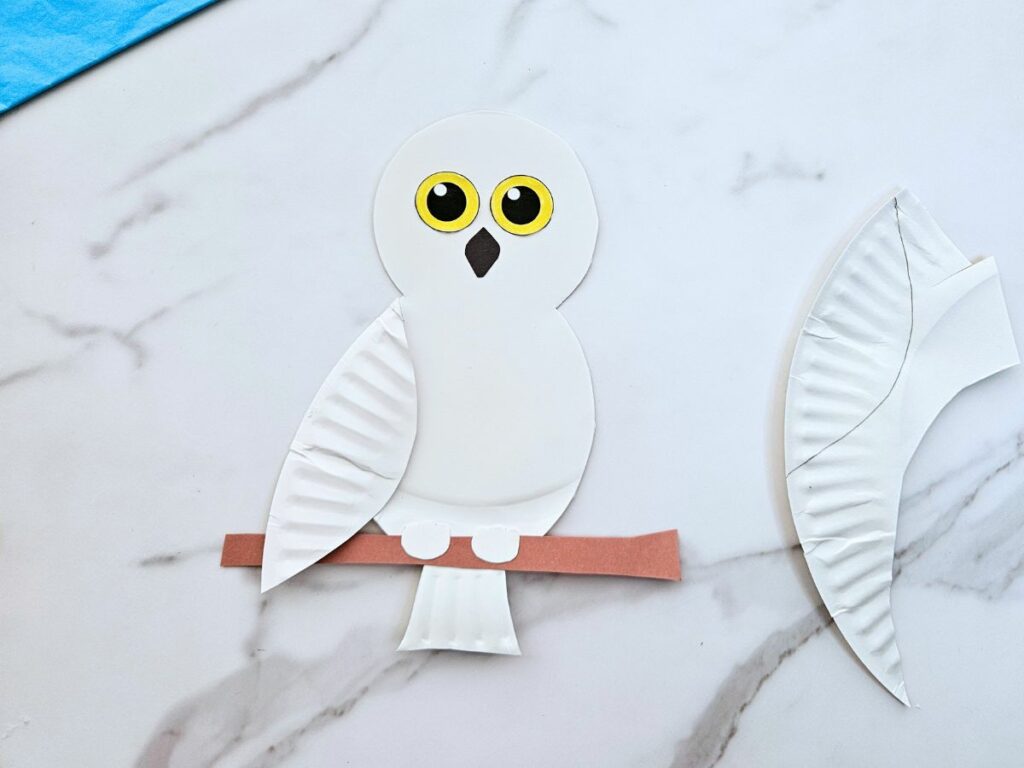
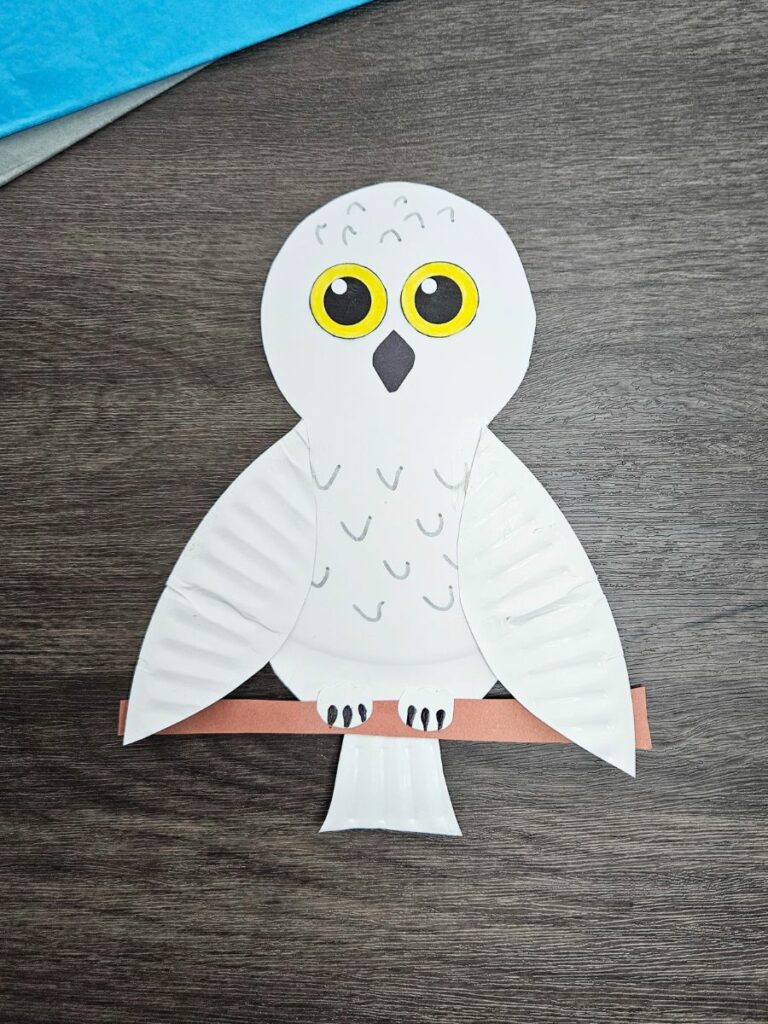
Glue the wings onto the body and your owl is complete!
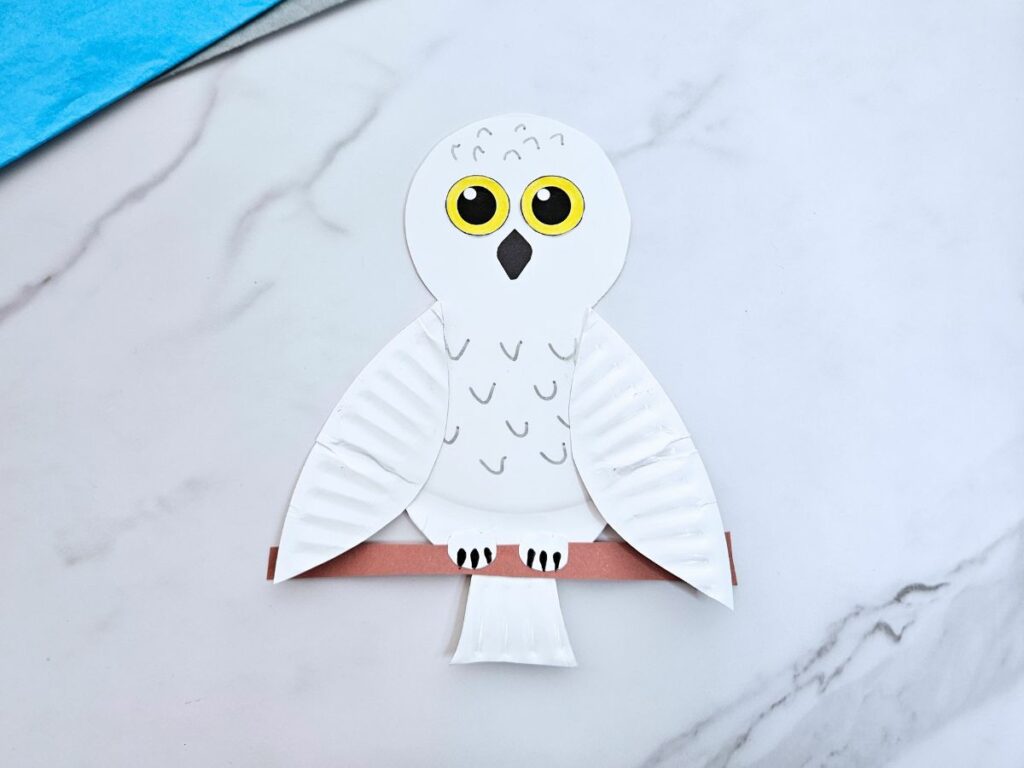
Whether you’re learning about arctic animals or making winter crafts, this easy snowy owl craft is so sure to be a hit with the kids!
Interesting Snowy Owl Facts for Kids
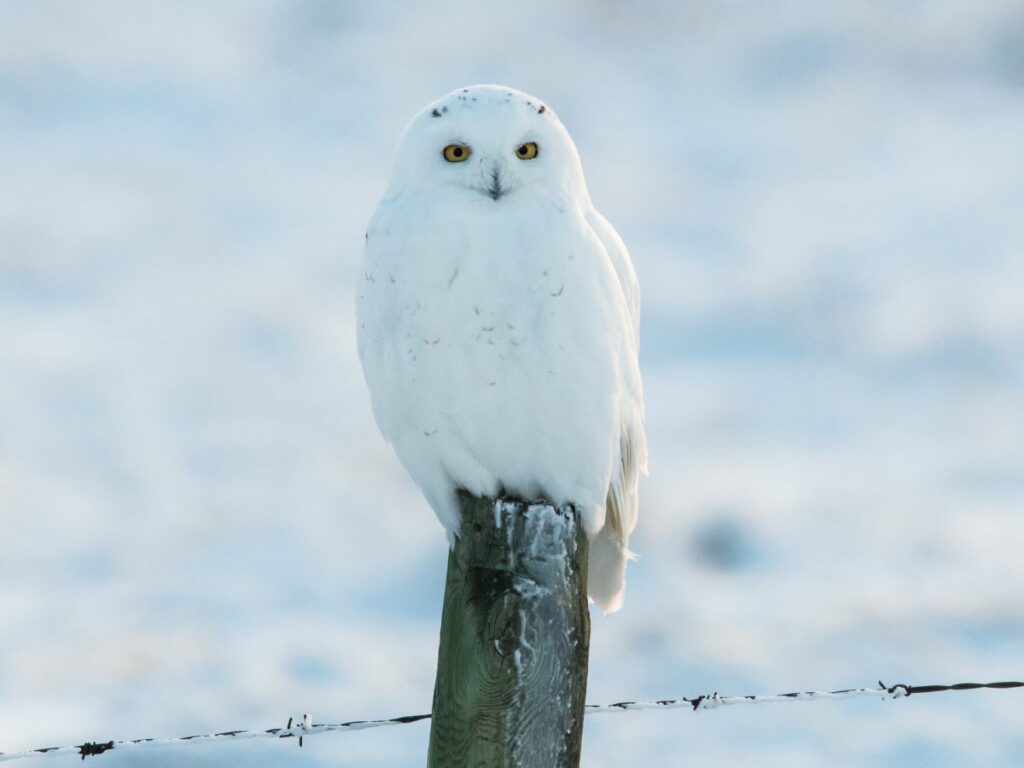
- Snowy Feathers: Snowy owls are mostly white, which helps them blend into their snowy Arctic surroundings. The males are often whiter than the females.
- Bright Yellow Eyes: Snowy owls have big, bright yellow eyes that help them see really well, especially during the long, dark Arctic winters.
- Daytime Hunters: Unlike many other owls, snowy owls are active during the day, especially in the summer when the Arctic has almost 24 hours of daylight!
- Huge Wingspan: These birds have a wingspan of about 4-5 feet—almost as wide as a door!
- Fluffy Feet: Snowy owls have feathers on their feet that look like little snow boots. These keep their feet warm in the icy cold.
- Mouse Experts: They eat lots of small animals, like lemmings, mice, and even rabbits. A single snowy owl can eat over 1,600 lemmings in a year!
- World Travelers: While they live in the Arctic, snowy owls sometimes travel south during winter and have been spotted as far as the United States!
- Big Nests: Snowy owls make their nests on the ground, often building them on high spots to get a good view of their surroundings.
- Strong Silent Flyers: Snowy owls are super quiet when they fly, which makes them great hunters because they can sneak up on their prey.
- Harry Potter Fame: Snowy owls are famous because of Hedwig, Harry Potter’s loyal owl companion in the popular book and movie series!
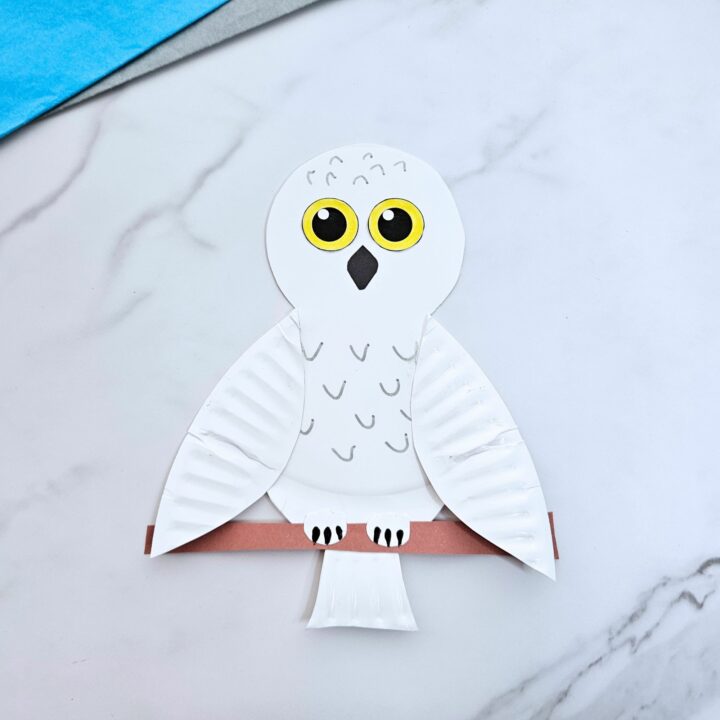
Snowy Owl Paper Plate Craft
Make your own snowy owl with this easy paper plate craft for kids!
Materials
- Snowy owl printable template
- Paper plate
- Black and grey markers
- Brown and black paper
- Glue
- Scissors
Instructions
- Download and print out the snowy owl template.
- Cut out the template pieces.
- Color the outer circle of the eyes yellow.
- Trace the head, tail, and feet of the owl onto a paper plate. Trace the tail onto the outer, pleated part of the paper plate to provide some texture. Cut out the pieces.
- Trace the branch onto brown paper and the beak onto black paper (or color in with a marker). Cut out the pieces.
- Glue the eyes and beak onto the owl's face.
- Glue the branch onto the bottom of the owl, glue the feet on top of the branch, and glue the tail onto the back of the branch so that it sticks out from underneath the owl.
- Use a grey marker to add feathers to the body and the head of the owl. Use a black marker to draw talons onto the owl's feet.
- Use the leftover outside of the plate to cut out curved pieces for the wings. Glue the wings to the owl's body.

