Get ready to add a fun and creative twist to your Christmas crafting with this fork painting Christmas tree craft!
This craft is perfect for kids of all ages, allowing them to explore different textures and painting techniques.
Using a fork to paint the branches gives the tree a unique, textured look, while a Q-tip makes it easy to add colorful ornaments.
It’s a simple yet engaging activity that will spark your child’s creativity and make for a beautiful holiday decoration. Plus, the mess is minimal, so you can focus on the fun without worrying about cleanup!
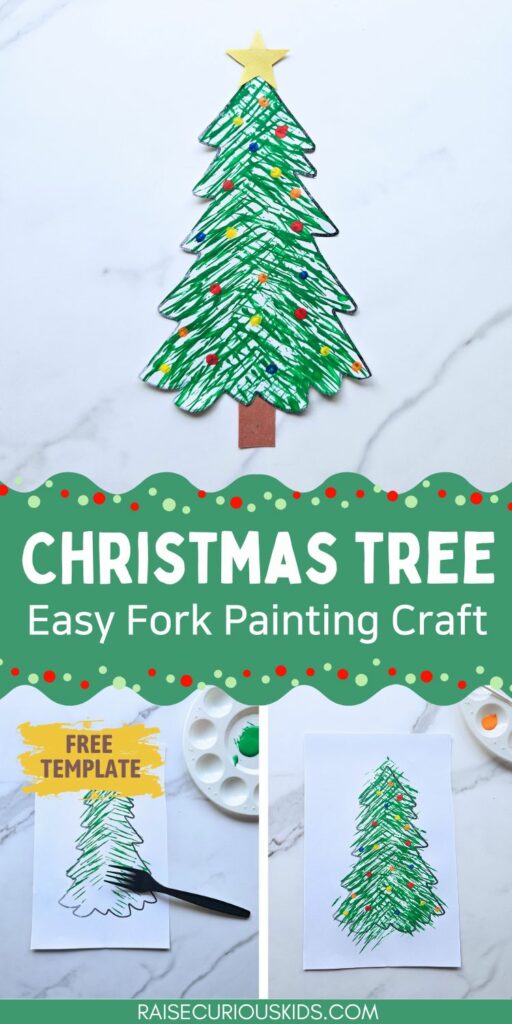
Christmas Tree Fork Painting Craft
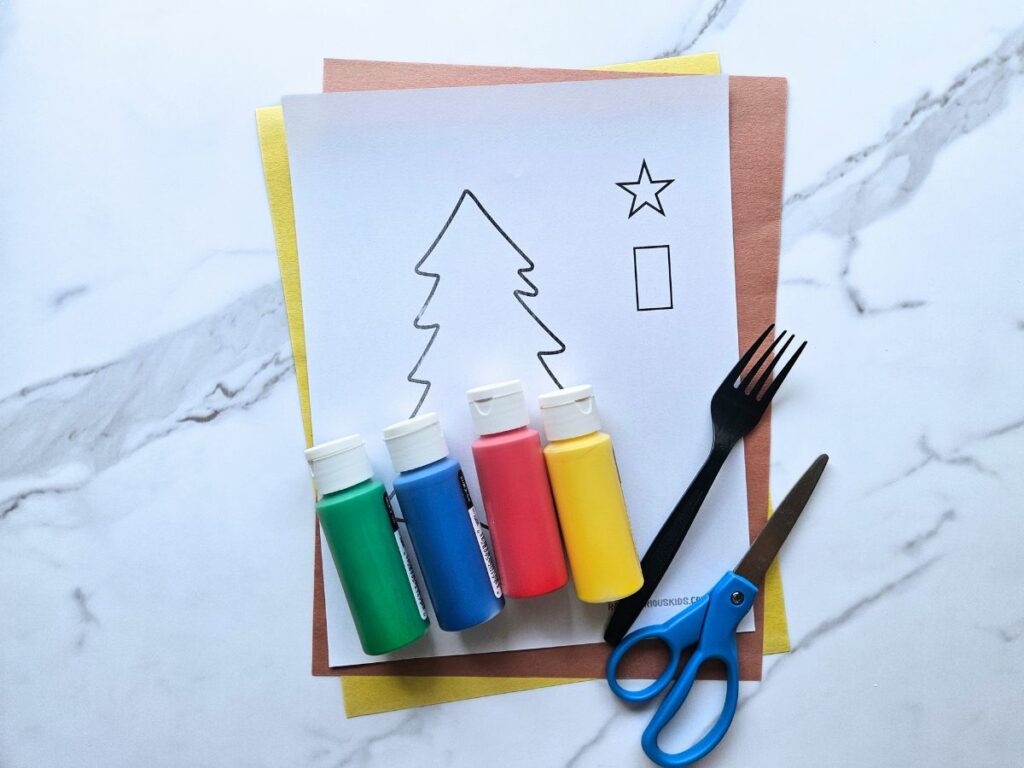
Materials
- Christmas tree craft printable (available for download below)
- Paint
- Colored paper (green and yellow)
- Fork
- Q-tips
- Scissors
- Glue
Instructions
First, download and print out the free Christmas tree template, which you can find at the bottom of this page.
Cut the star and trunk out of the template, but leave the border around the tree so that you have a buffer for your fork painting.
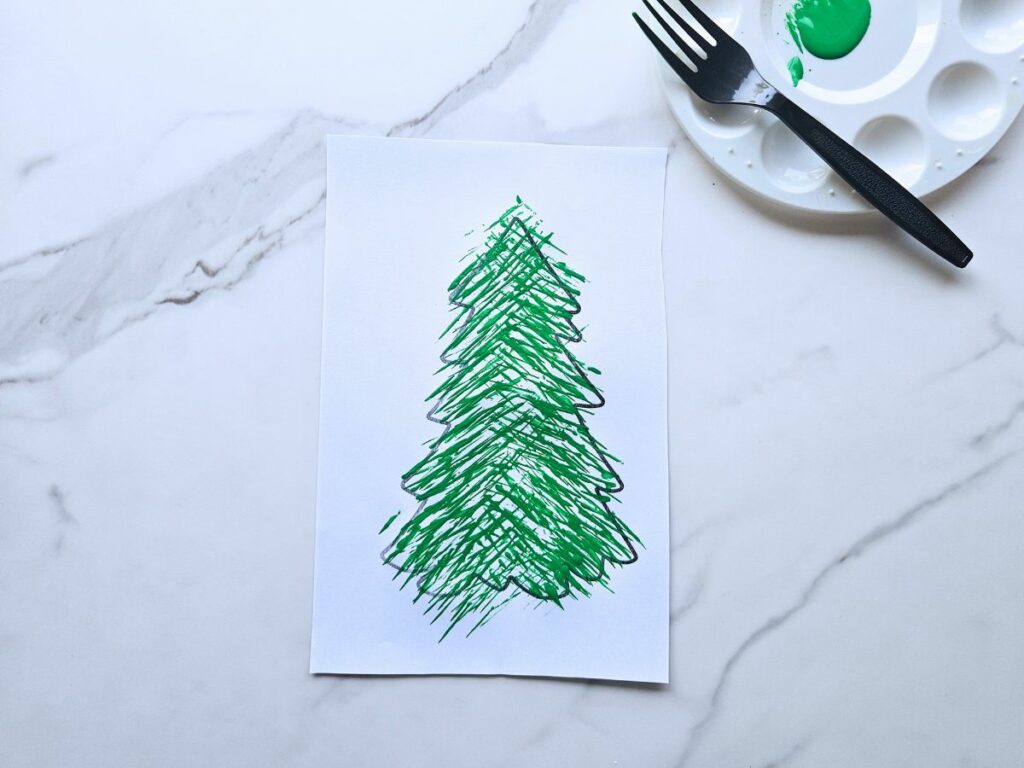
Dip your fork into the green paint and begin stamping it on the tree template to make the branches and needles.
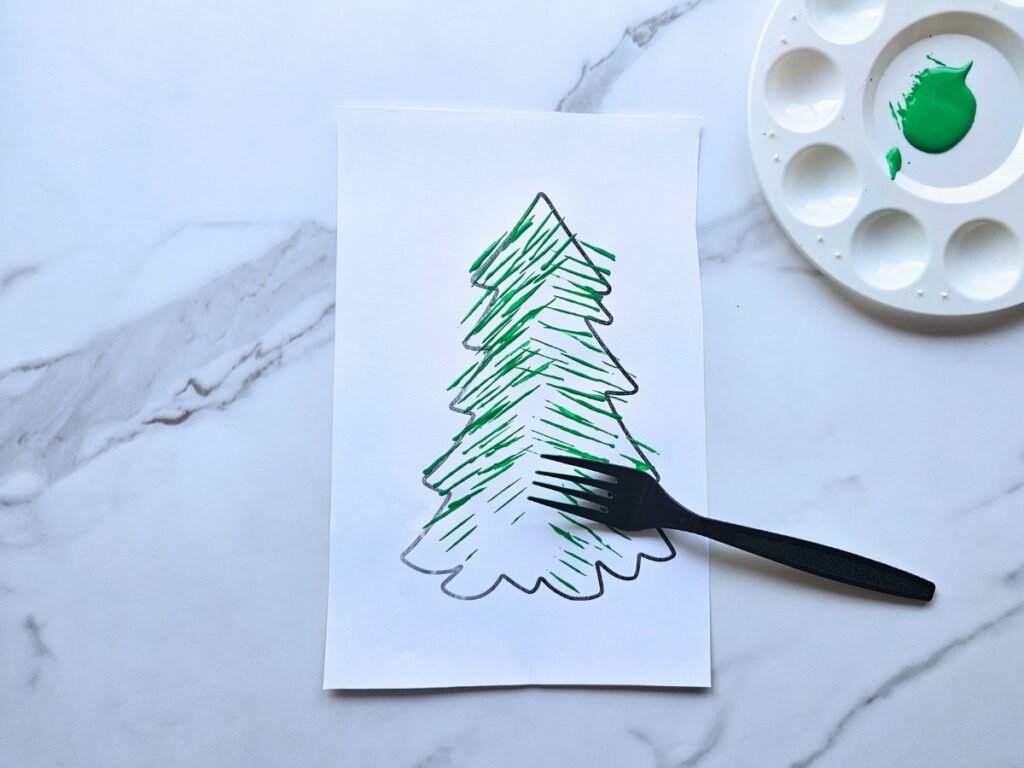
Continue until the tree is covered in green paint. Let the paint dry.
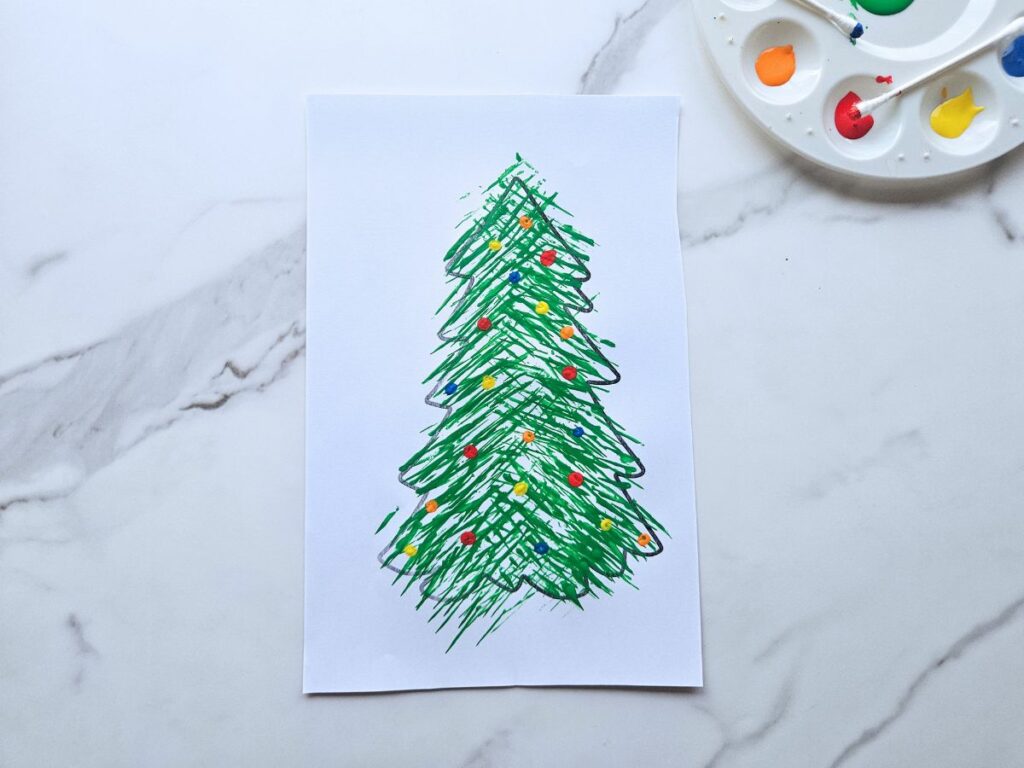
Use the Q-tips dipped in different colors of paint to make the ornaments on your tree.
Cut out the Christmas tree.
Trace the star onto yellow paper and the stump onto brown paper. Cut them out.

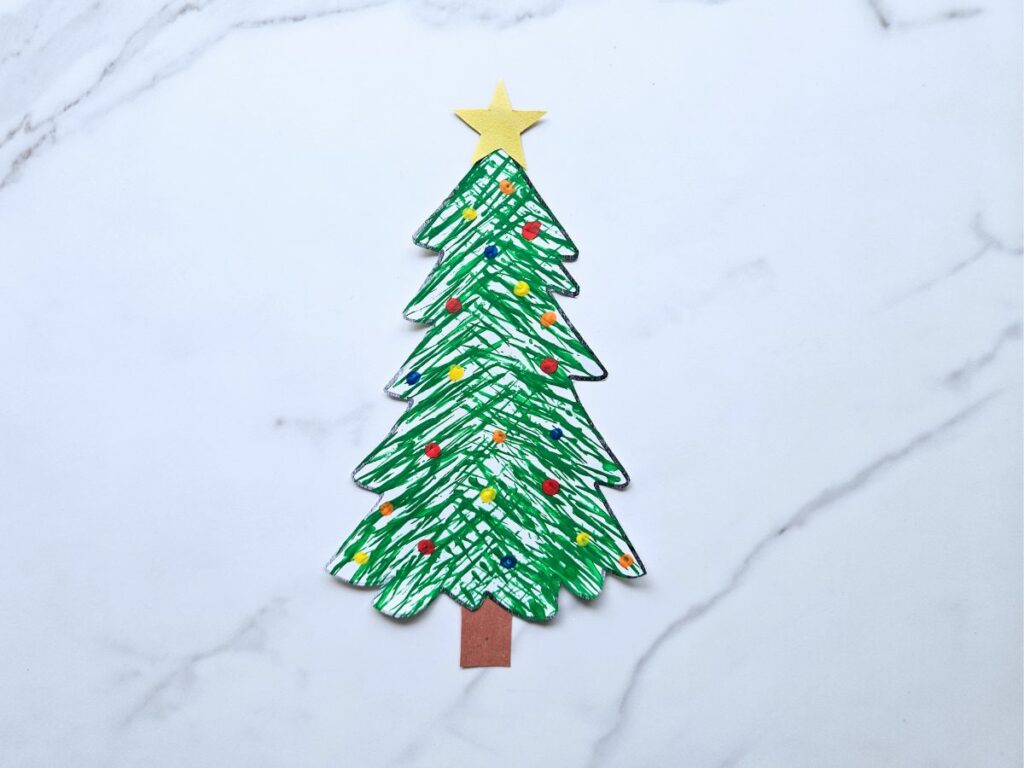
Glue the star to the top of the tree and the stump onto the bottom of the tree.

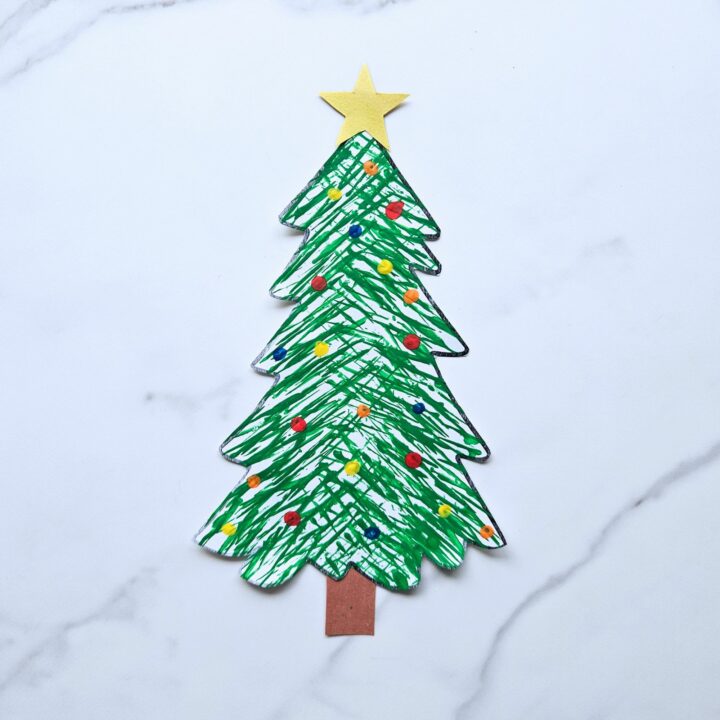
Now your cute Christmas tree is complete!
This Fork Painting Christmas Tree craft is a wonderful way to bring the holiday spirit into your home while encouraging your child’s artistic expression.
Whether you hang the finished product on the fridge or use it as part of your holiday decor, it’s sure to add a personal touch to your celebrations.
Christmas Tree Books for Kids
Enjoy these fun books about Christmas trees along with your craft!
Pick a Pine Tree by Patricia Toht– In this festive holiday story, the journey of finding, decorating, and enjoying the perfect Christmas tree is beautifully illustrated. The book captures the magic and joy of holiday traditions, from picking out the pine tree to adorning it with lights, ornaments, and tinsel, creating a heartwarming celebration of the season.
The Littlest Christmas Tree by R. A. Herman– A tiny pine tree dreams of growing tall enough to be chosen as a family’s Christmas tree. As it waits and watches the larger trees around it find homes, the littlest tree learns that being small doesn’t mean it can’t bring joy and happiness during the holiday season. This heartwarming story teaches valuable lessons about patience, hope, and the true spirit of Christmas.
Mr. Willowby’s Christmas Tree by Robert Barry-A too-tall Christmas tree sets off a chain of festive events in this charming holiday tale. As Mr. Willowby trims the top of his oversized tree, the discarded piece brings holiday cheer to various characters, big and small. Each new home that the tree top finds shows that the spirit of Christmas can be shared in the most unexpected ways.
Christmas Tree Fork Painting Craft
Kids will love this easy Christmas tree craft using fork and Q-tip painting!
Materials
- Christmas tree craft printable
- Paint
- Colored paper (green and yellow)
- Fork
- Q-tips
- Scissors
- Glue
Instructions
- Download and print out the Christmas tree craft template.
- Cut out the star and trunk parts of the template.
- Dip the fork in green paint and press it onto the tree template. Repeat until the tree is covered in green paint. Let the paint dry.
- Dip Q-tips in colored paint and press onto the tree to make the ornaments.
- Cut out the Christmas tree.
- Trace the trunk template onto brown paper and the star onto yellow paper. Cut out the pieces.
- Glue the star to the top of the tree and the trunk to the bottom of the tree.